Notes are text documents related to the project. They help you keep important project information, such as:
- Links to all related materials.
- Attached files and images.
- List of important project contacts.
- Meeting reports.
- Wiki pages and project know-how.
- Descriptions of processes and manuals.
How to create a note
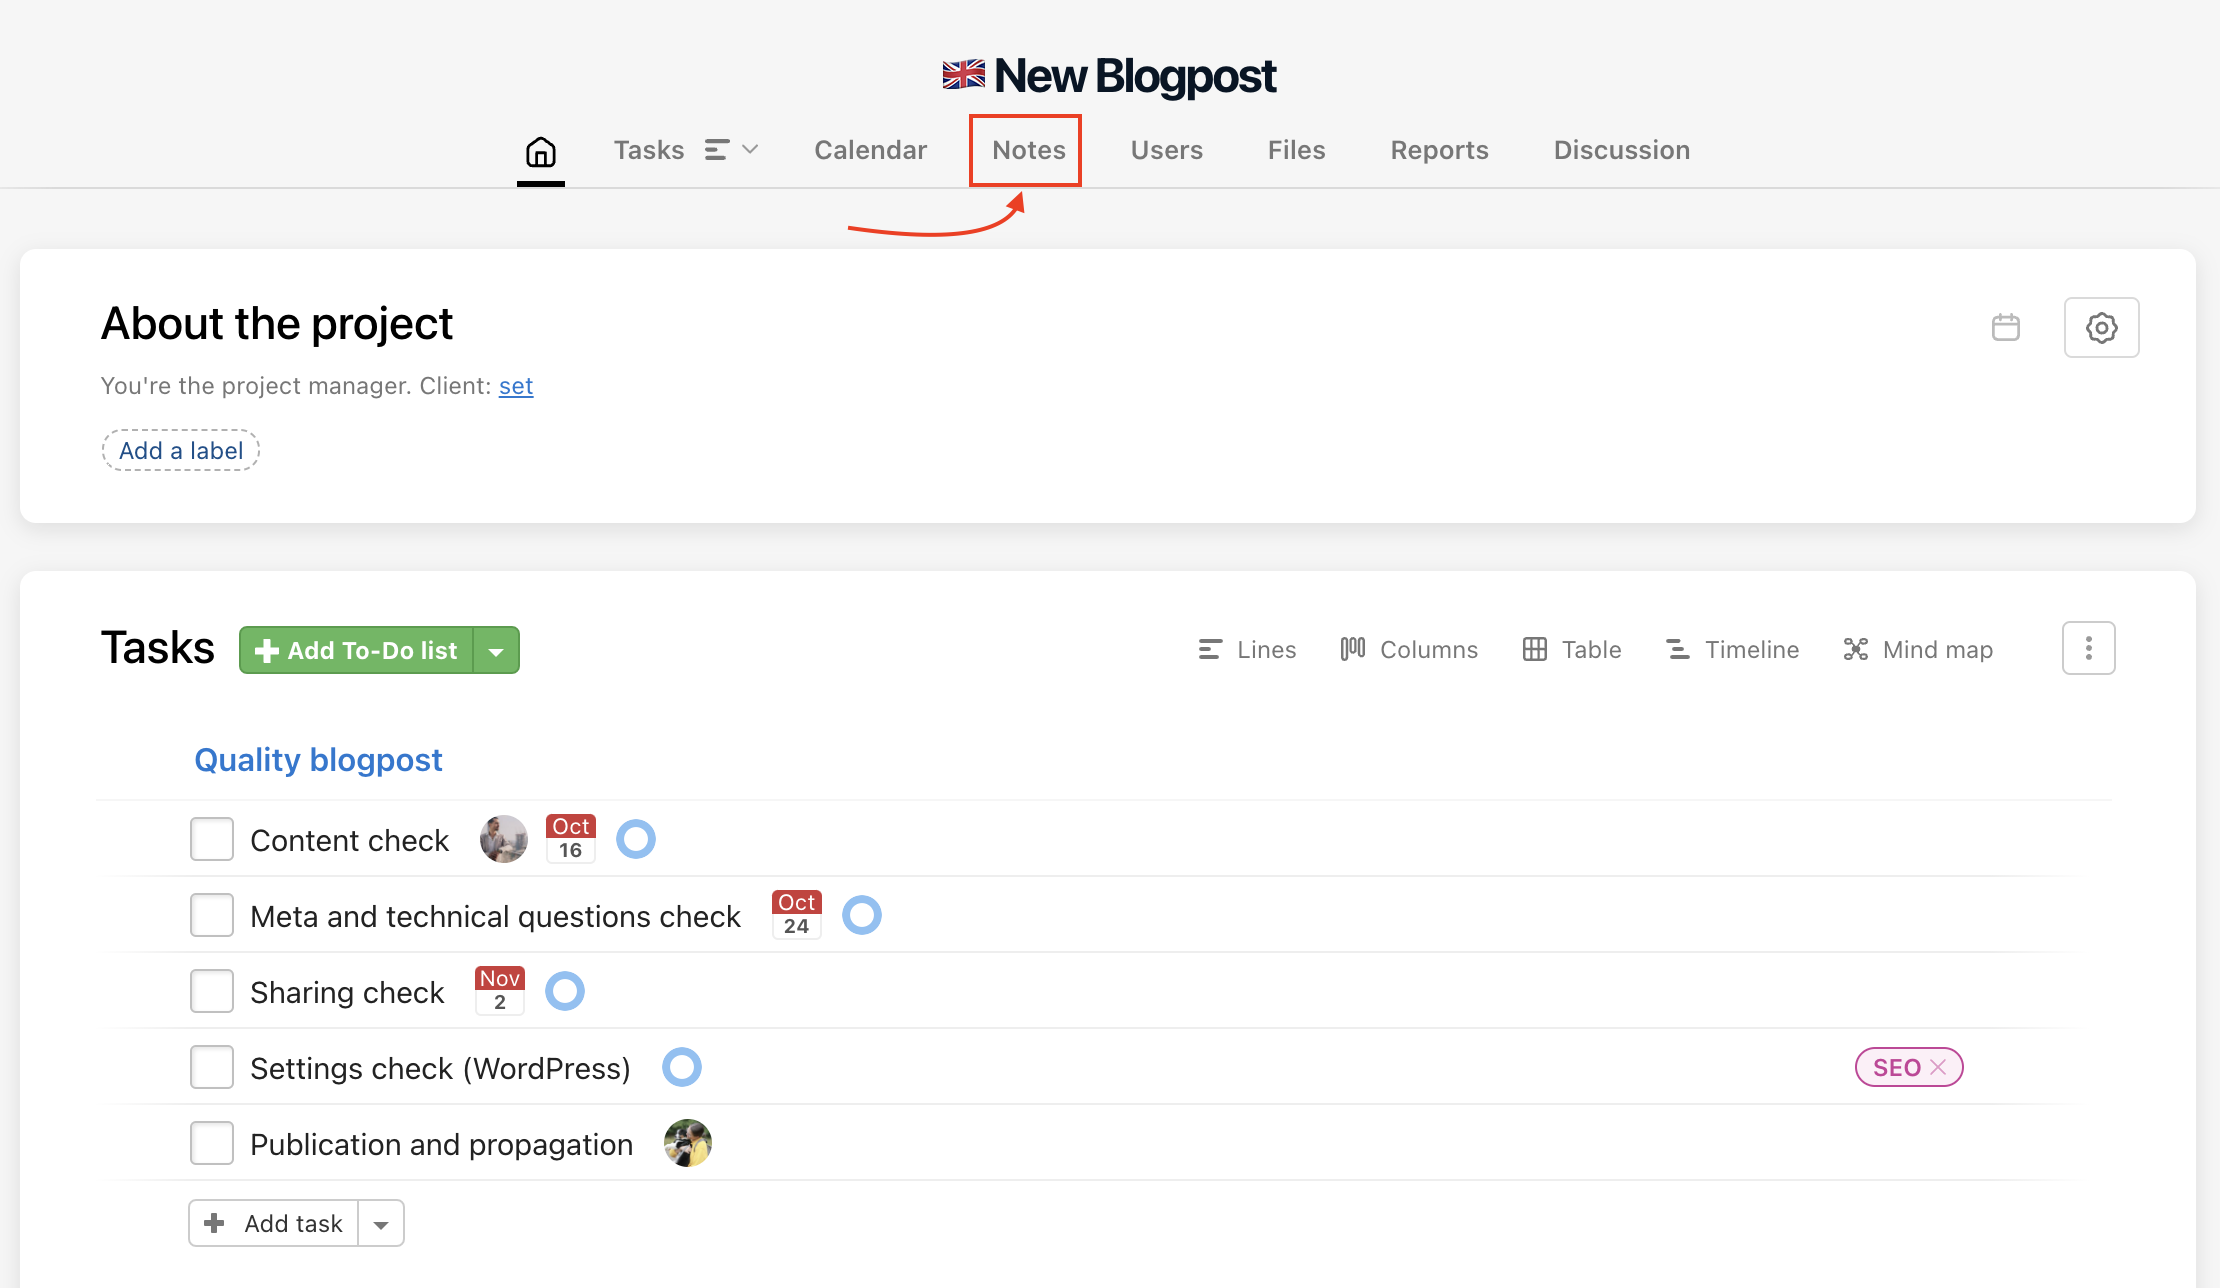
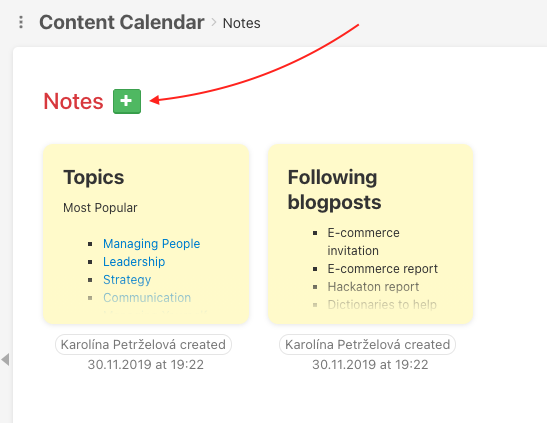
Go to the Project detail and select Notes. Add a new note by clicking the green plus button.
Name the note, write all the necessary information, and you can also attach files and images directly to it. This helps you keep client contact details, project assignments, and ideas in one place.
Add and pin a note to To-Do list
You can create a new note directly in a To-Do list. At the bottom of the To-Do list is a button Add task. Click the arrow icon on the right > Add and pin note…
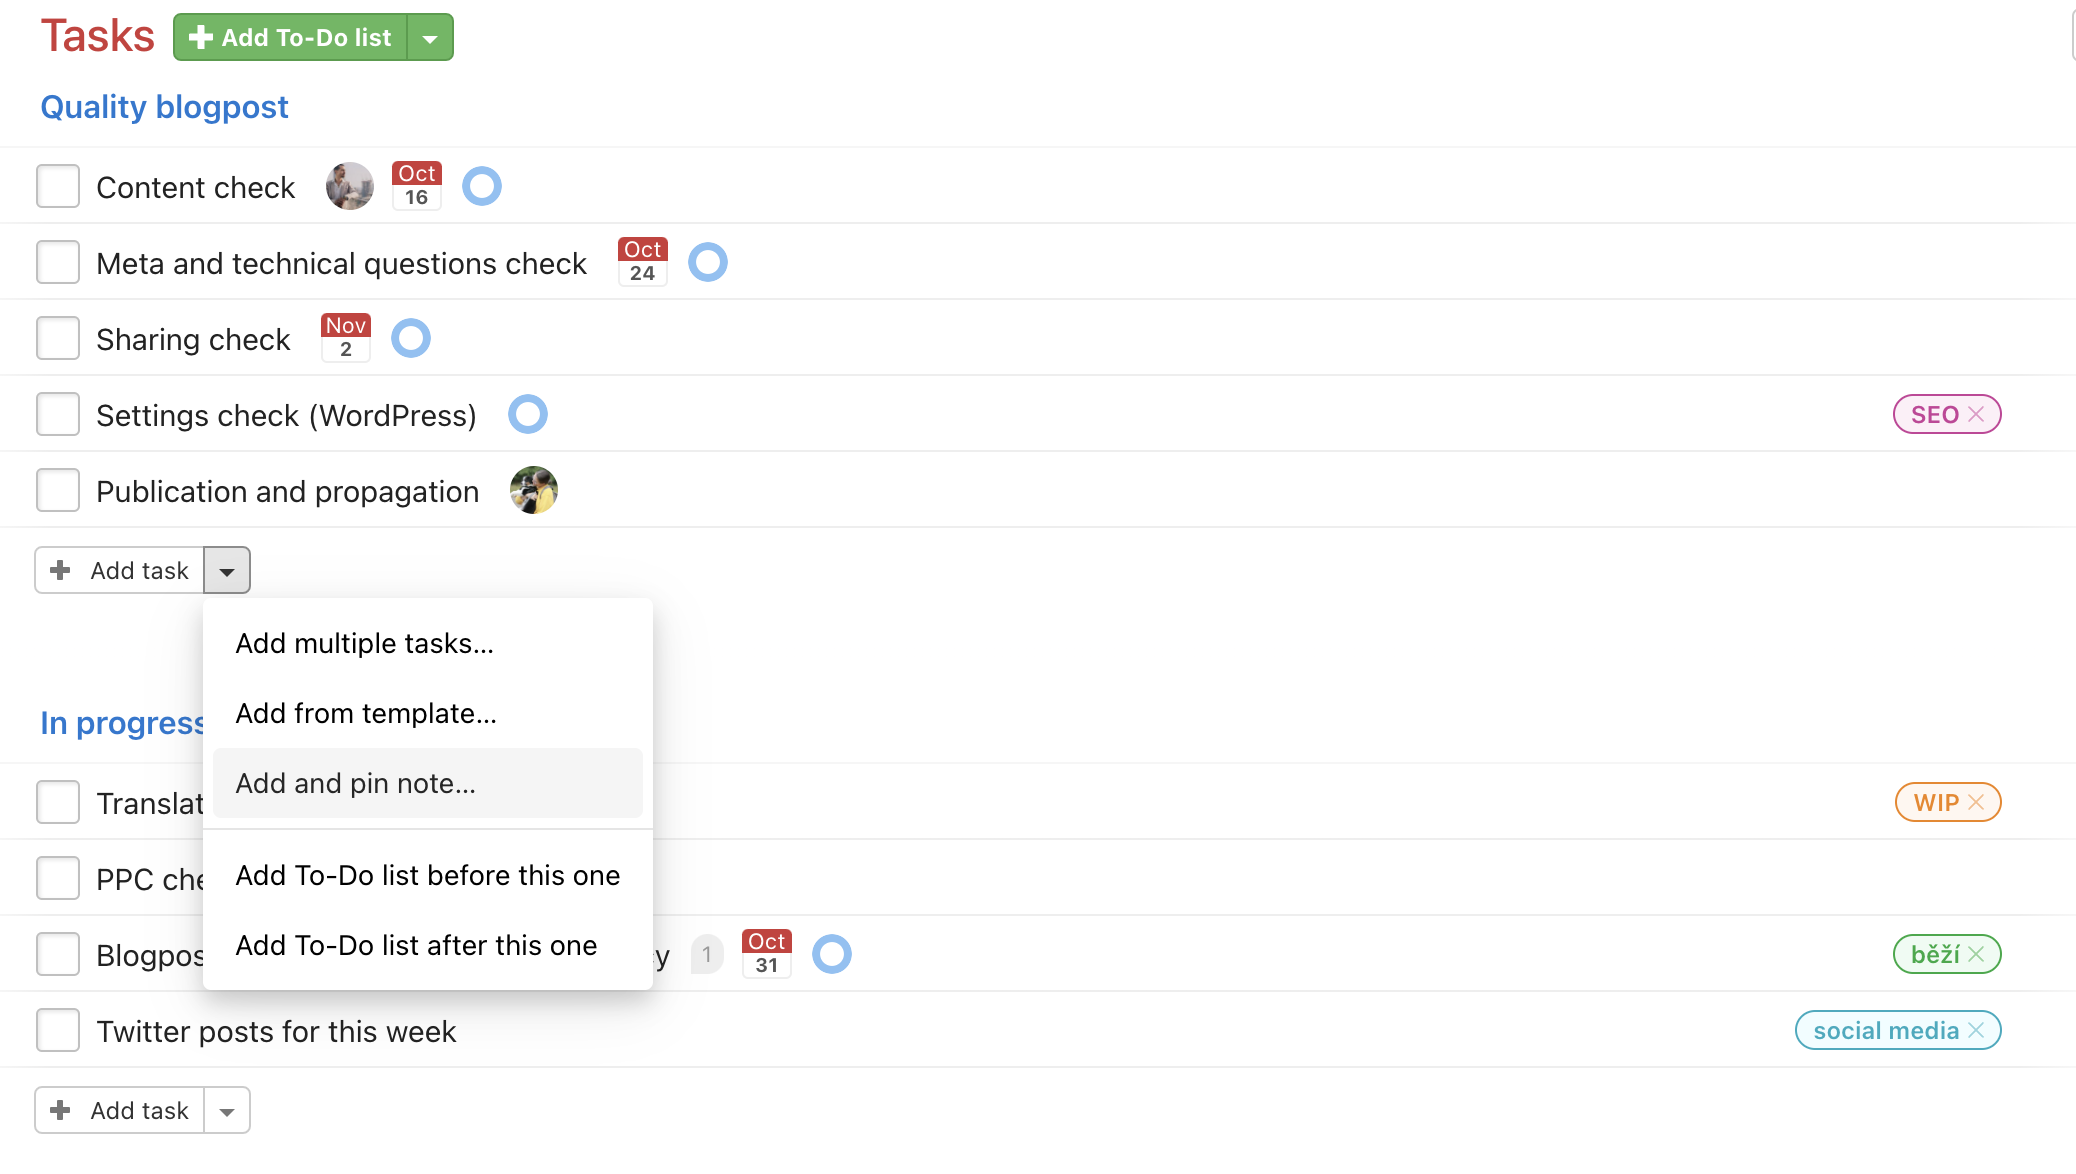
A form appears where you can select an existing note or Create new note… Just enter the note name and click Pin the note. It is immediately pinned at the top of the To-Do list.
Note editing
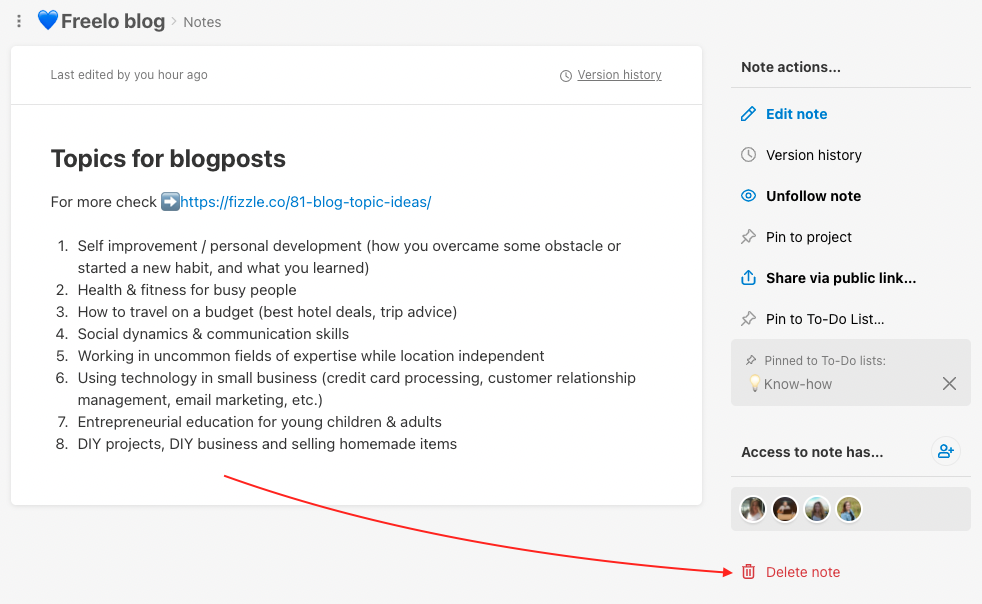
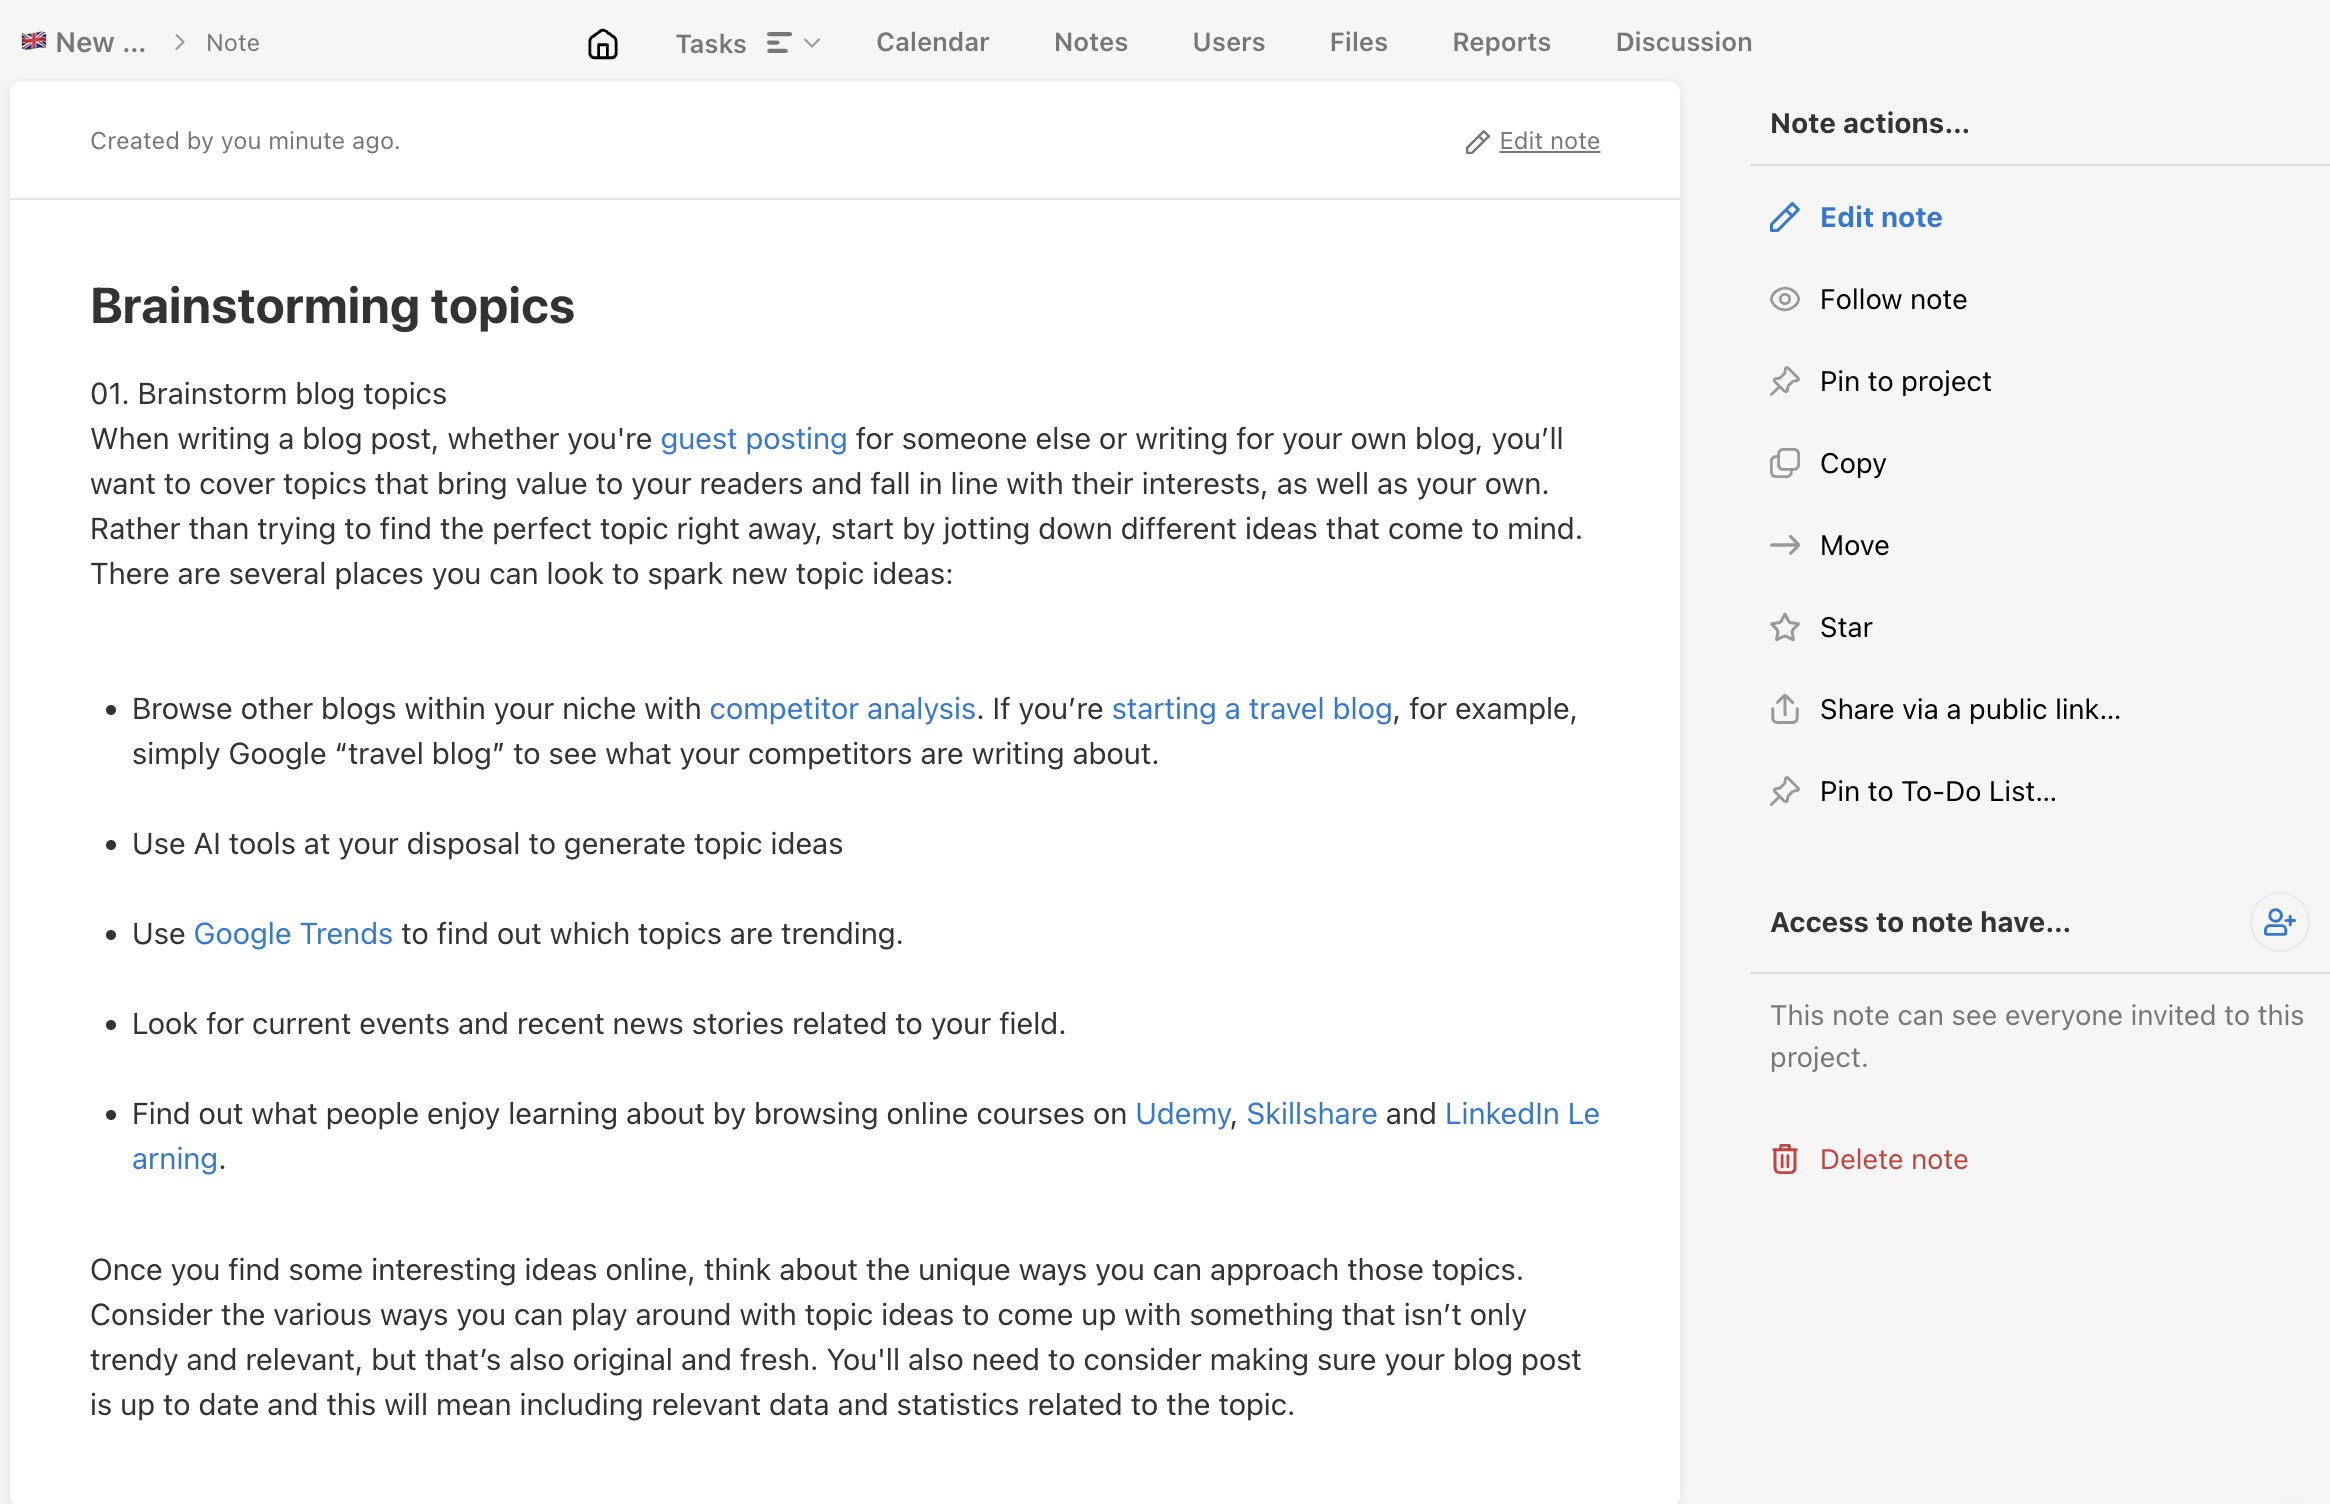
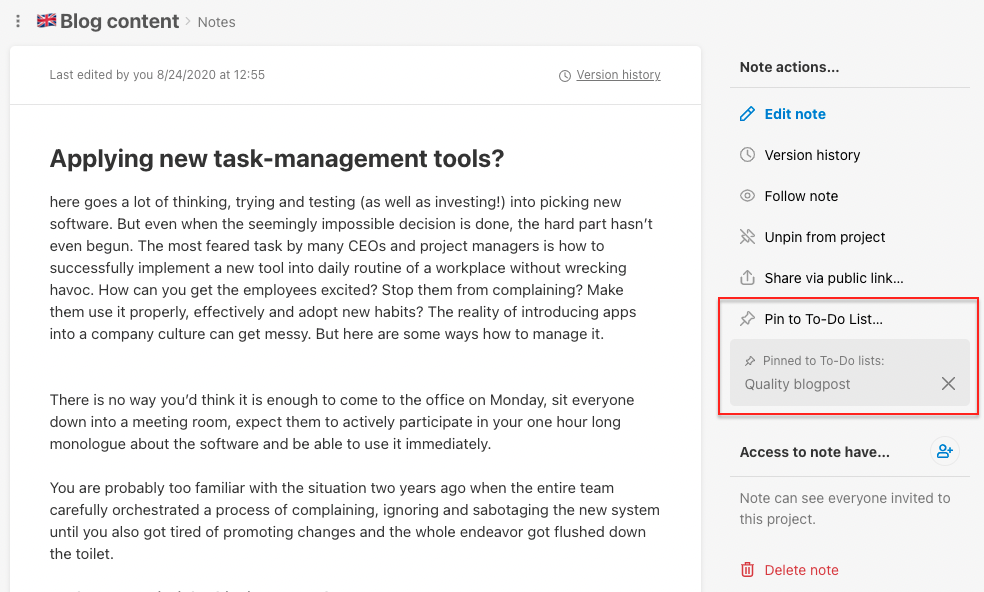
Any user who has access to the note can also edit it. There is a preview and edit mode. Go to the note detail and choose Edit note in the right column.

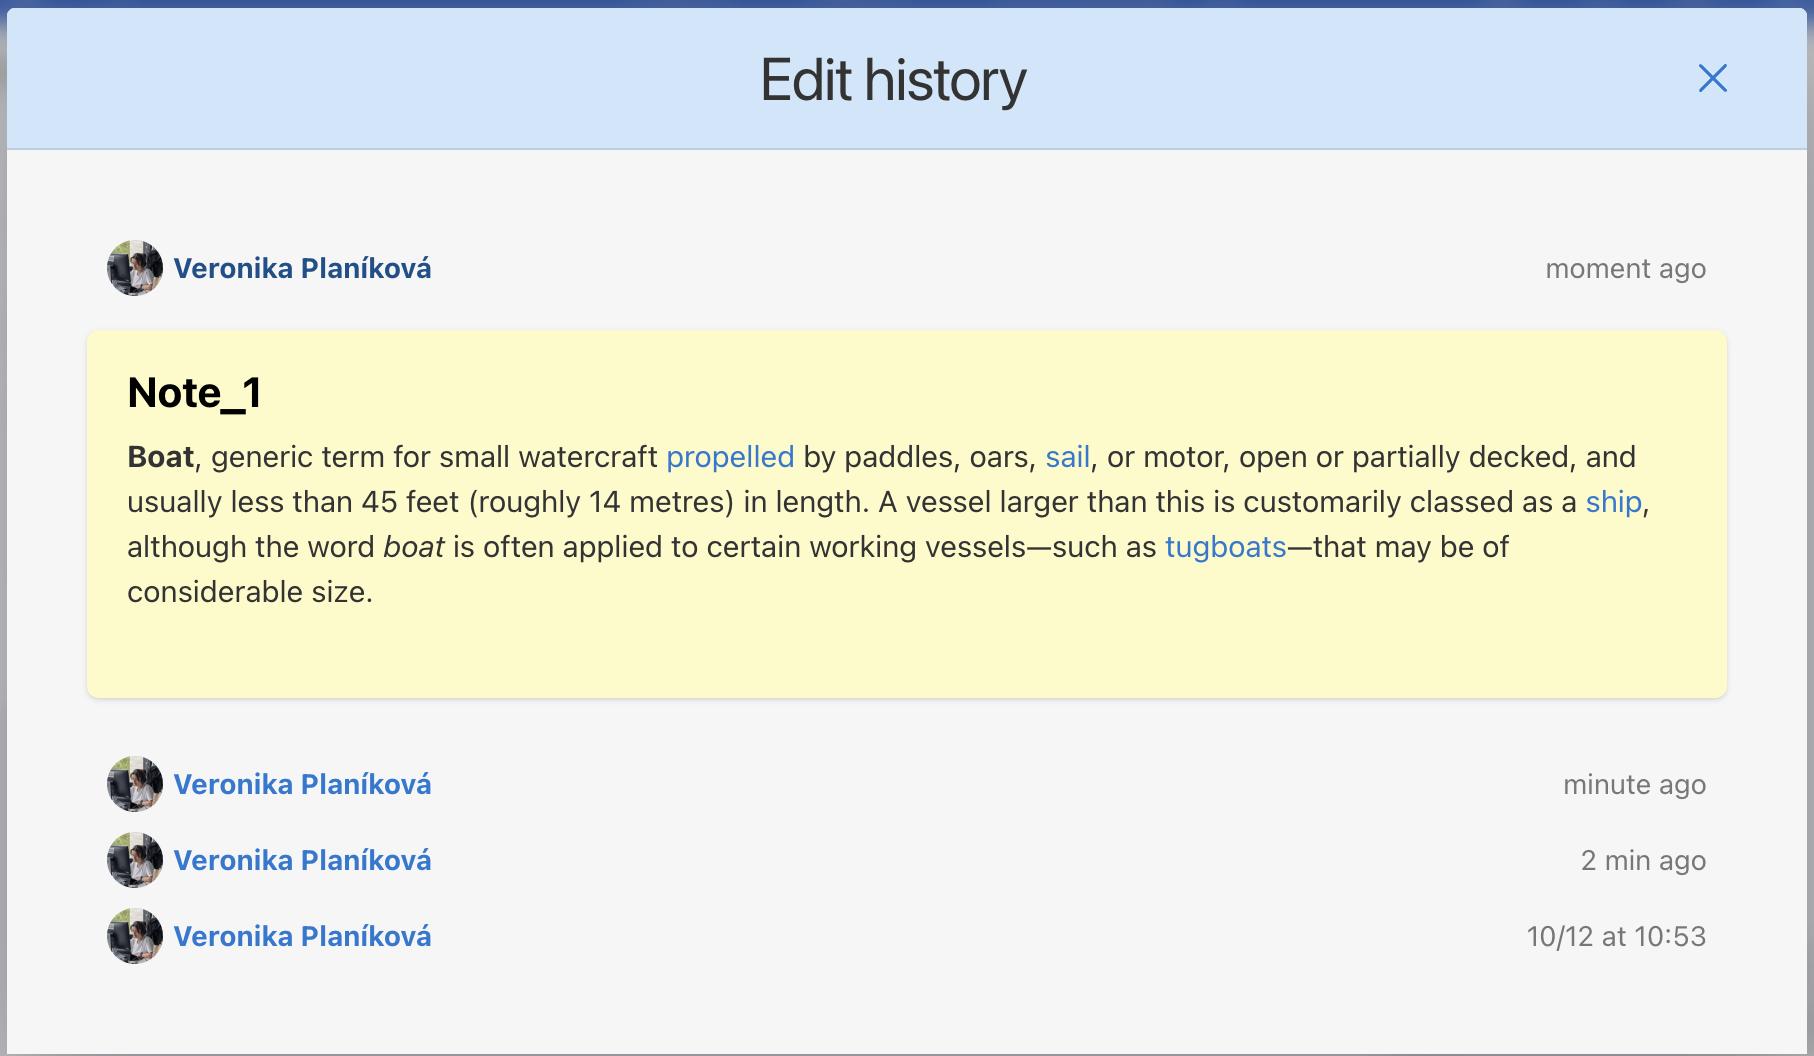
Each note also has a Version history below Edit note. Anytime the note is edited by anybody Freelo shows the new version. You cannot lose any written information and there is option to restore certain version.
Features of notes
Pin the note to the project
As the note is pinned to the project, it is visible in the Project Detail. This makes the note visible at first glance. This is extremely helpful when you want to pin the project assignment or other important details so everyone sees them.
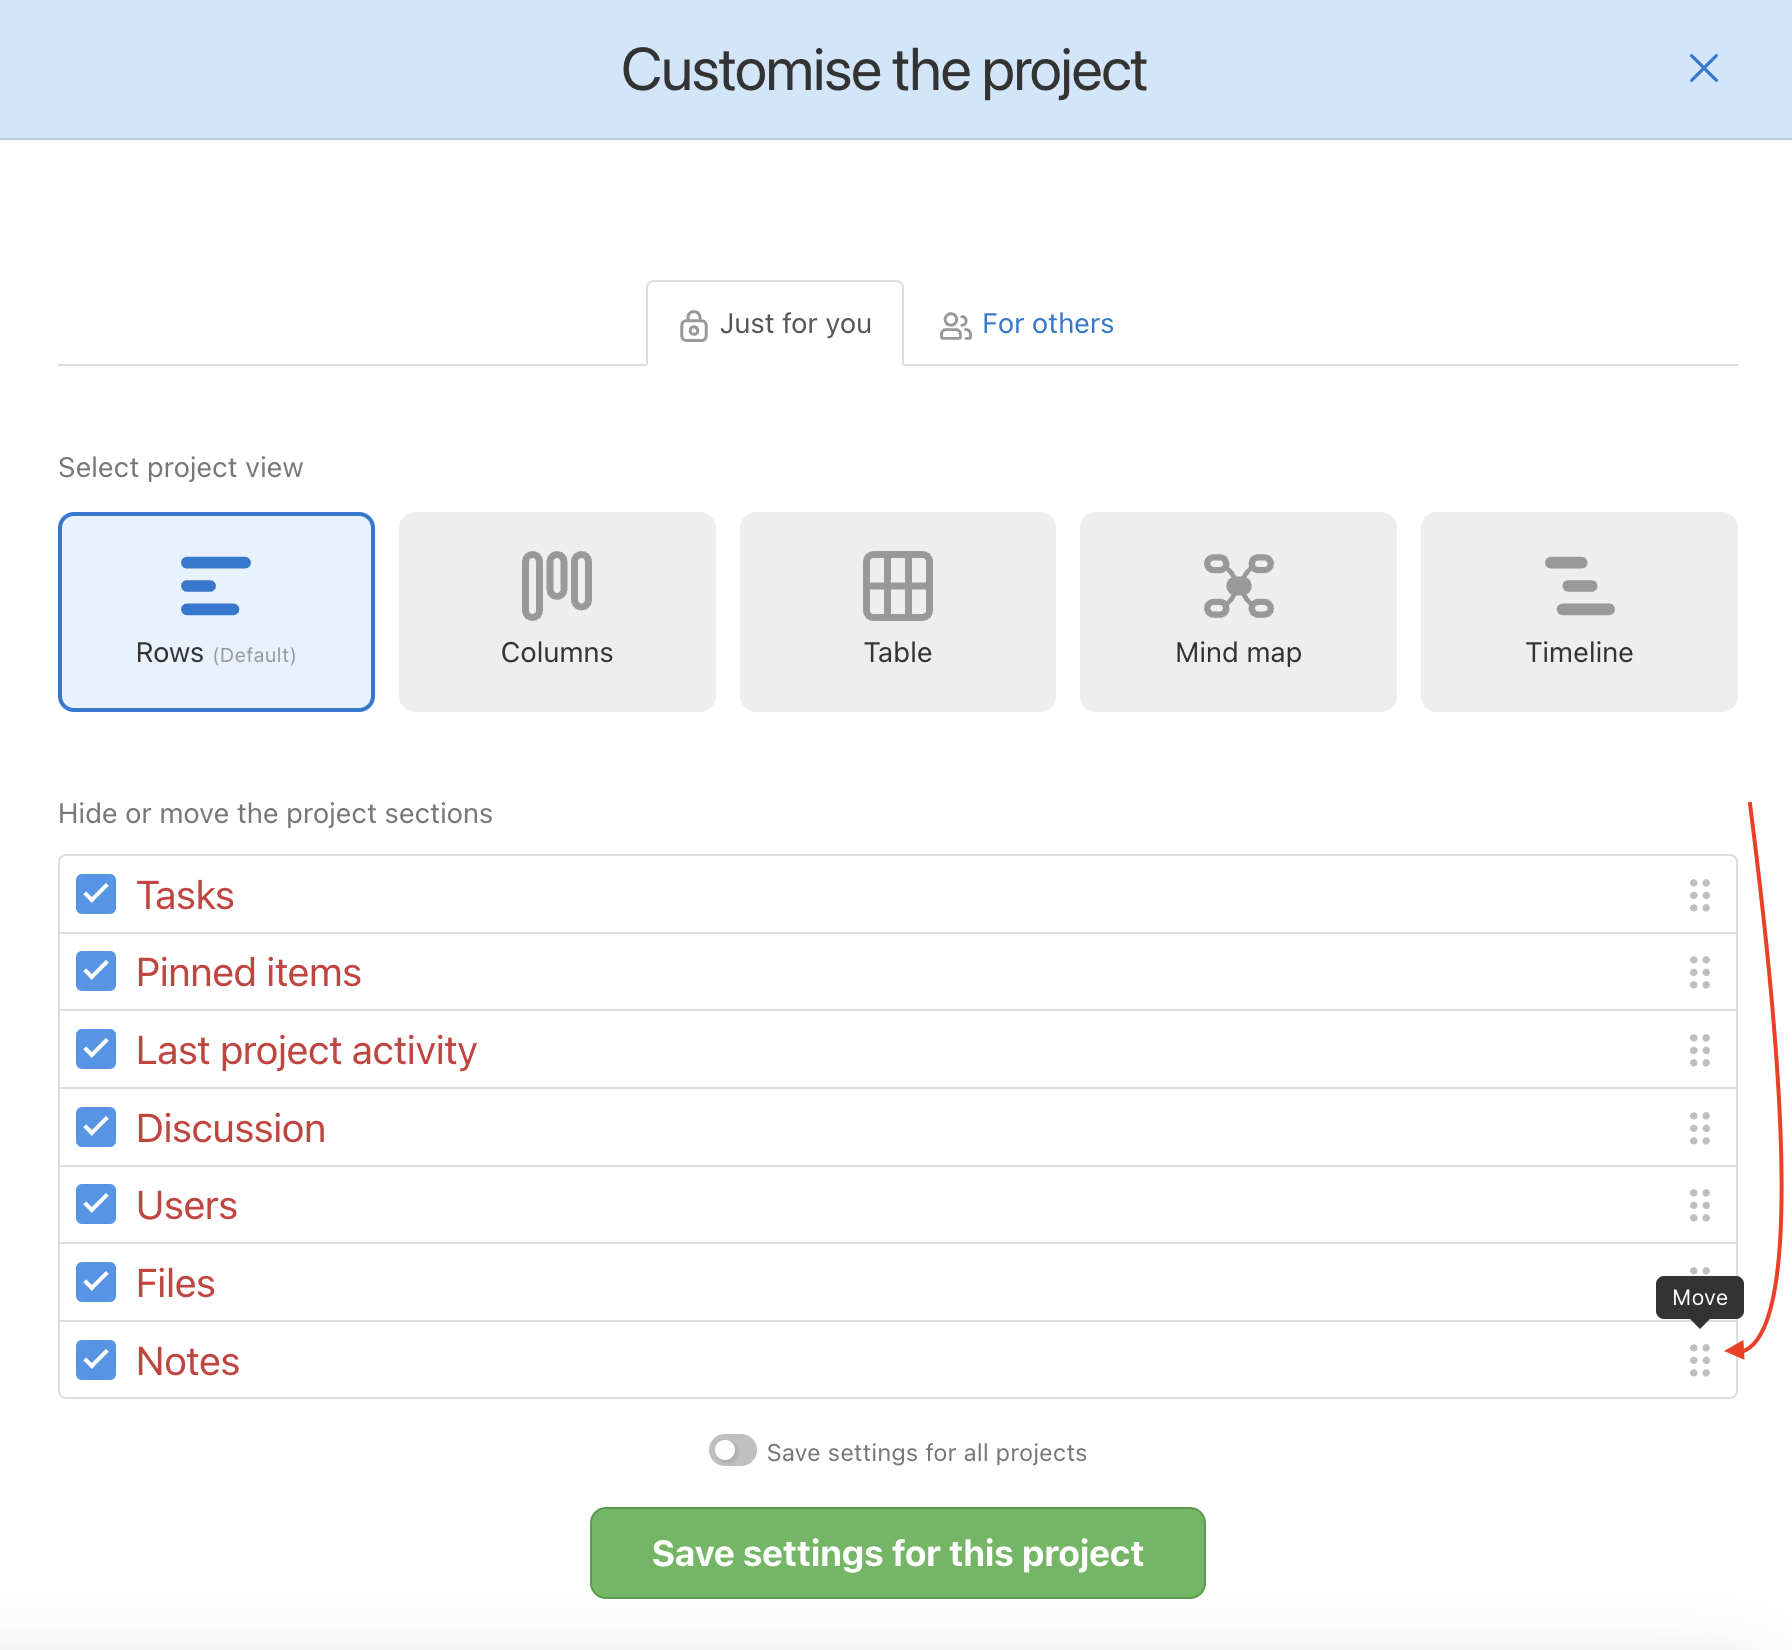
You can adapt the project detail as you like. Click the Settings icon in the Project detail > go to Project settings.
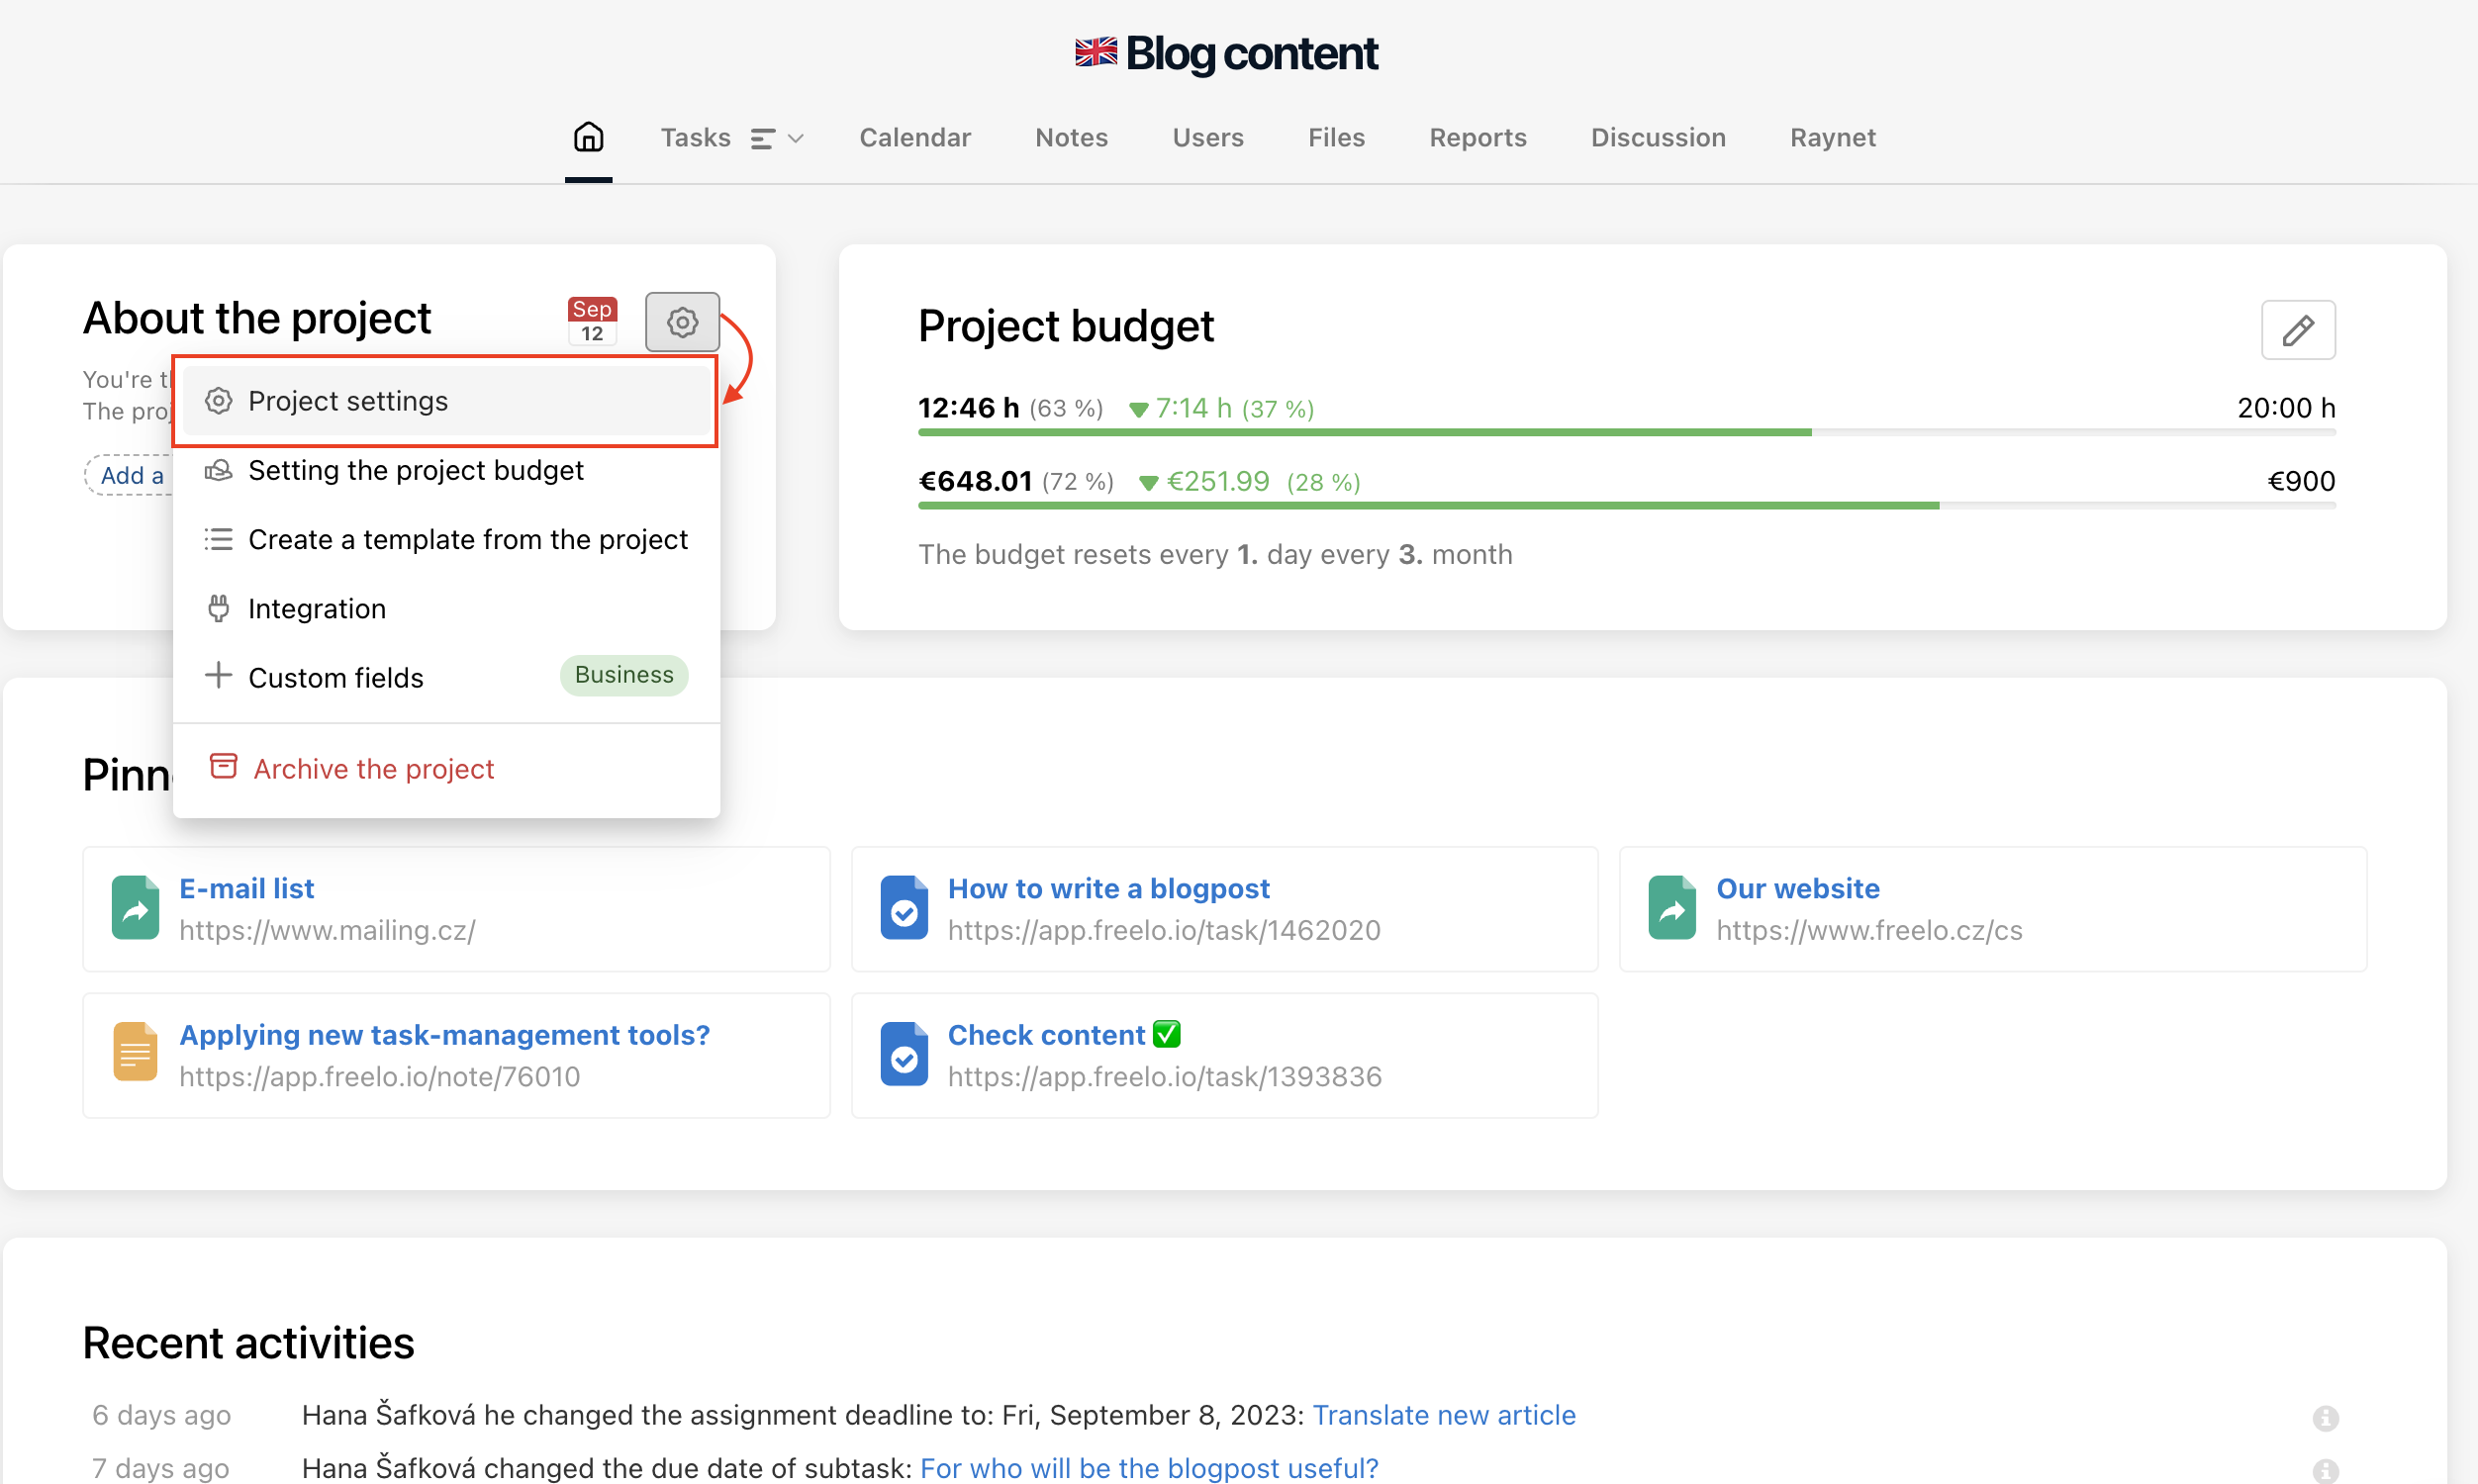
In the settings, choose which sections you want to see and in what order.
You can pin the note to a project via the detail of the note or directly through the Project detail page using the green plus button next to Pinned information.
Pin a note to To-Do list
The pinned note appears as another item in the To-Do list. Thanks to the note you can have an assignment or discussion to the whole To-Do list.
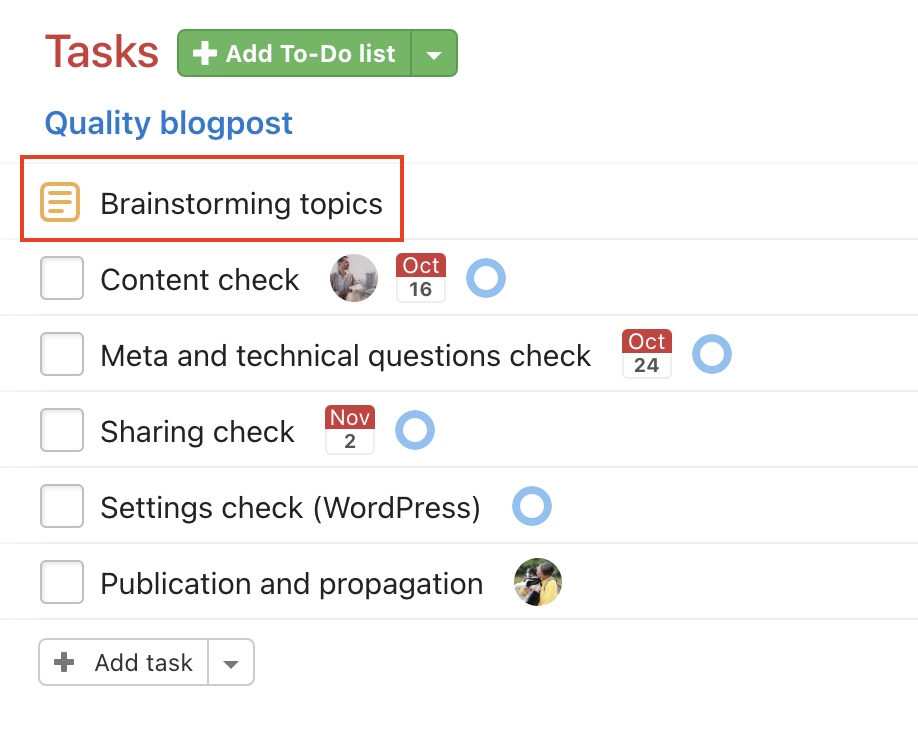
A note can be written when adding a new To-Do list or anytime later via Notes > Pin to To-Do List…
Switch the view
Go to the Notes section in the specific project. The default view shows small previews of the notes. Use the Switch listing icon in the top-right corner to switch between list and icon views.
Access to the note
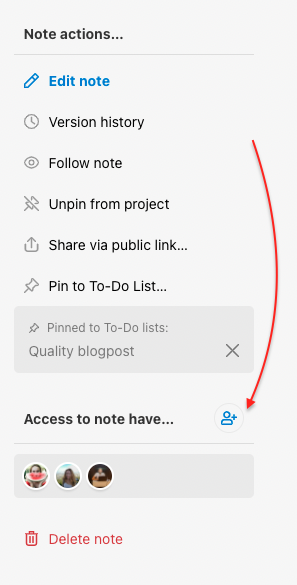
When adding a new note, it is visible to all users invited to the project. The Captain can select which users can or cannot see the note. Be aware that the Project Manager automatically has access to all notes. In the right menu, go to the Access to note have… section and click the figure icon.
Prioritizing notes
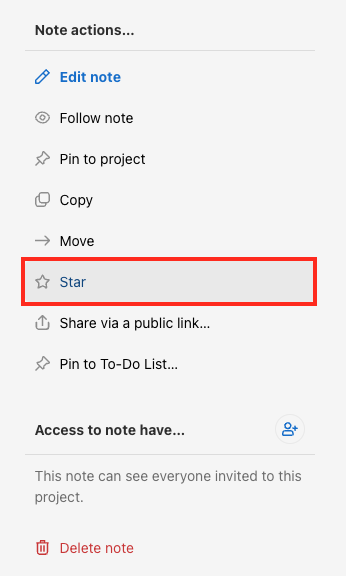
You can mark a note with a star in the right menu. Thanks to this marking, you can easily filter your notes later using the Starred filter.
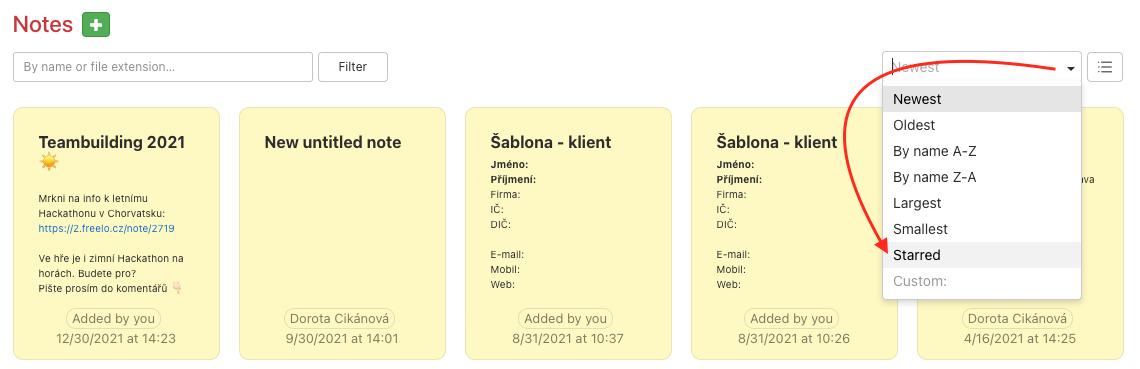
Notes marked with a star can be easily filtered in the Notes section of each project.
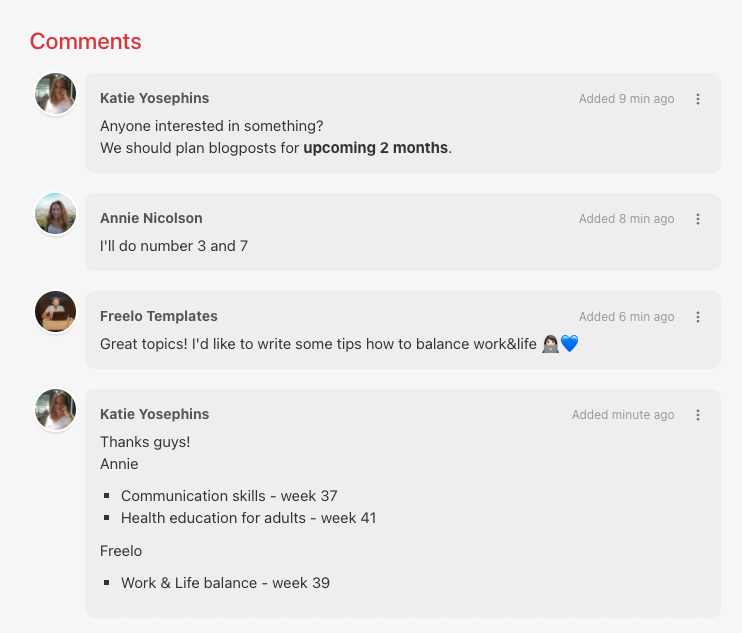
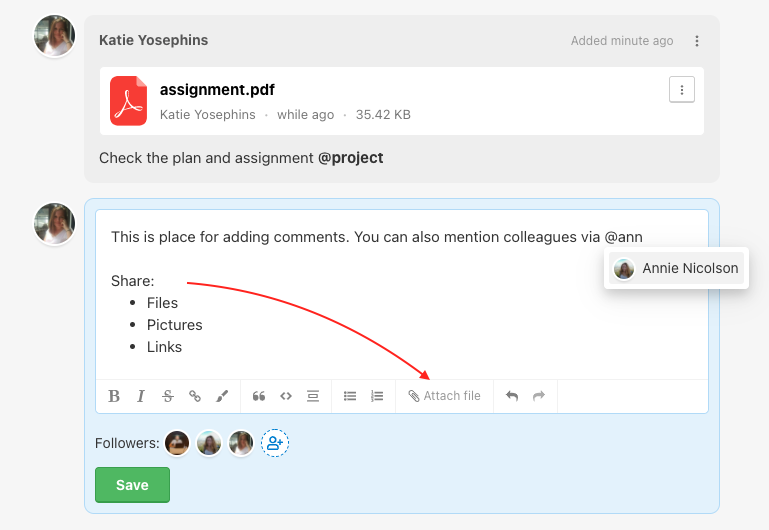
Discussion and comments
Under the note is the place for comments and discussion which works just as in tasks. You can notify other users via @mention, attach files and format the text.
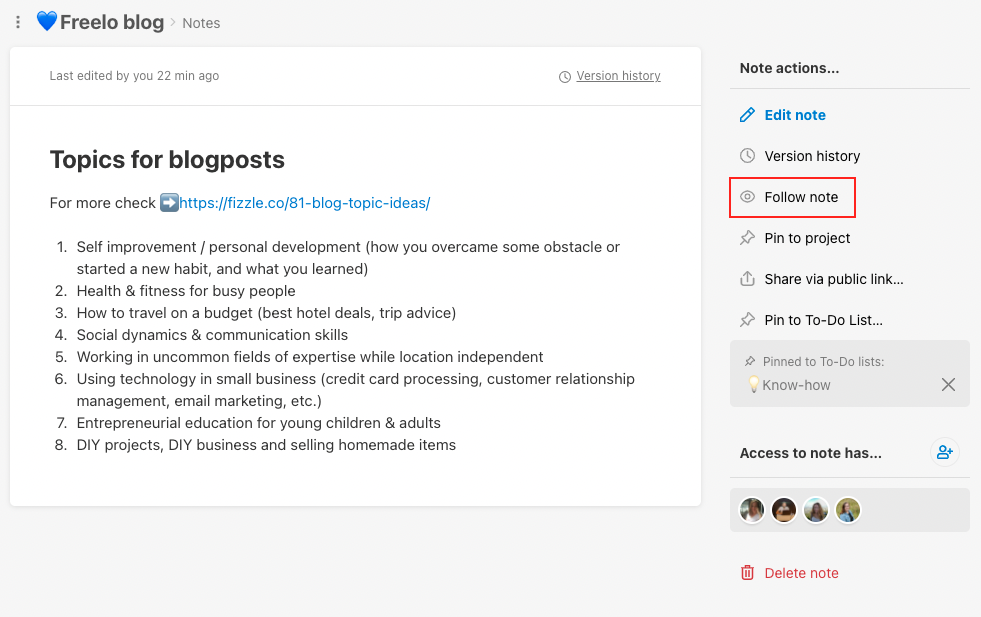
Follow the note
You can follow the note permanently as well as a task. Thanks to that, you won’t miss any new comments or updates. In the right menu click on Follow note.
 Delete the note at the end.