If you want to add extra information to your tasks compared to the preset categories, you can use the custom fields feature. You can insert text or a number into these fields.
How to set up a custom field
To add custom fields to tasks, you need to set them up in a project. On the project detail page, click the settings icon. From the menu which opens, select + Custom fields.
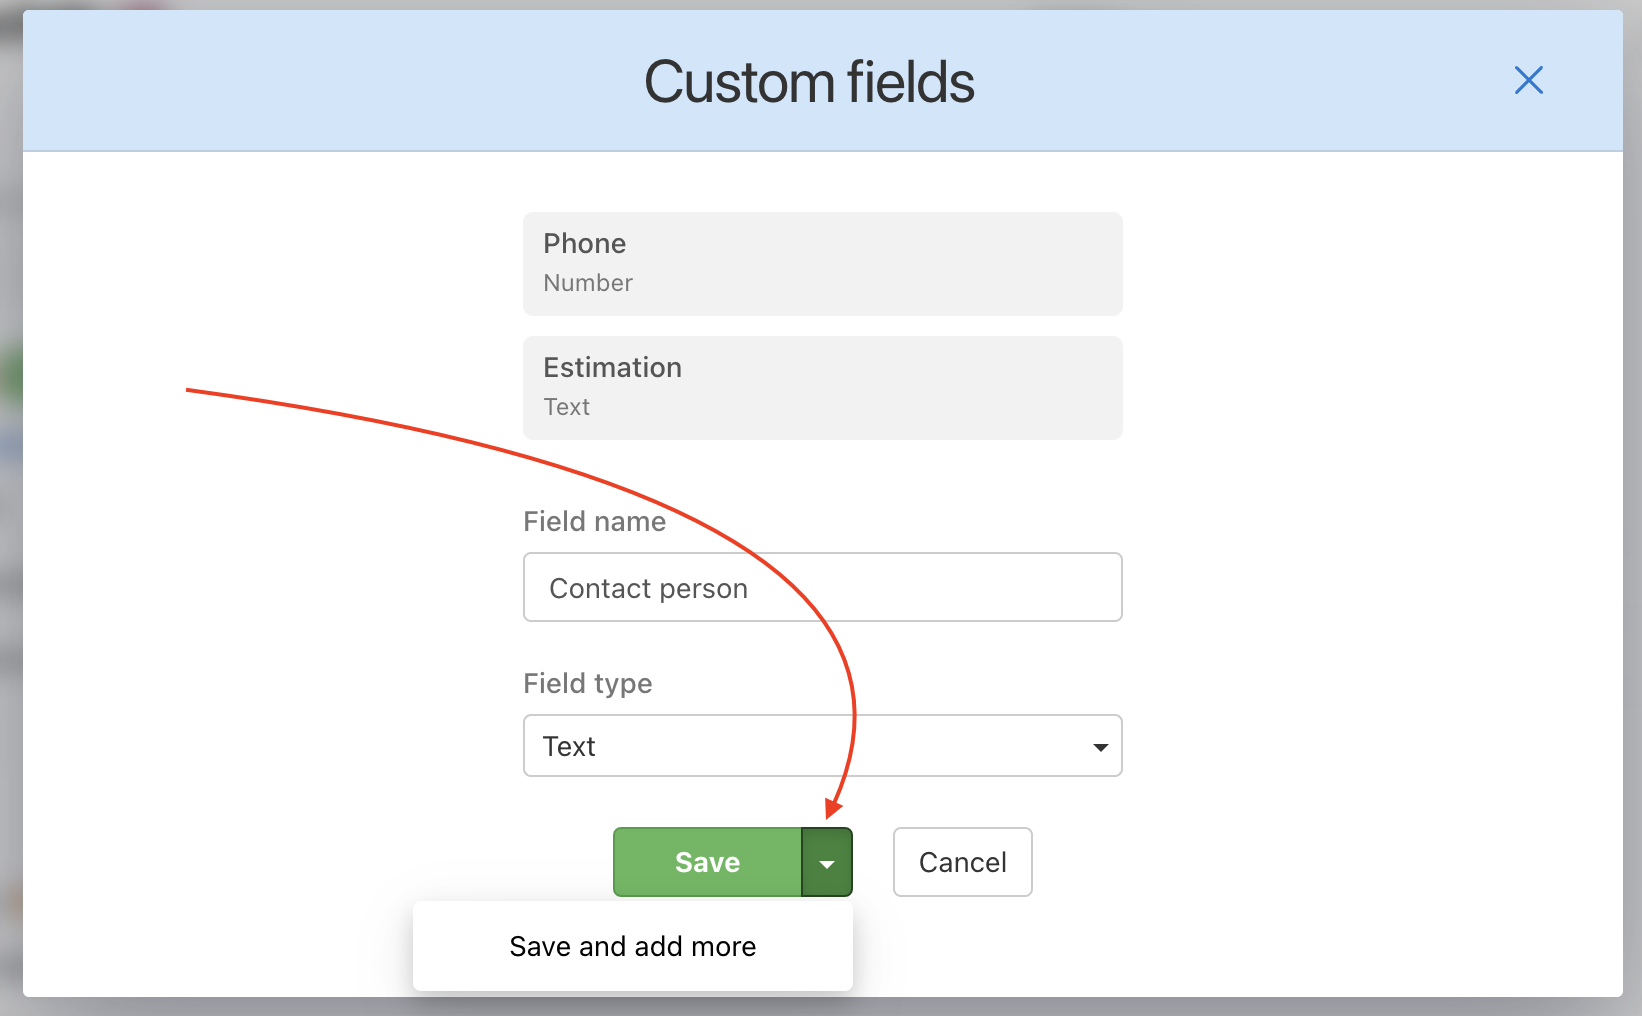
In the modal window that pops up, simply name your new custom field and select whether you will later want to enter text, numbers or any other format.
Different custom field formats
When initially setting up a custom field, there are certain formats you can choose from. This determines which further steps you’ll take when further working with the custom field on the task detail page (whether you and other users will type in text, add a date, pick from a set of options, etc.)
Format options of custom fields are as follows:
- Text
- Number
- Date
- Date and time
- Yes/No
- Link
- Dropdown
Further work with the custom fields
You can add more custom fields in the project settings. Just click the + Add a new custom field button or select Save and add more when saving.
You can also arrange the custom fields as you like. Just grab them via drag&drop and move them as you wish. You can also delete the custom field by clicking on the bin icon.
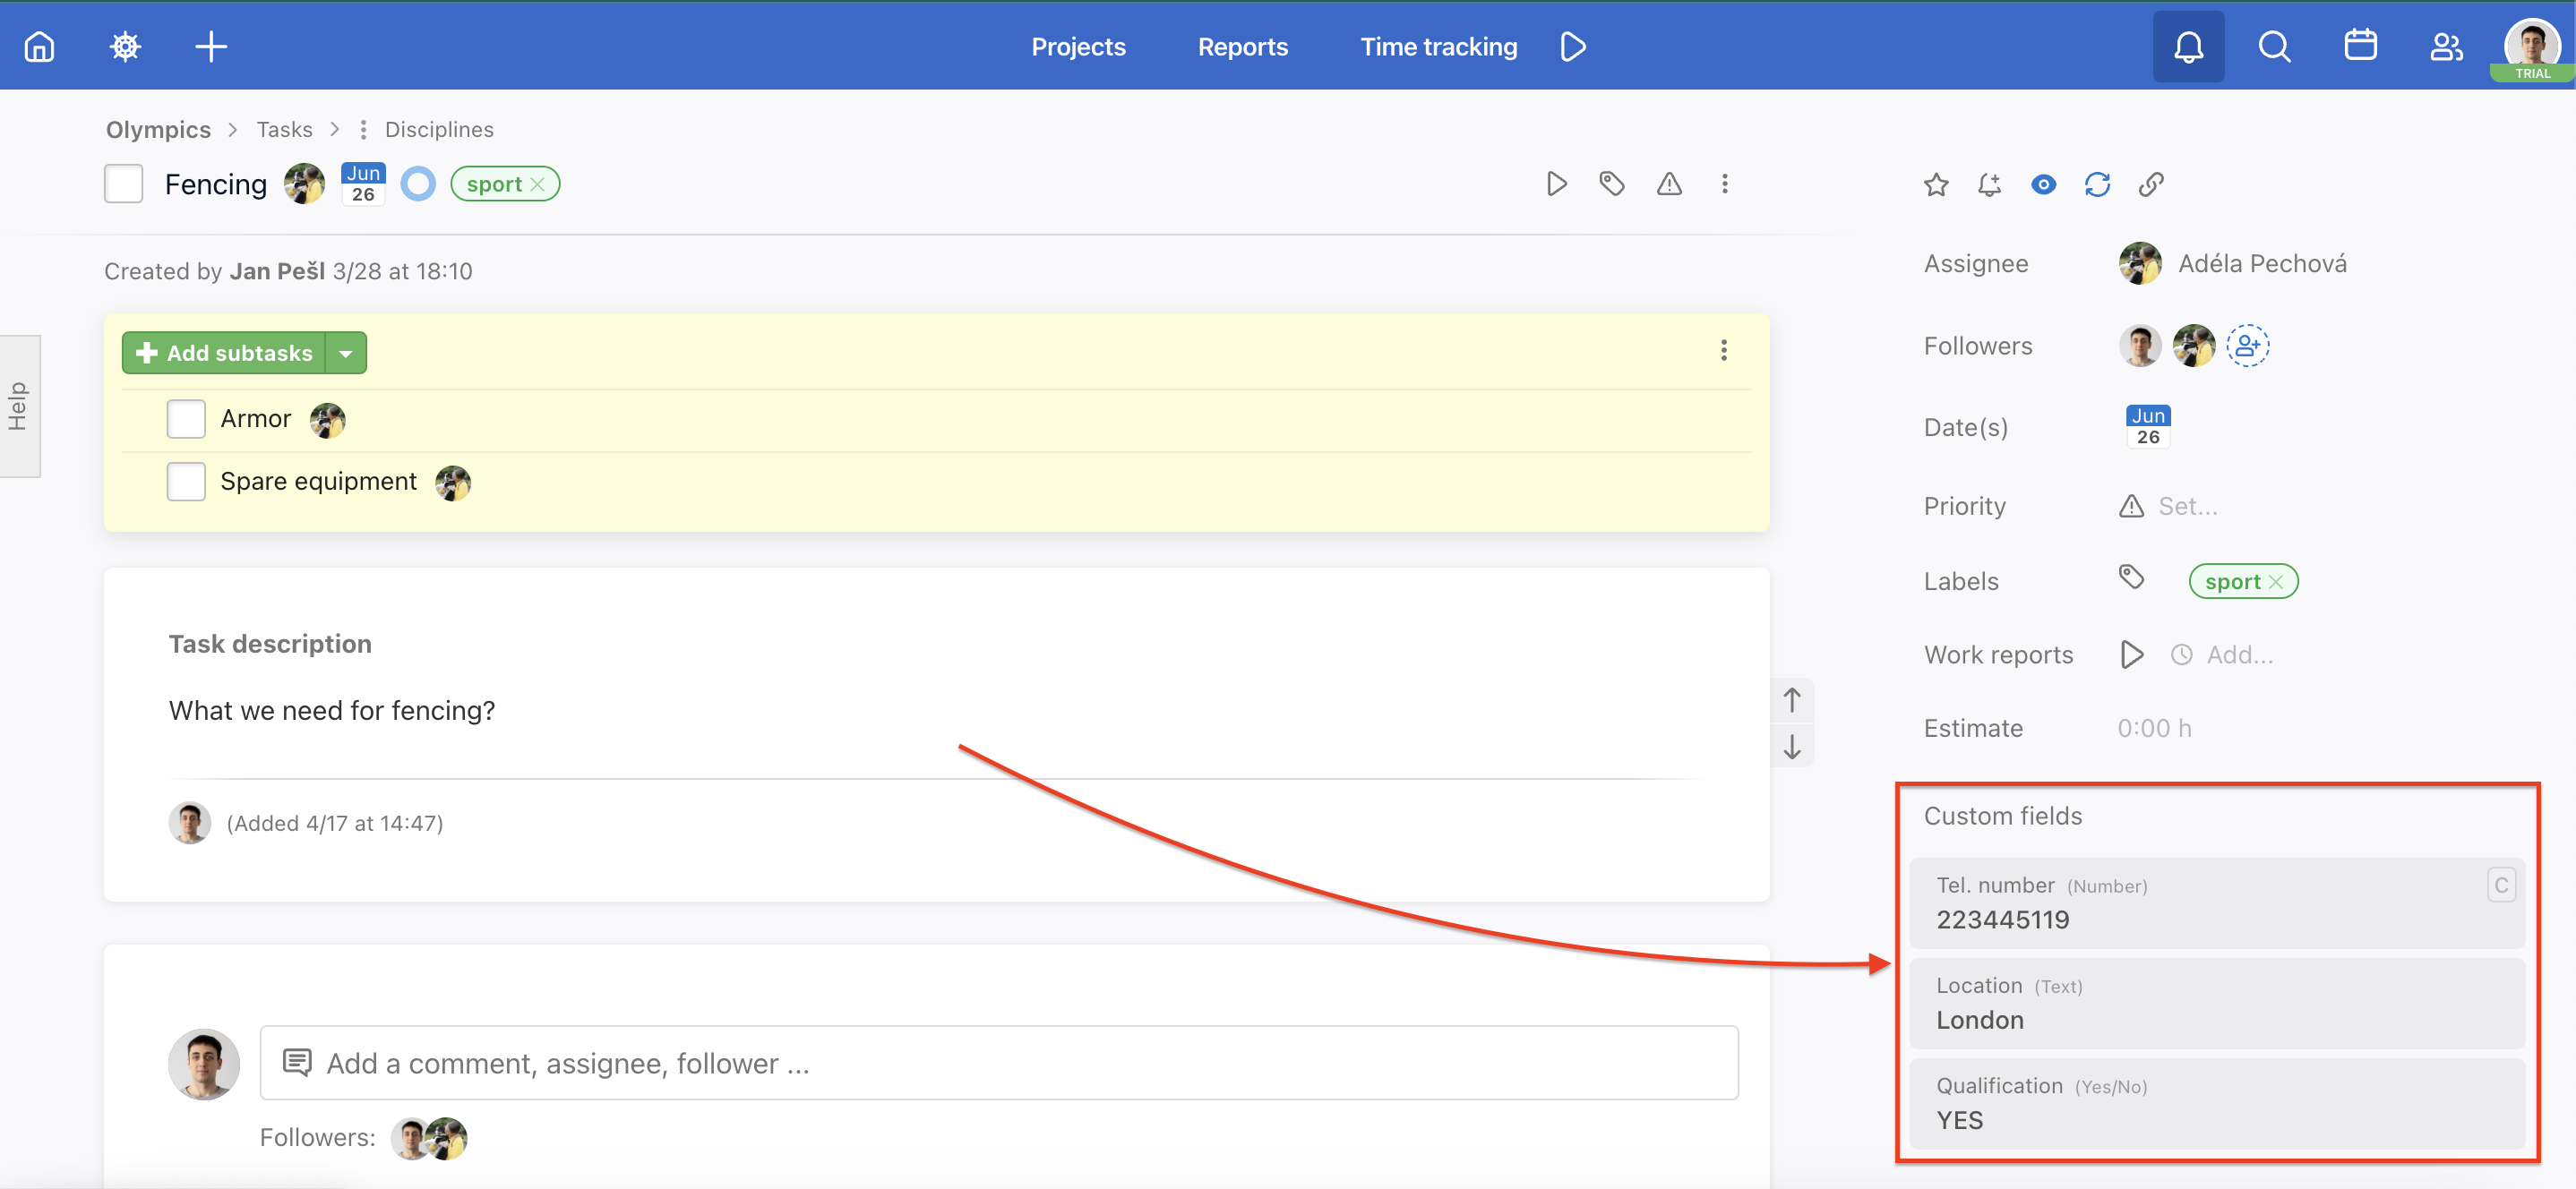
Custom fields on the task detail
In the project where you have set the custom fields, you can find them in the detail of each task. You can fill in the custom fields as needed so that important information doesn’t get lost in the comments.
Custom fields on the Dashboard
You can also filter by custom fields on the Dashboard. You can find the filter for custom fields at the bottom of the filter table.
You can filter by specific custom fields and their contents.
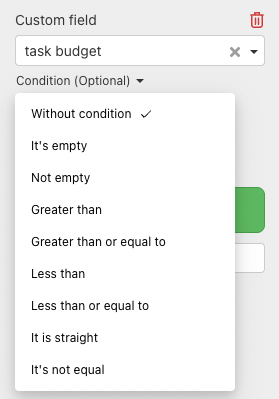
Select a specific custom field that is set in your projects and choose via the condition settings whether you want to see all tasks where it appears or only those where it is filled in or has specific content.
Custom fields in the Template
Custom fields are carried over from the original project when creating a template. The template retains their names, types, and any predefined options (e.g. in drop-down fields).
When a new project is created from the template, these custom fields are recreated and available on tasks just as in the template. This helps maintain a consistent data structure across projects and saves time in recurring processes.