In Freelo, you can add labels to each project to help you quickly organize and categorize projects based on different types, stages, or team responsibilities. You can create public Project labels that all project members can see. There’s also the option to use private Project labels, which are only visible to you for personal organization.
Differences Between Public and Private Project labels
Each label you add to a project can either be Public or Private. These two types differ mainly in who can see them and who can edit them.
-
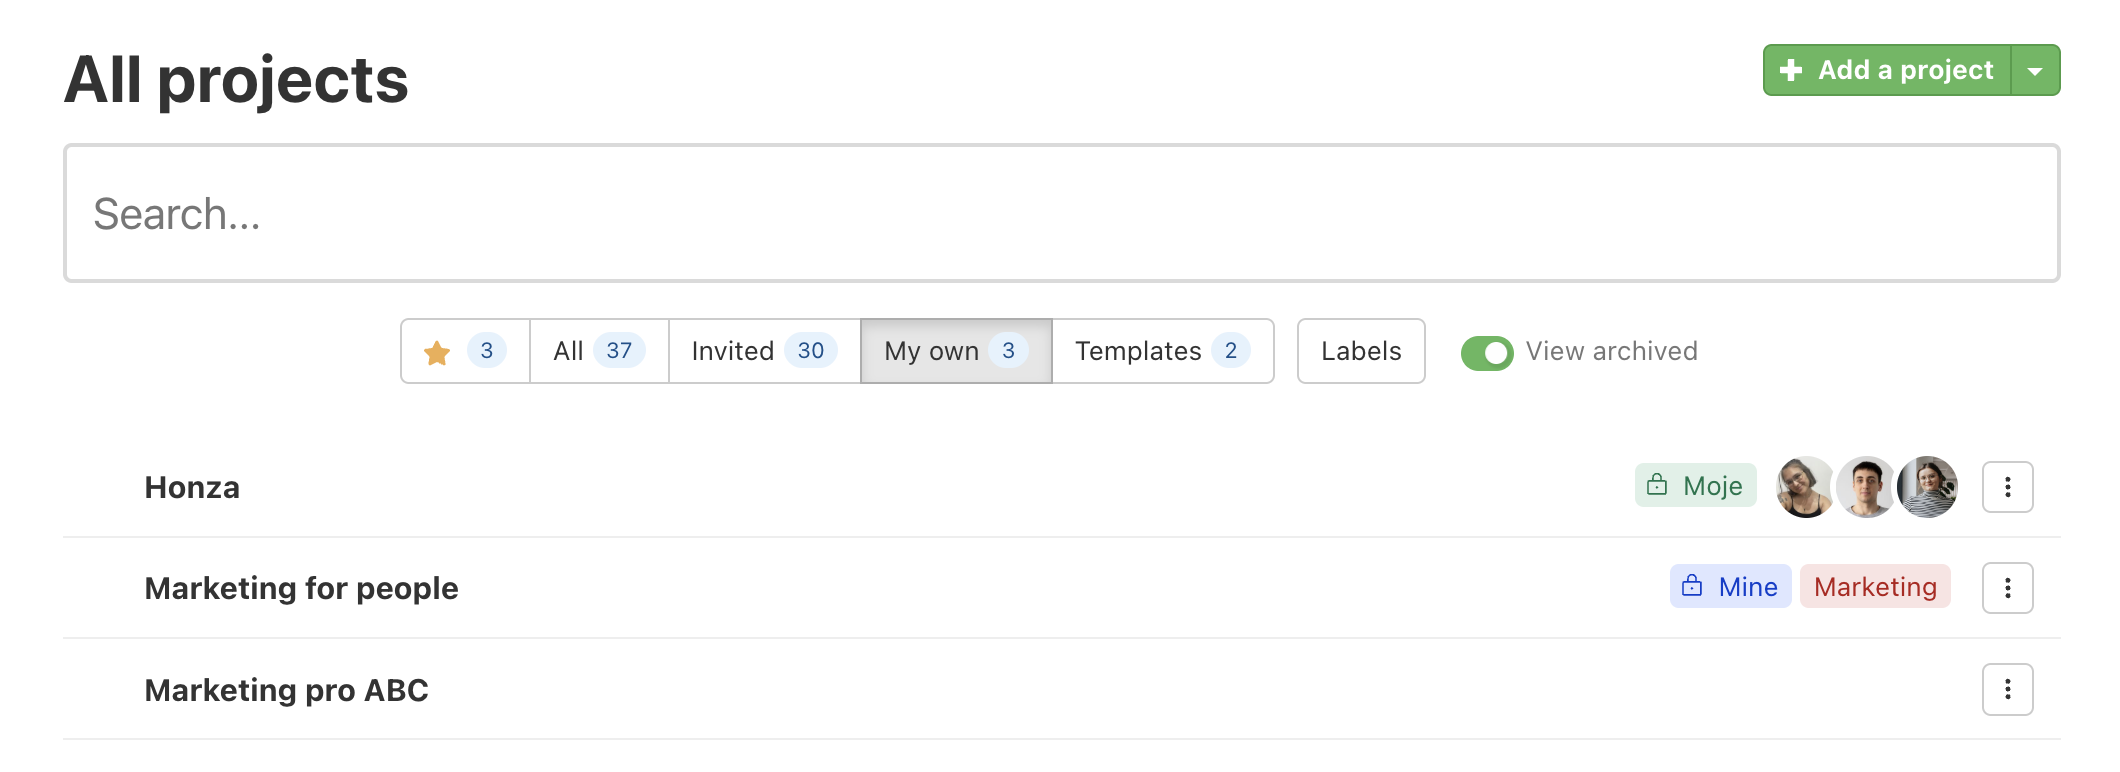
Public labels are visible to all members of the given project. These labels can only be created or edited by the Project Captain, Company Captain, or Project Manager. Invited users can only see them.
-
Private labels are visible only to you. Each user can have their own private labels, and no one else will see them. The label is also marked with a lock icon.
Creating a New Project Label
You can create a new project label either in the All Projects section or directly from a specific project’s details.
Creating a label from the “All projects” page
You can add a new label directly from the overview of All projects. Click the three-dot menu for a specific project and select Edit (Name, labels). In the open window, click the field for labels and enter the name of the new one. Then choose the color and type – whether the label should be Public or Private.
Creating a Label from the Project detail page
You can also create a new label directly in the project detail. Next to the project name, you’ll find the label icon. Click it, and a menu will open where you can search for existing labels or create a new one. Like in the overview, you’ll enter the name, choose the color, and decide whether the label should be Public or Private.
Working with Project labels
Editing a Project Label
If you want to change the name or color of an existing label, click the three-dot menu next to the project, select Edit Label, and then you can modify the name and color.
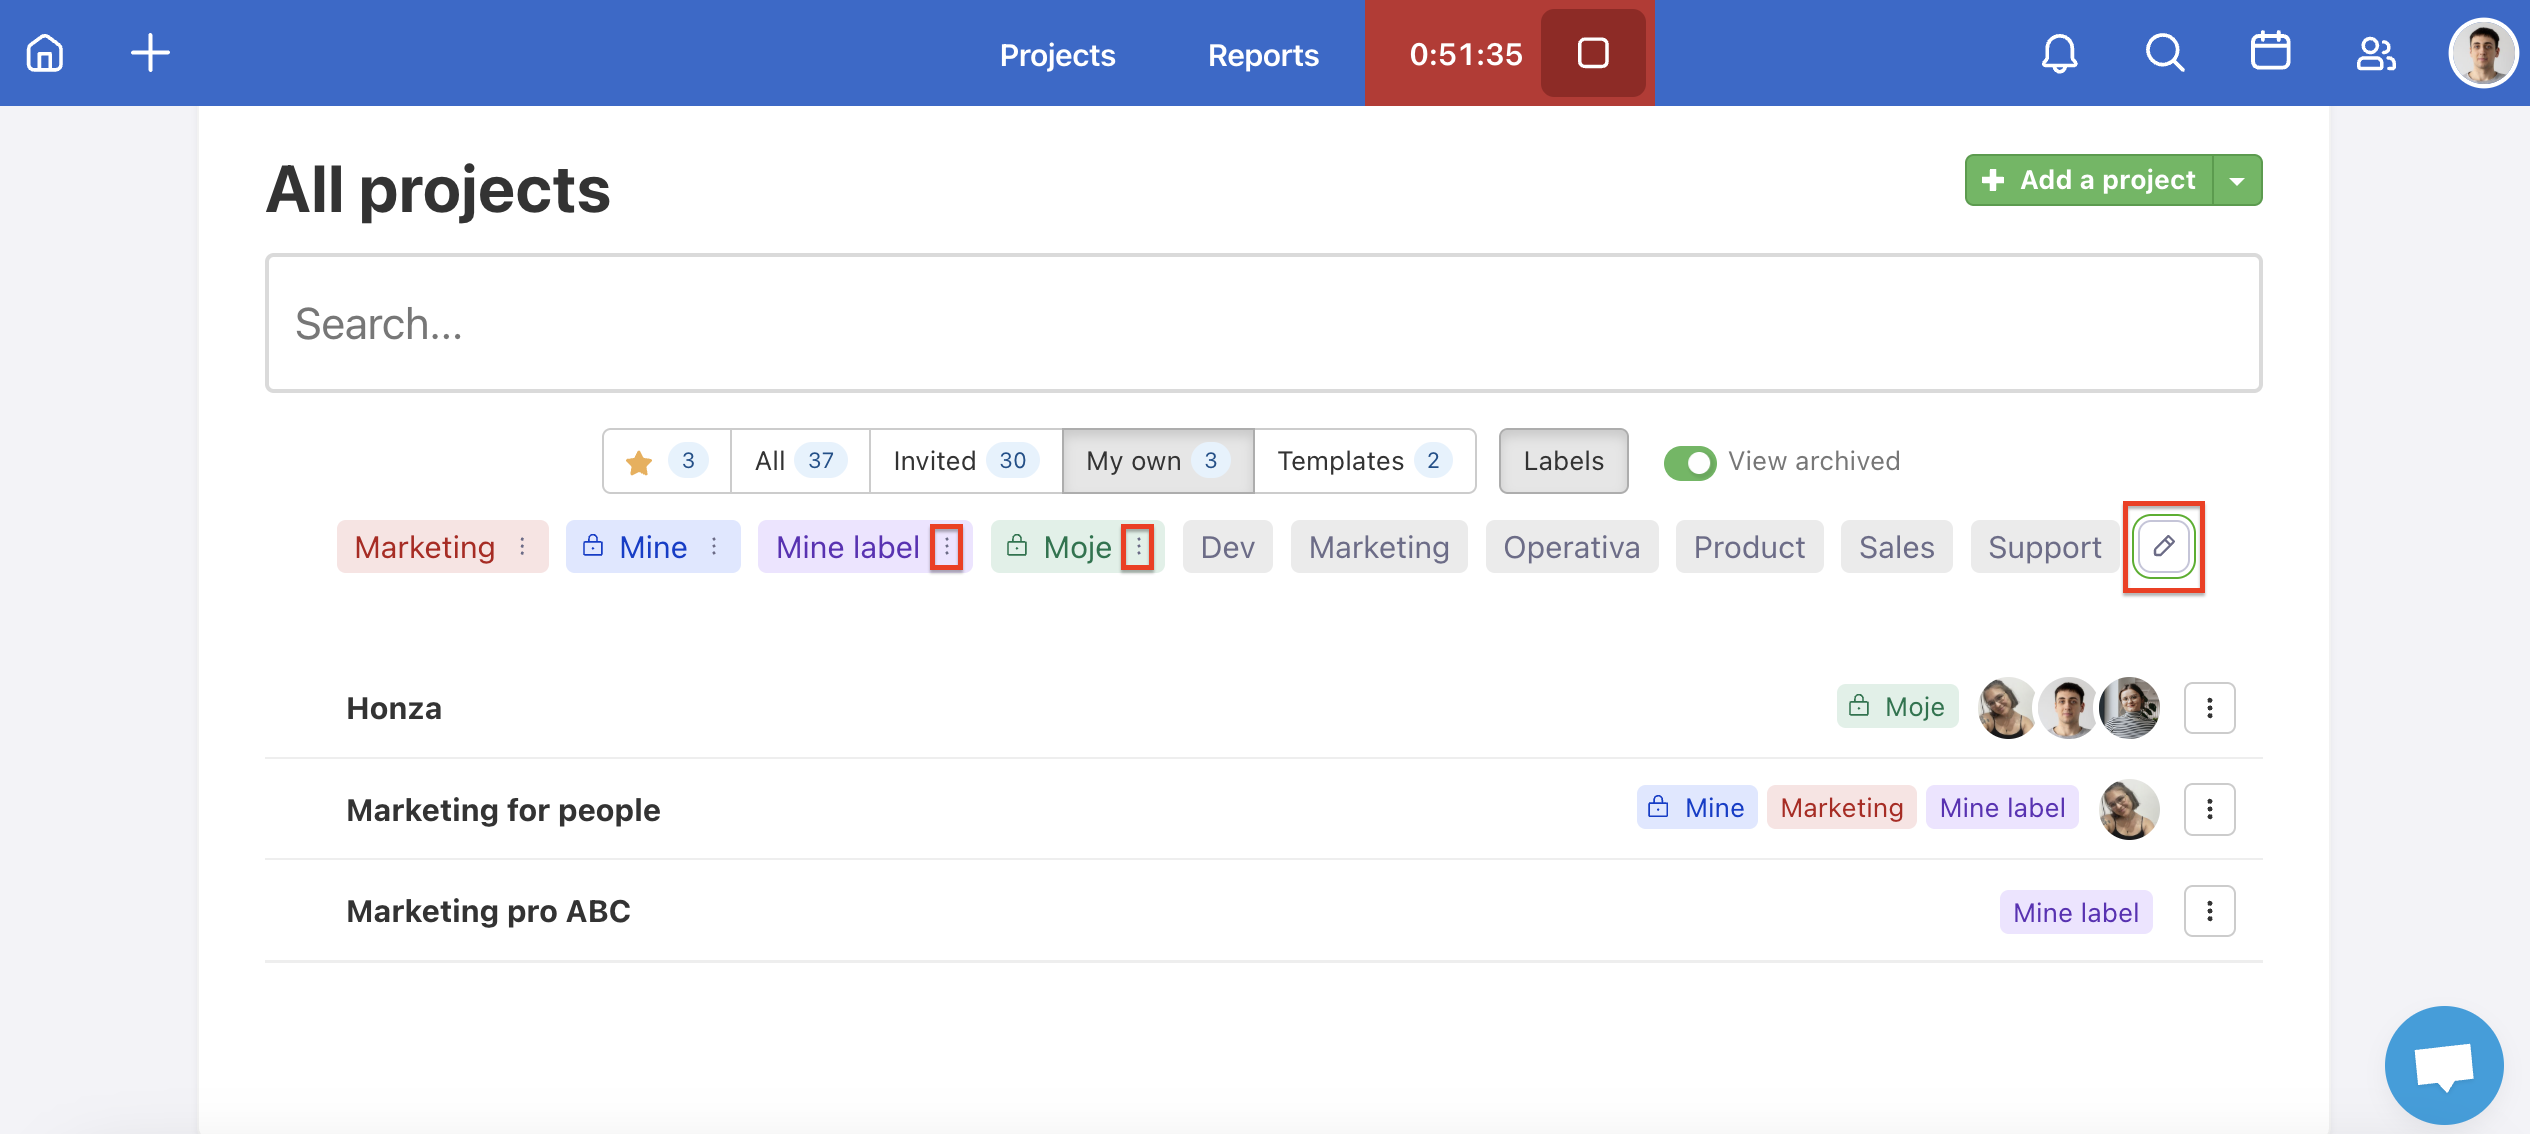
You can also edit labels directly in the Labels section on the “All projects” page by clicking the pencil icon.
Removing a Project Label
To remove a label from a specific project, click the three-dot menu next to the label and select Remove from Project.
Deleting a Project Label
If you want to delete a project label, click the three-dot menu next to the project, then click the three-dot menu for the specific label and select Delete Label.
Viewing Project labels
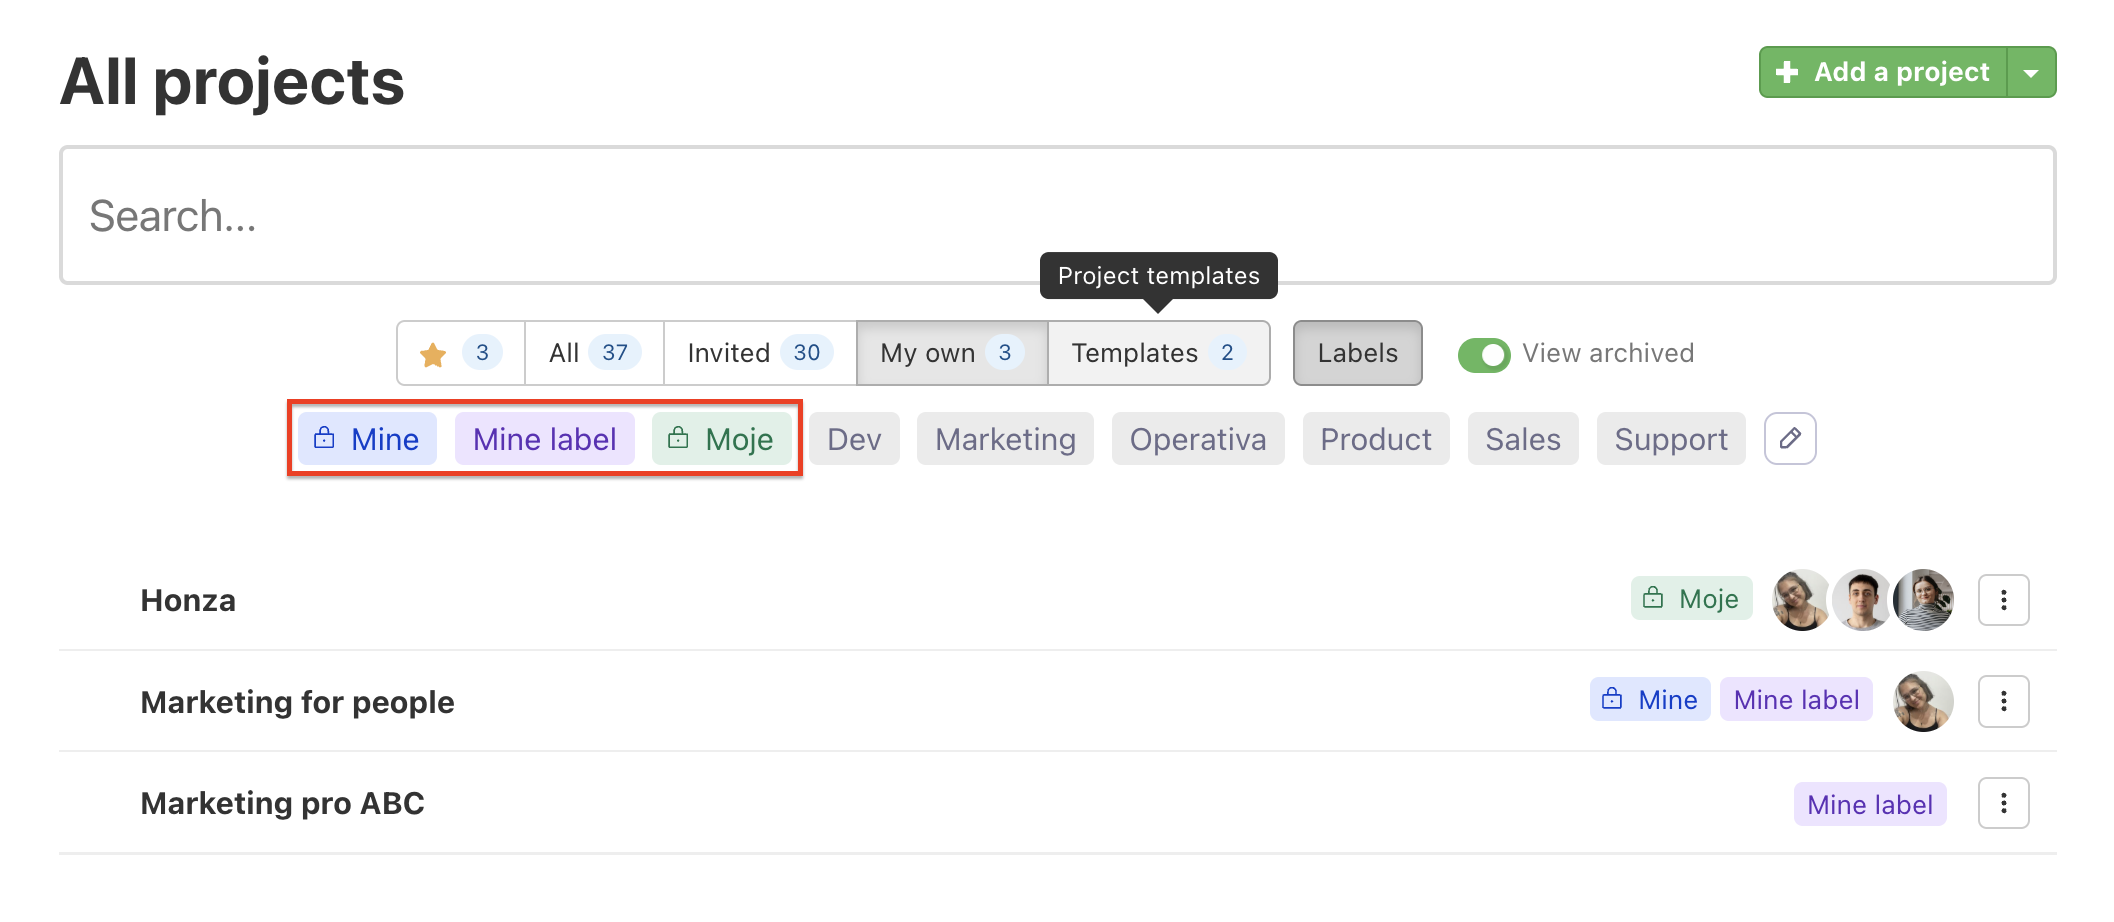
Project labels are displayed in the overview of All projects, in the details of a specific project, and in the top project menu.
Viewing labels in the “All projects” Overview
To view project labels in the overview of all projects, click Projects in the top blue bar and go to the All projects section.
Viewing labels on the Project detail page
To view project labels in the project details, go to a specific project and then click on the house icon for the details. Here, labels are found in the About the project section.

Viewing labels on the Project menu
To view labels in the project menu, click Projects in the blue bar. Here, you’ll see project labels, and if you want to filter using labels, switch to the labels section.
Filtering with Project labels
Project labels allow you to filter and quickly find what you need. You can filter by labels in several places within the app:
-
All projects – you can filter by labels, categories, and archived status. Bulk assignment also works here.
-
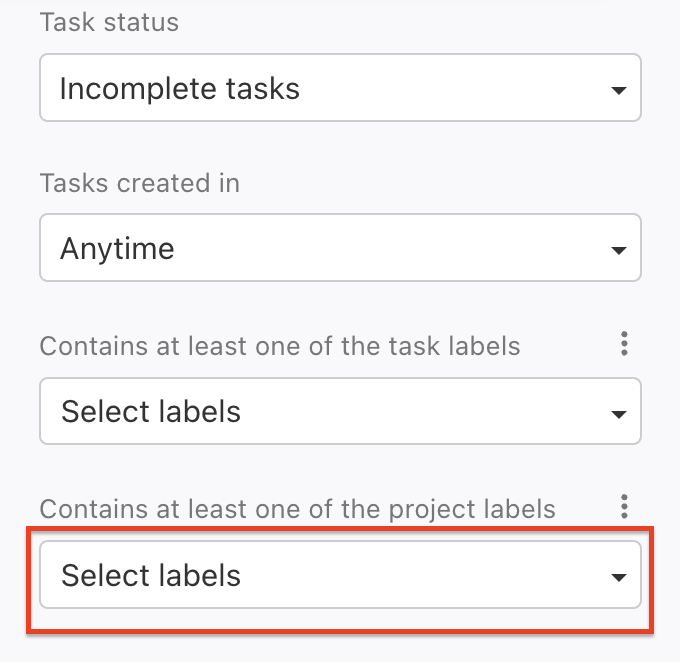
Dashboard – you can now filter not only by Task labels but also by Project labels.
-
Invoicing – you can limit records to projects with specific labels, which is useful for invoicing particular clients or project types.

-
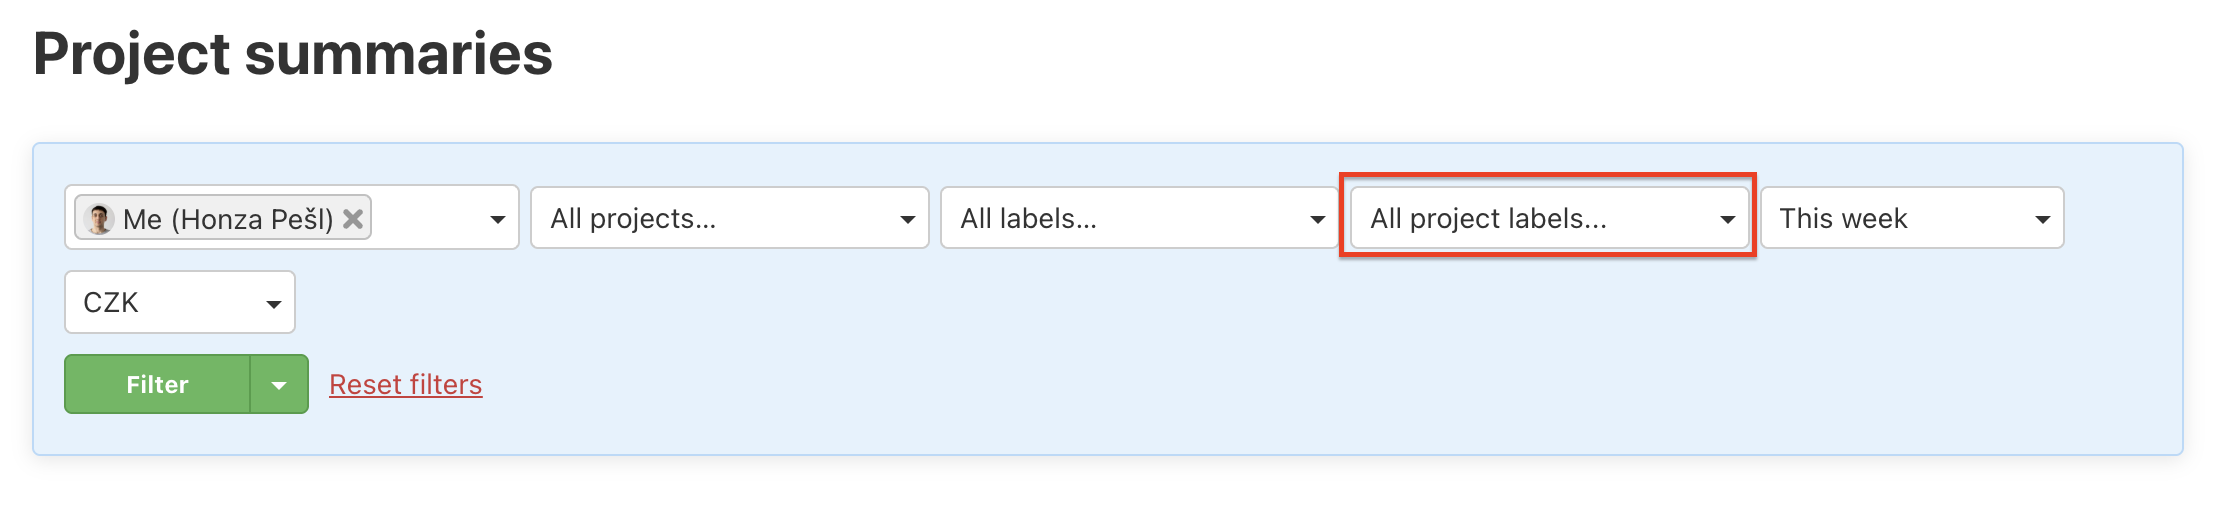
Summaries – here, you can restrict output to just projects with selected labels.
-
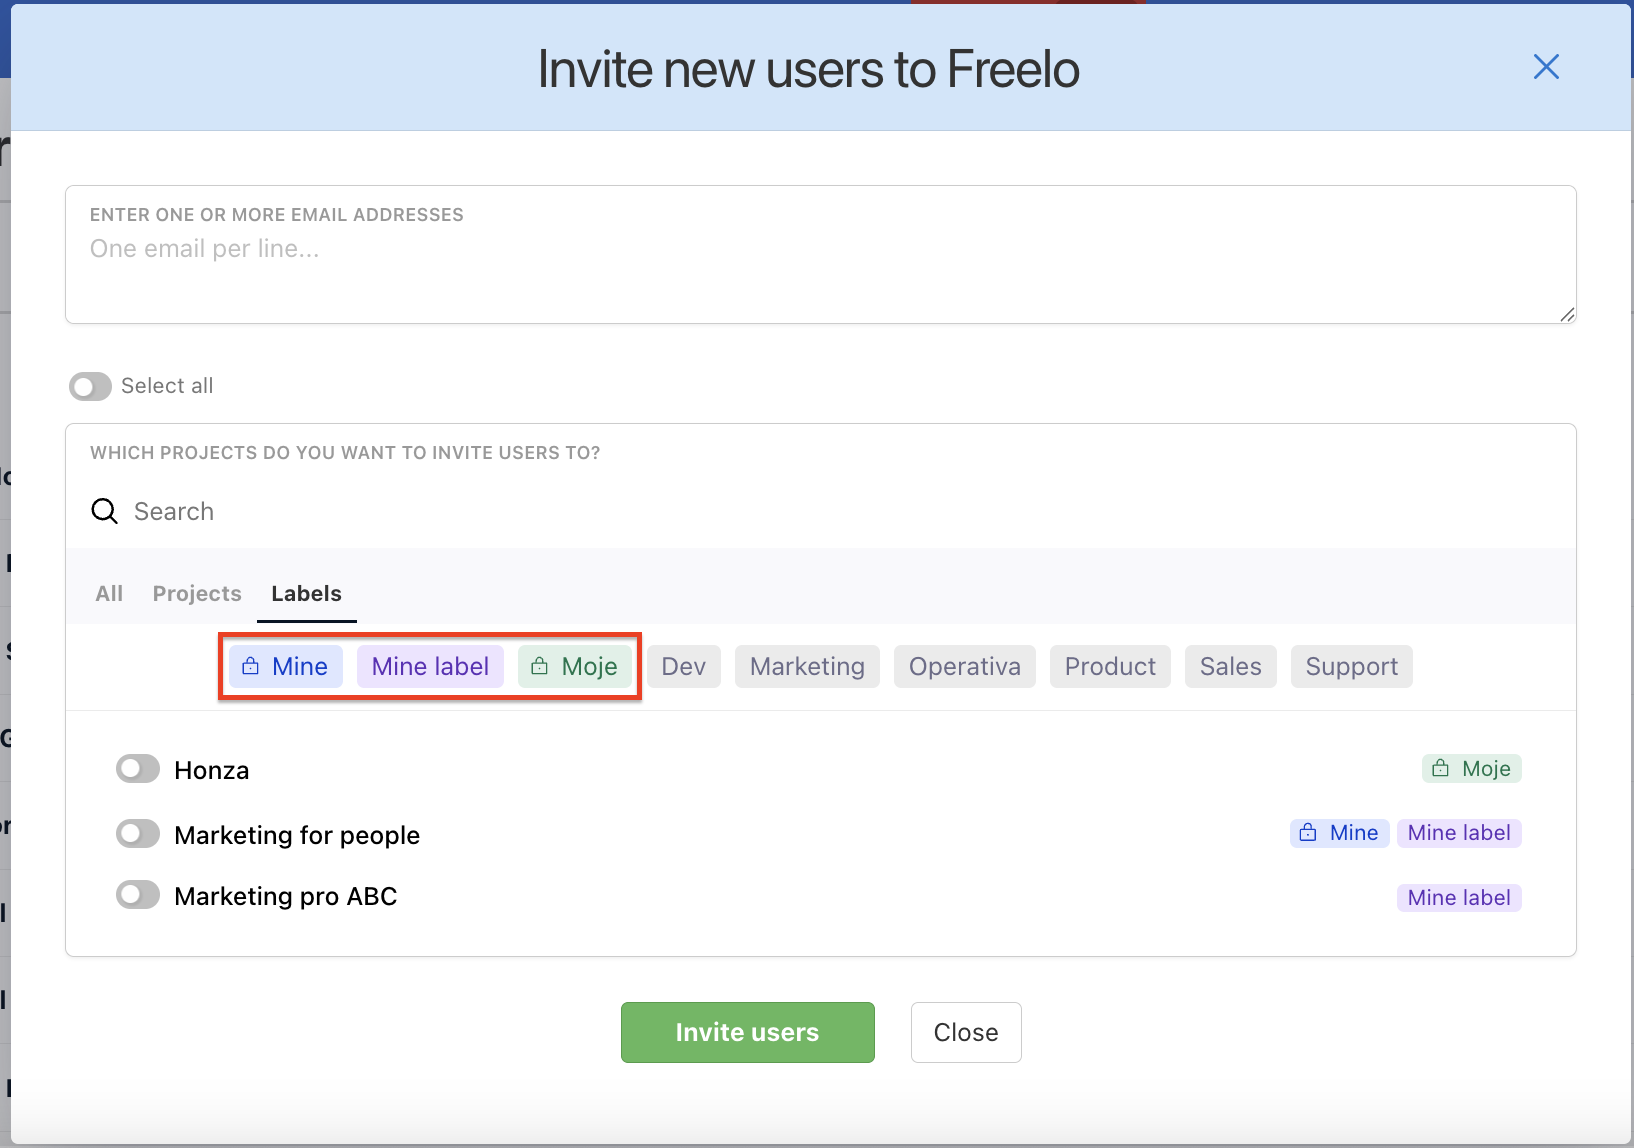
Inviting Users / Inviting Users in the Business Panel – when selecting projects, you can use filtering by labels.
Tips for Using Project labels
Recommendations for working with project labels:
-
Use standardized label names within the team – e.g., Design, Testing, Marketing.
-
Avoid creating duplicate labels – clarity is key.
-
Periodically clean up labels – remove unused or outdated ones.
-
Define team rules for public labels – who creates them, how they are used, what they mean.
-
Assign labels in bulk if you want to change multiple projects at once – ideally through the project listing.
Frequently Asked Questions (FAQ)
Who can create public labels?
👉 Only the Company Captain, Project Captain, or Project Manager.
Can I change a public label to a private one, or vice versa?
❌ No. The label type (Public/Private) cannot be changed once it’s created.
Can I filter by multiple labels at once?
✅ Yes, filtering supports combinations of multiple labels and other parameters.
Is there a limit to the number of labels?
📌 Technically no, but we recommend having a maximum of 5–10 labels per project for clarity.
How do Project labels improve teamwork?
🧭 Better orientation – easily recognize the type of project.
🔍 Faster project search – filtering and labels save you time.
📁 Better organization – labels can be used across the entire team.