We are aware that your projects may contain highly sensitive data, and we don’t want to leave anything to chance. That’s why Freelo supports two-factor authentication (2FA) for securely signing in to your account.
How Set up Two-Factor Authentication
Go to Settings via your avatar in the top-right corner

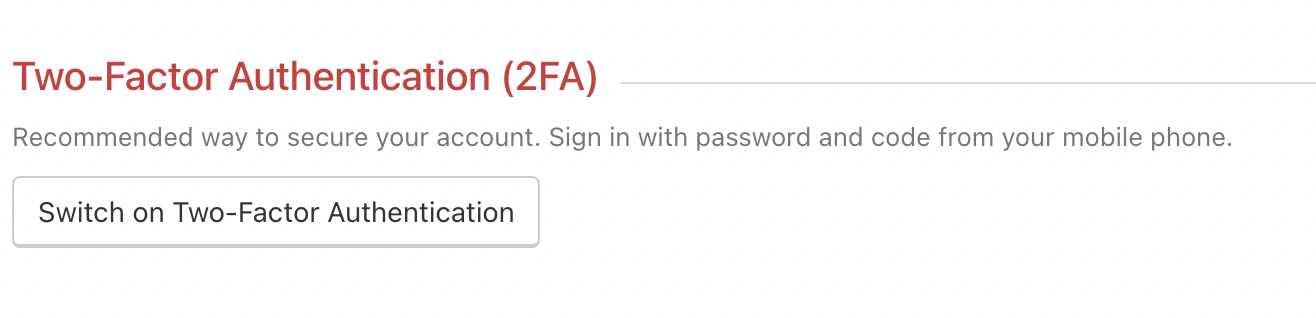
Open the Security and Login and scroll down to Two-Factor Authentication (2FA). Click on Enable Two-Factor Authentication.
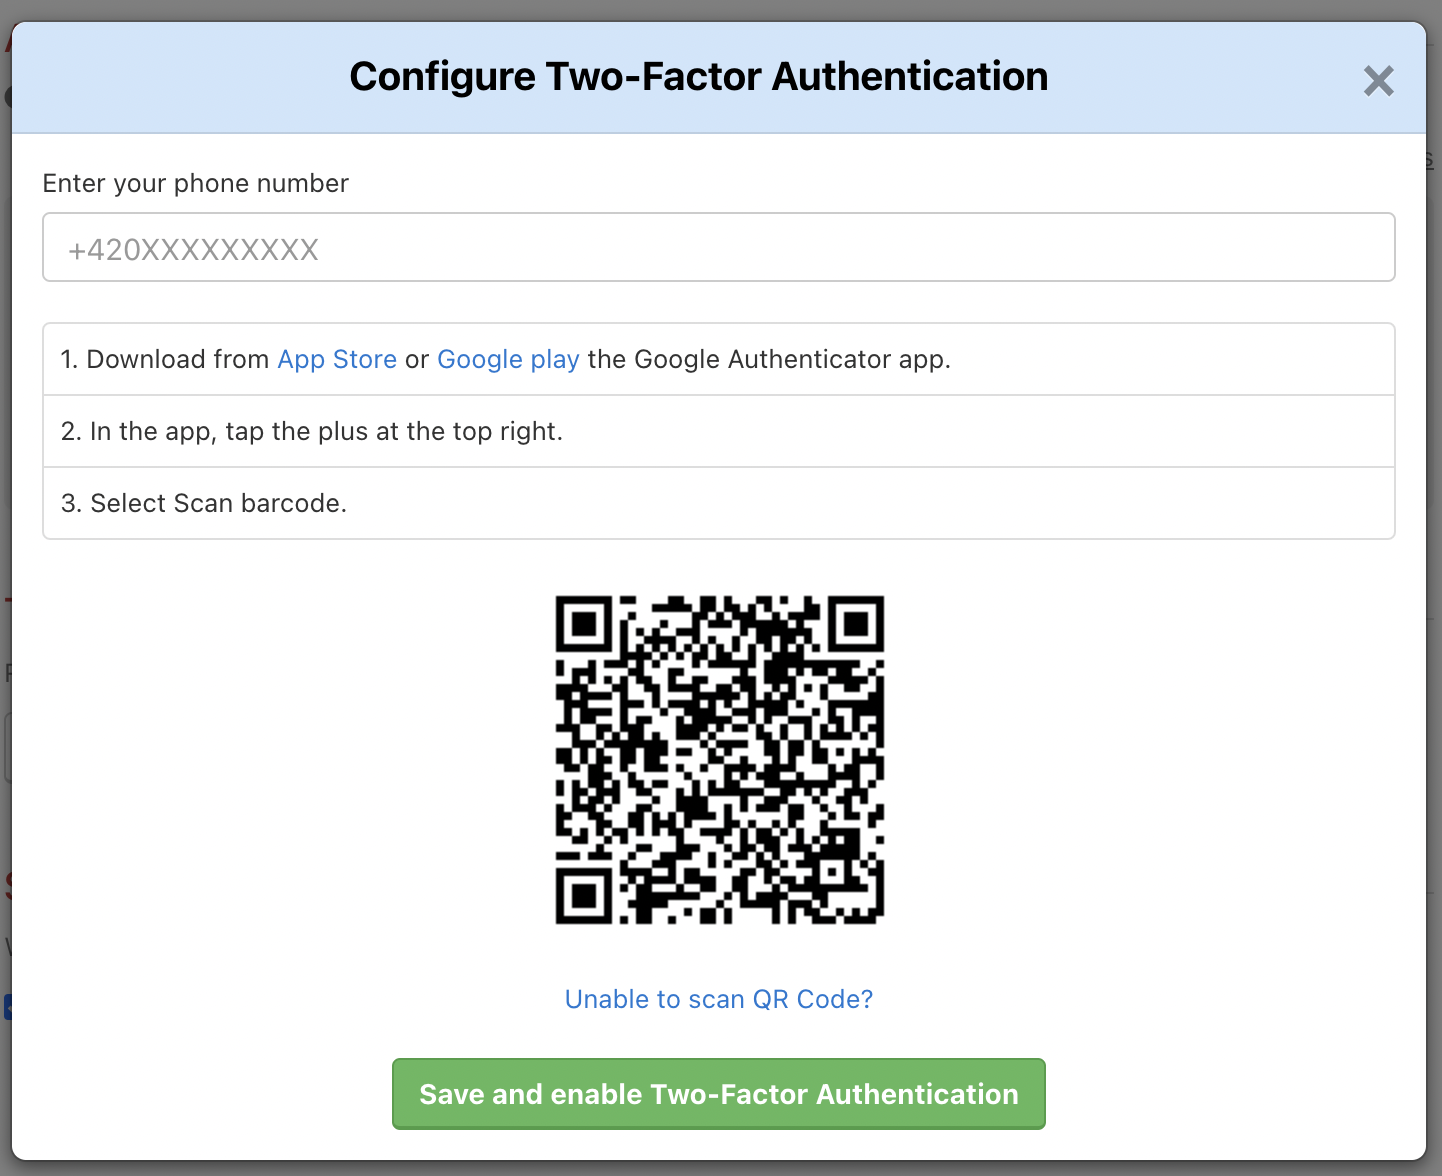
Enter your phone number and download the Google Authenticator app for iOS or Android. Then scan QR code displayed in Freelo.
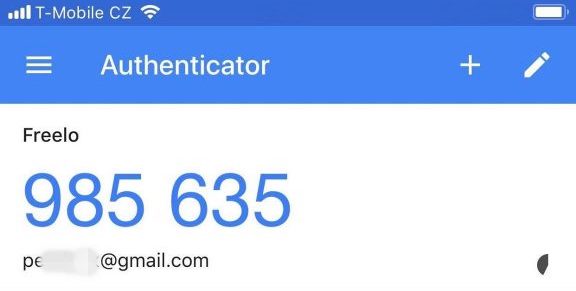
After scanning, the app will generate a six-digit code that changes every thirty seconds for security reasons.
You will be asked to enter this code immediately after signing in to Freelo (after your email and password).
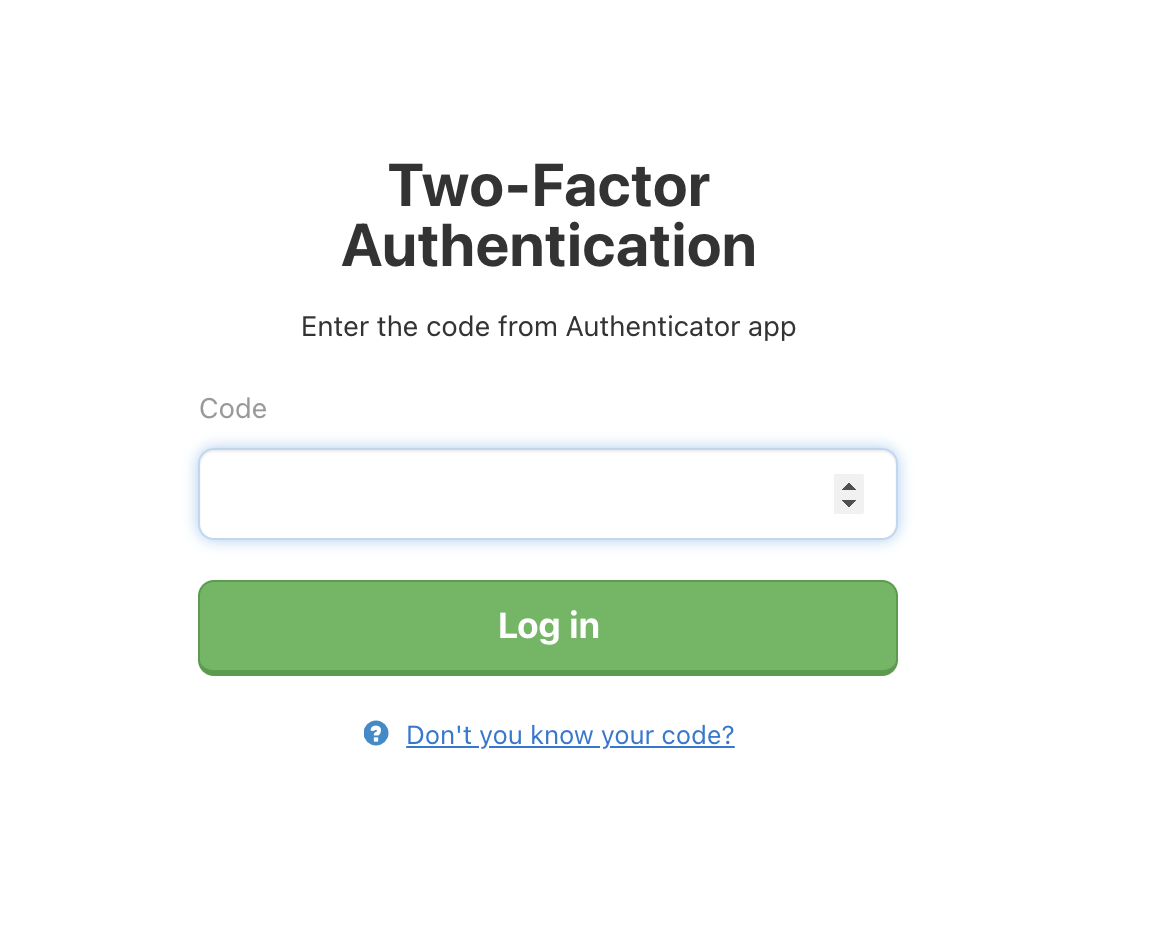
Use the two-factor authentication without the Google Authenticator app. After you sign up to Freelo click on Do not you know your code? and then Send SMS with code.

How to Disable Two-Factor Authentication
Only the captain or company captain can disable two-factor authentication.
If you changed your phone and used Google Authenticator, you usually don’t need to do anything. If cloud sync is enabled, your 2FA codes will transfer to your new device automatically. Other 2FA authenticators that support cloud synchronization work in a similar way.
If you still can’t log in to your account (e.g., you lost access to your 2FA codes), we recommend that the captain contact us at info@freelo.io.
Enforcing Two-Factor Authentication
As a captain, you can require users to enable two-factor authentication before they can access your projects. This feature is available only on the Business plan. Take a look at how to turn on a 2FA for projects.