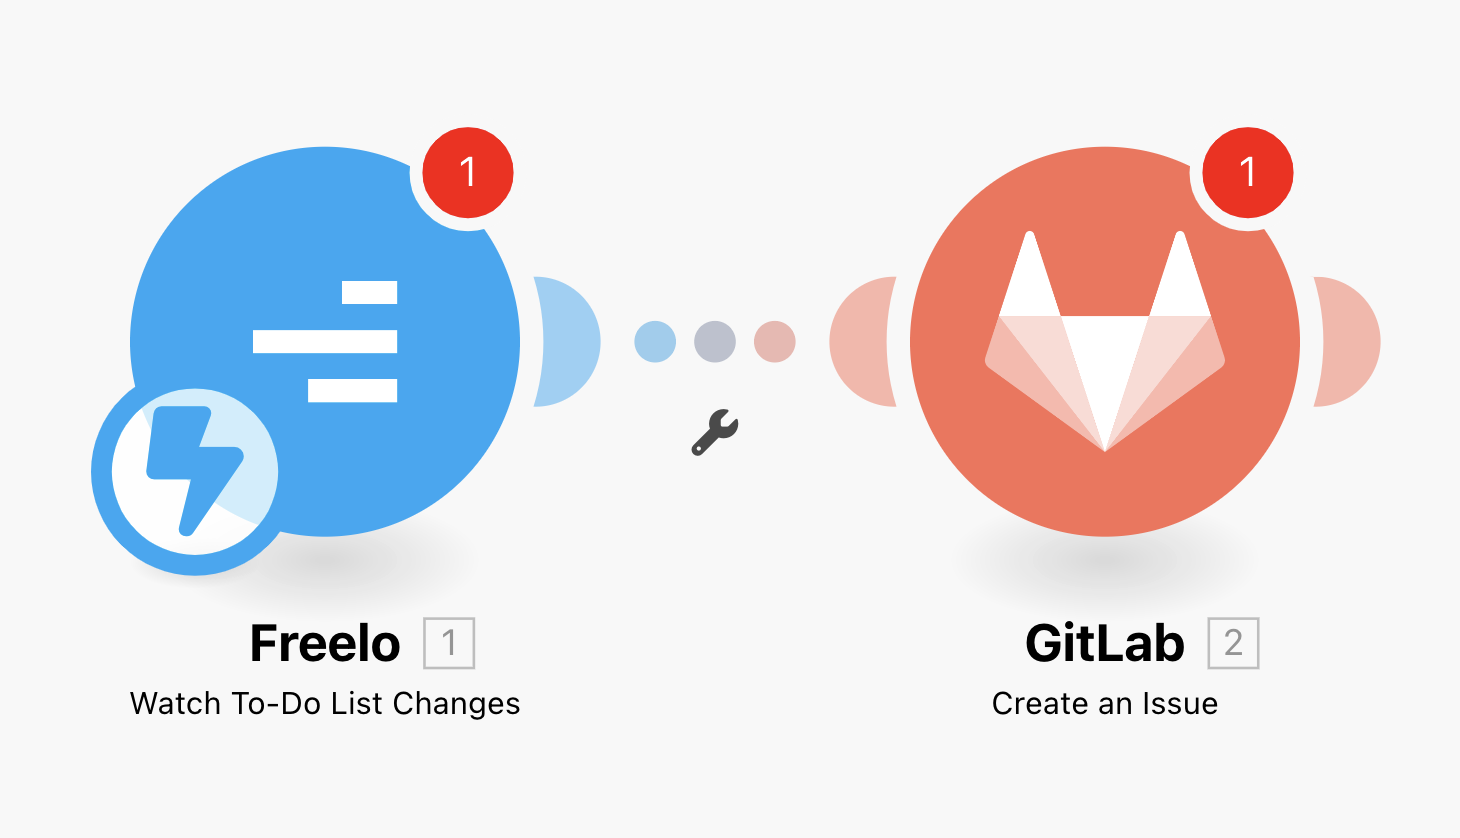
Make is a no-code automation platform. This integration enables you to connect Freelo to other applications via API, thanks to which you can create your own automated process. For example – you can set the time reported in Freelo to be added to your Excel sheet. Or to create a project after a contract is completed in your CRM. This and much more is now possible with Make. All you need to do is to set up a scenario correctly, which will do the required actions 24/7 without your intervention.
Creating a scenario
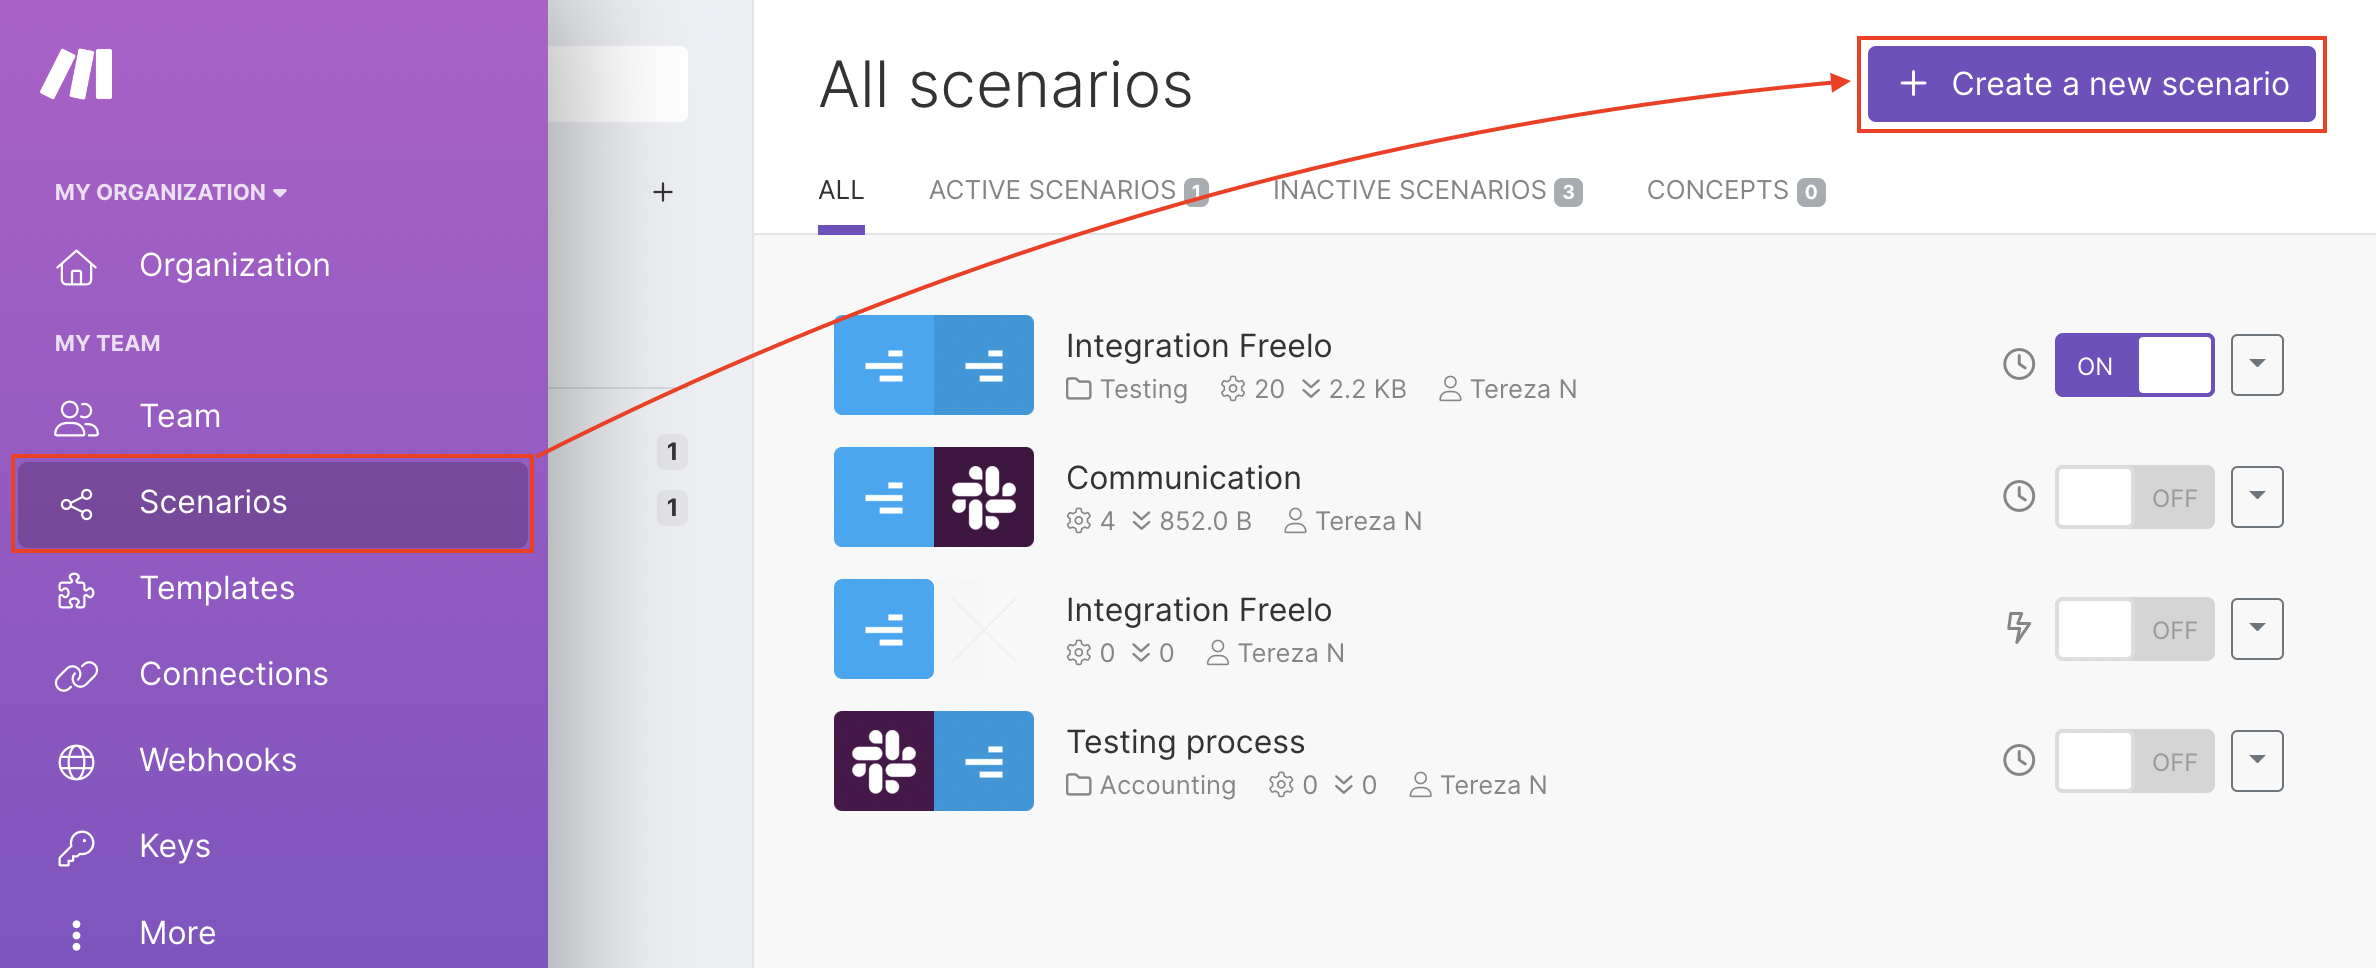
The connections that you create in Make are called scenarios. Once you’ve created an account in Make, you’re ready to start. Go to the Organization or Scenarios section and select Create a new scenario at the top right.
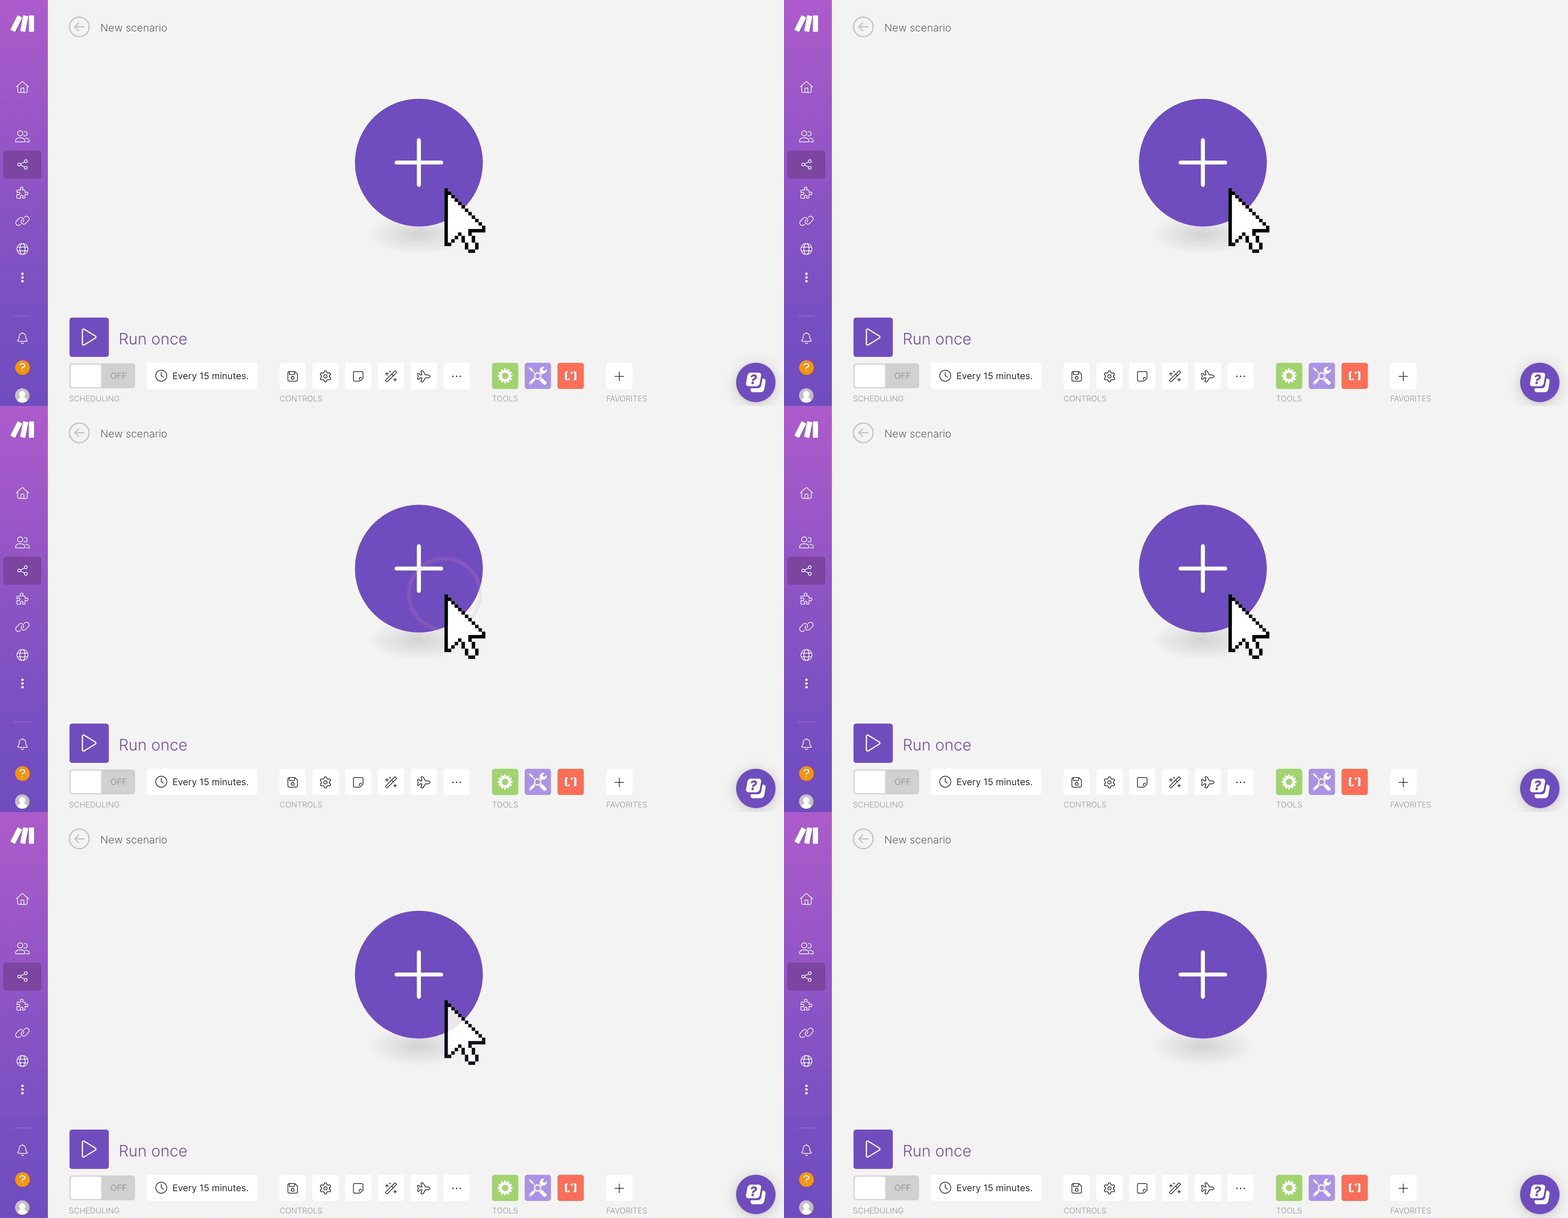
The page for the new scenario will open. Click the PLUS icon. A list of apps appears. In the search field, search for the first app you want to use. Select a module of the application. Each application offers many specific actions (modules).
Connection of Freelo account with Make
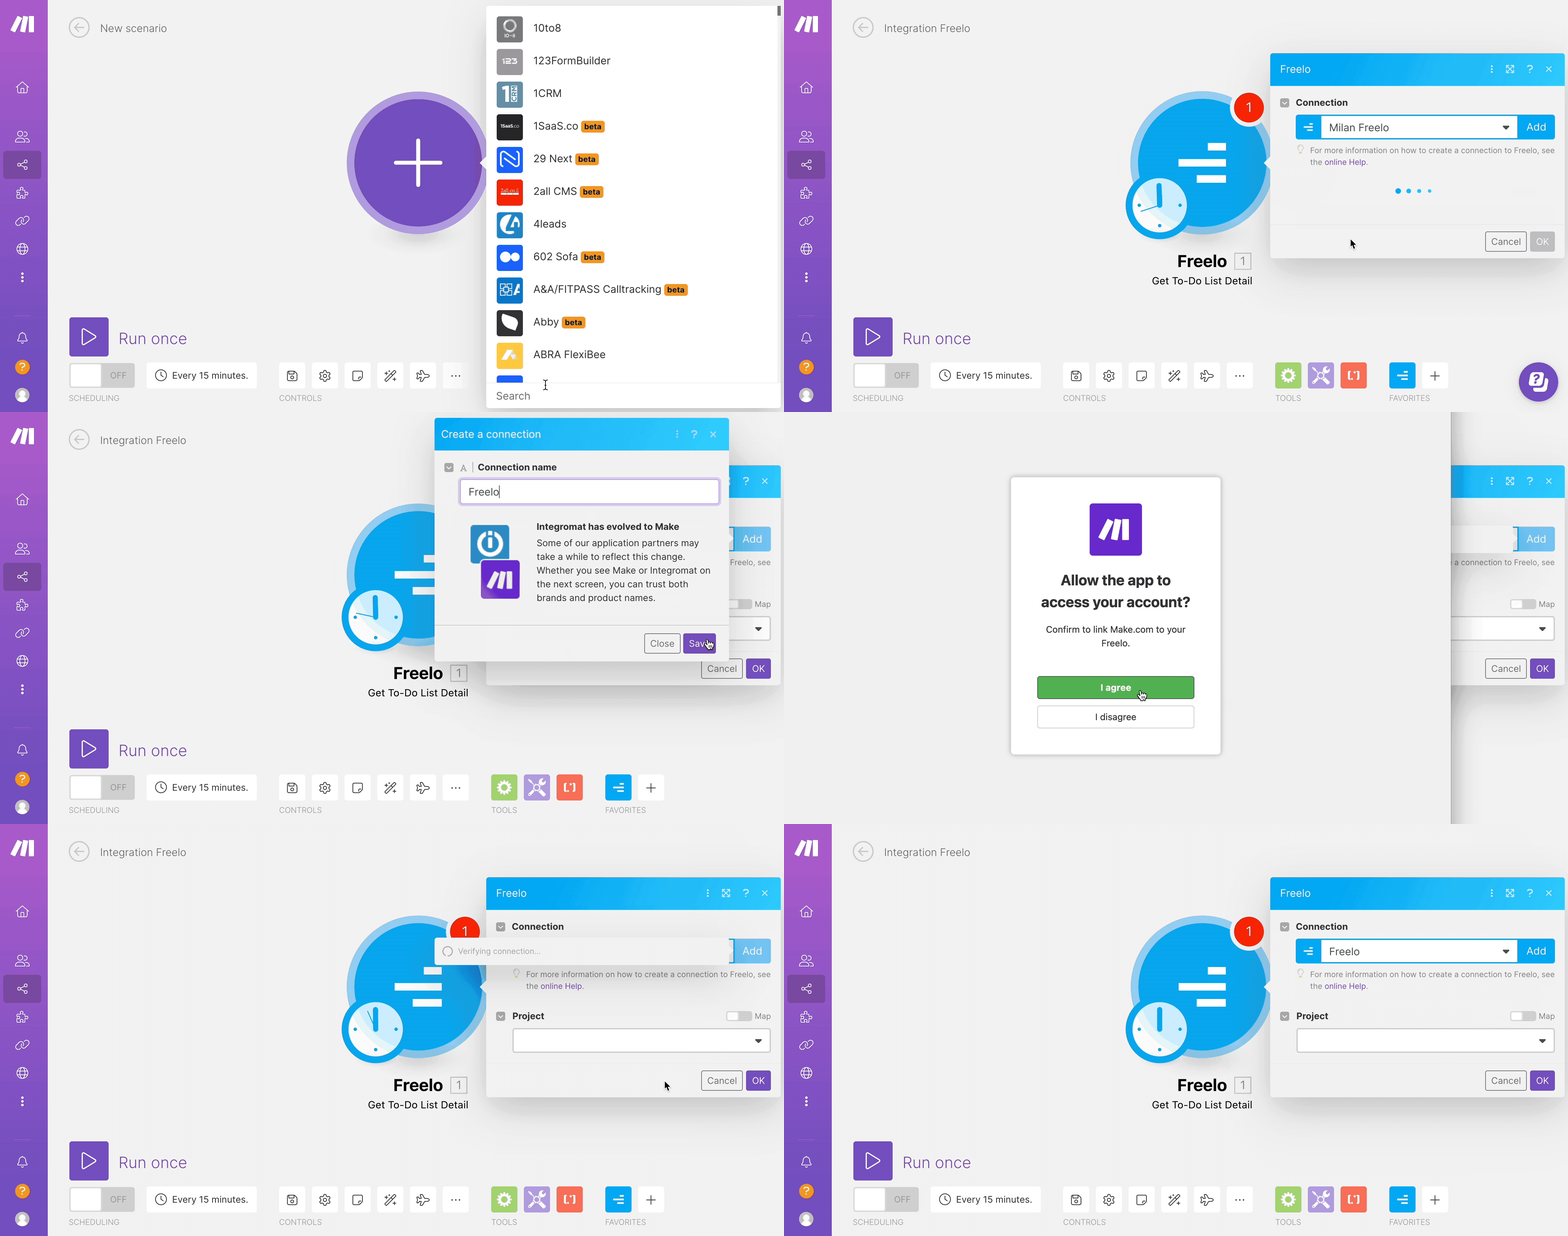
When you select Freelo and the Freelo action in the scenario, you need to select the account you want to link to Make.
- In the Connection section, click Add.
- Enter a name for the new connection that you will see in the Connection section in the future.
- Click Save.
- A window will pop up to authenticate your Freelo account. (If you are already logged in to Freelo, this step will be skipped.)
- Then the authorization process takes place – Make will ask you to access your account.
And it’s done! Freelo is connected to Make and you can finish setting up the action.
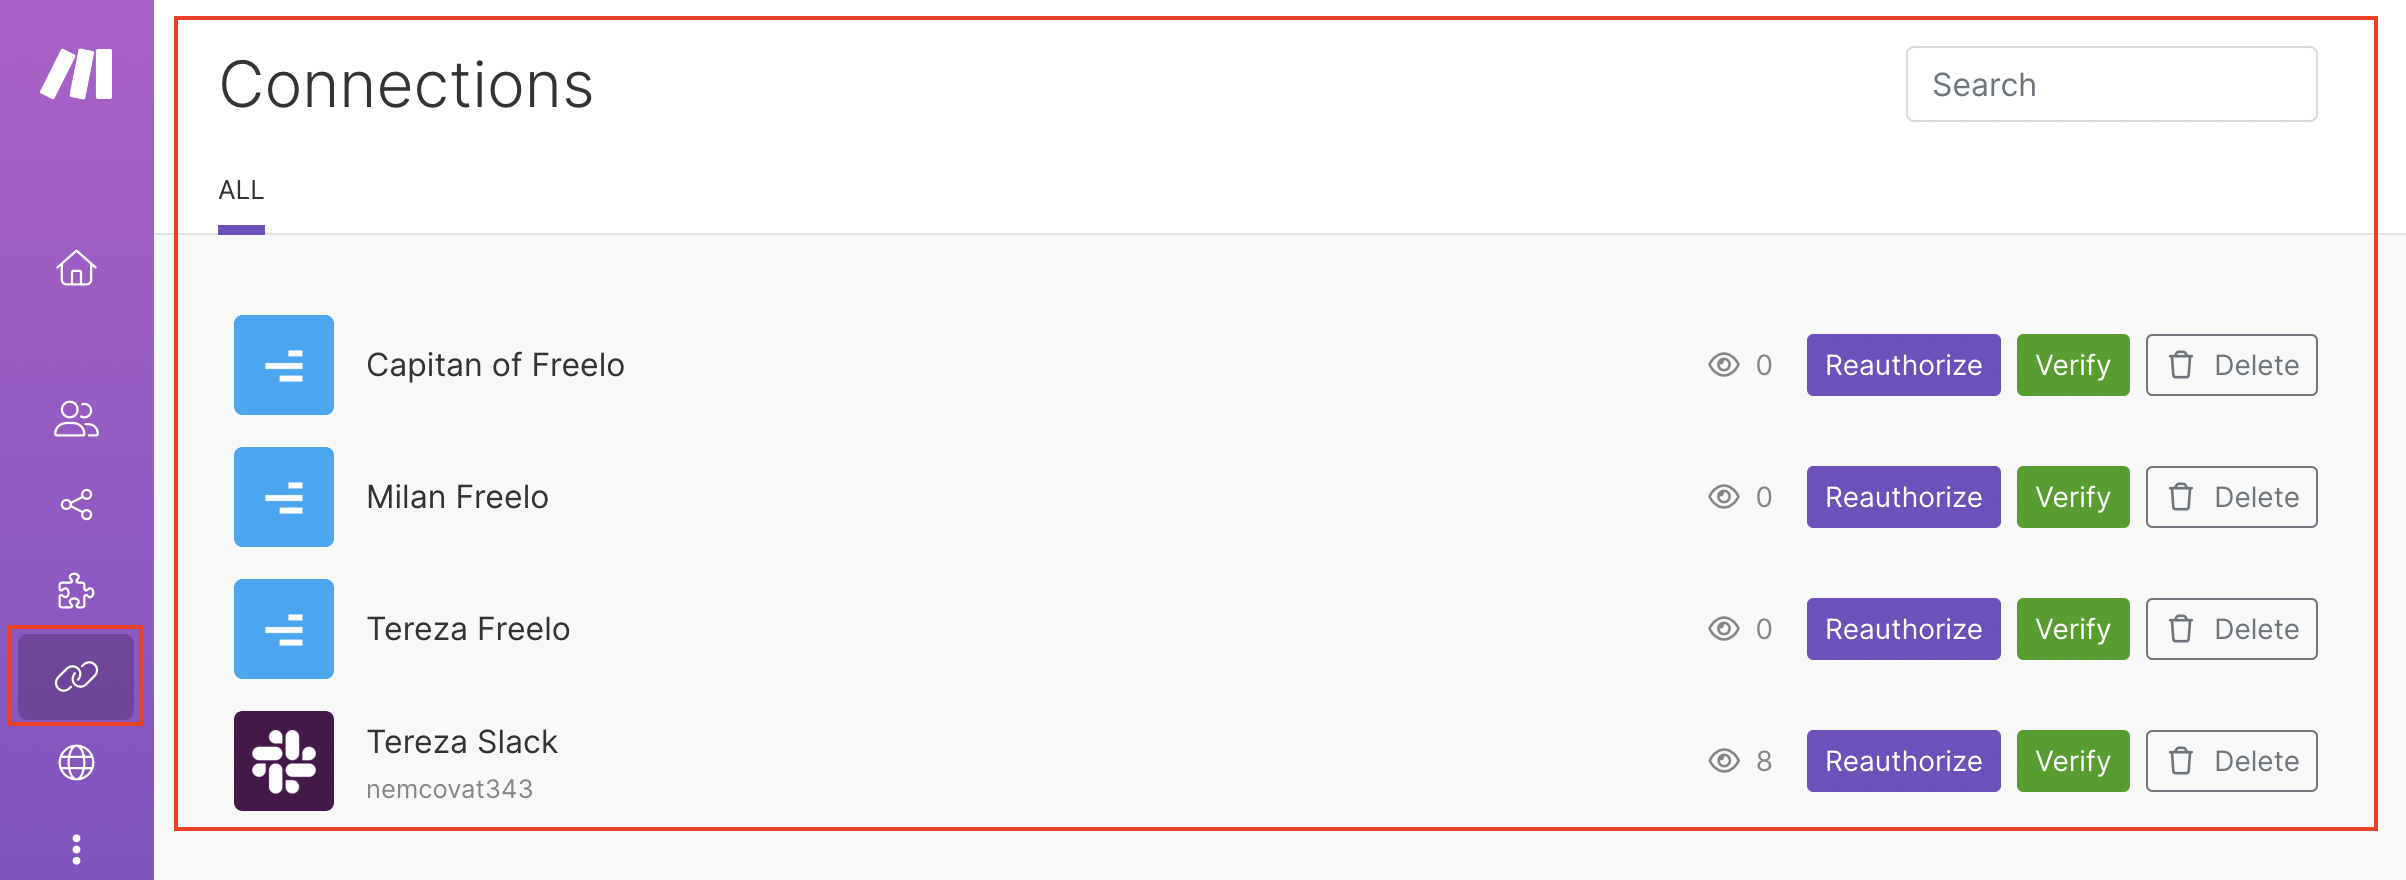
In the Connections section, you’ll find a list of all the connected apps to Make that you’ve created. Here you can delete your connections, edit their name, reauthorize or verify them.
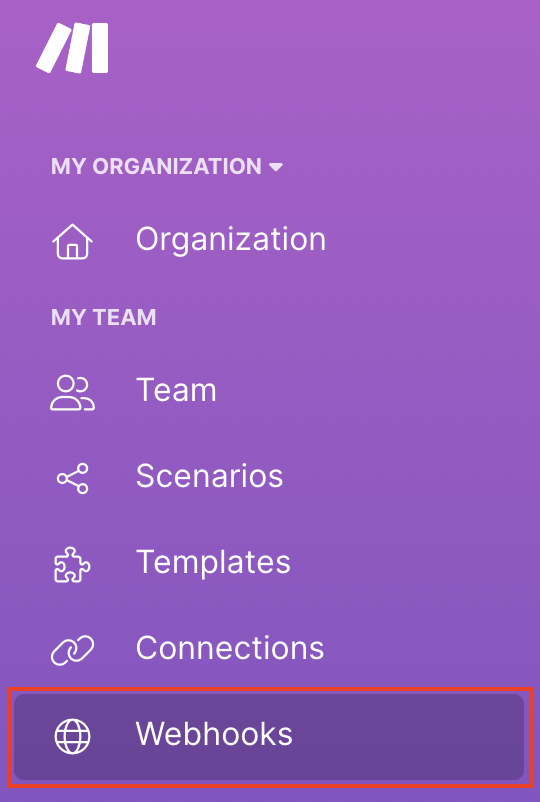
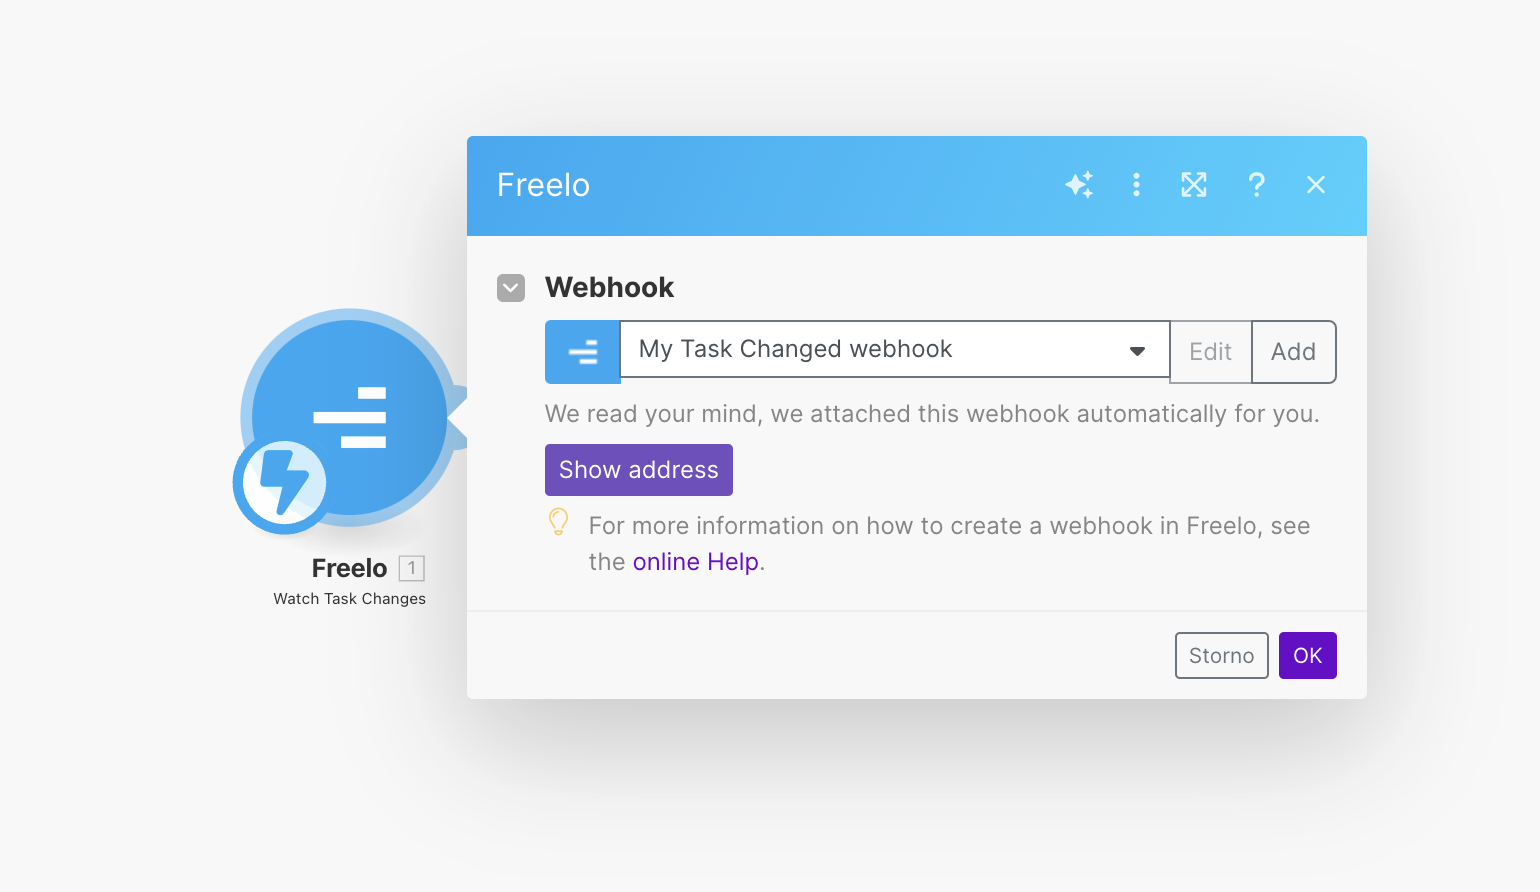
In the Webhooks section, you will find a list of all created webhooks.
Working with the scenario
At the bottom of the page, there are a series of functions for working with the scenario:
- PLAY icon to run the scenario once – useful for testing a newly created scenario.
- Controls – there is also an option to save the scenario. But don’t worry, if you forget to save the scenario and navigate anywhere else in the Make interface, a window will pop up with a warning and an offer to save your changes.
- Tools.
- Favorites – this saves the 4 apps you use in the scenario or add to this section via the PLUS icon, and you can add them to the scenario plan from here.

You can also edit directly in the scenario field. When you move the mouse cursor over a specific module or connection and right-click, you will see the menu options.
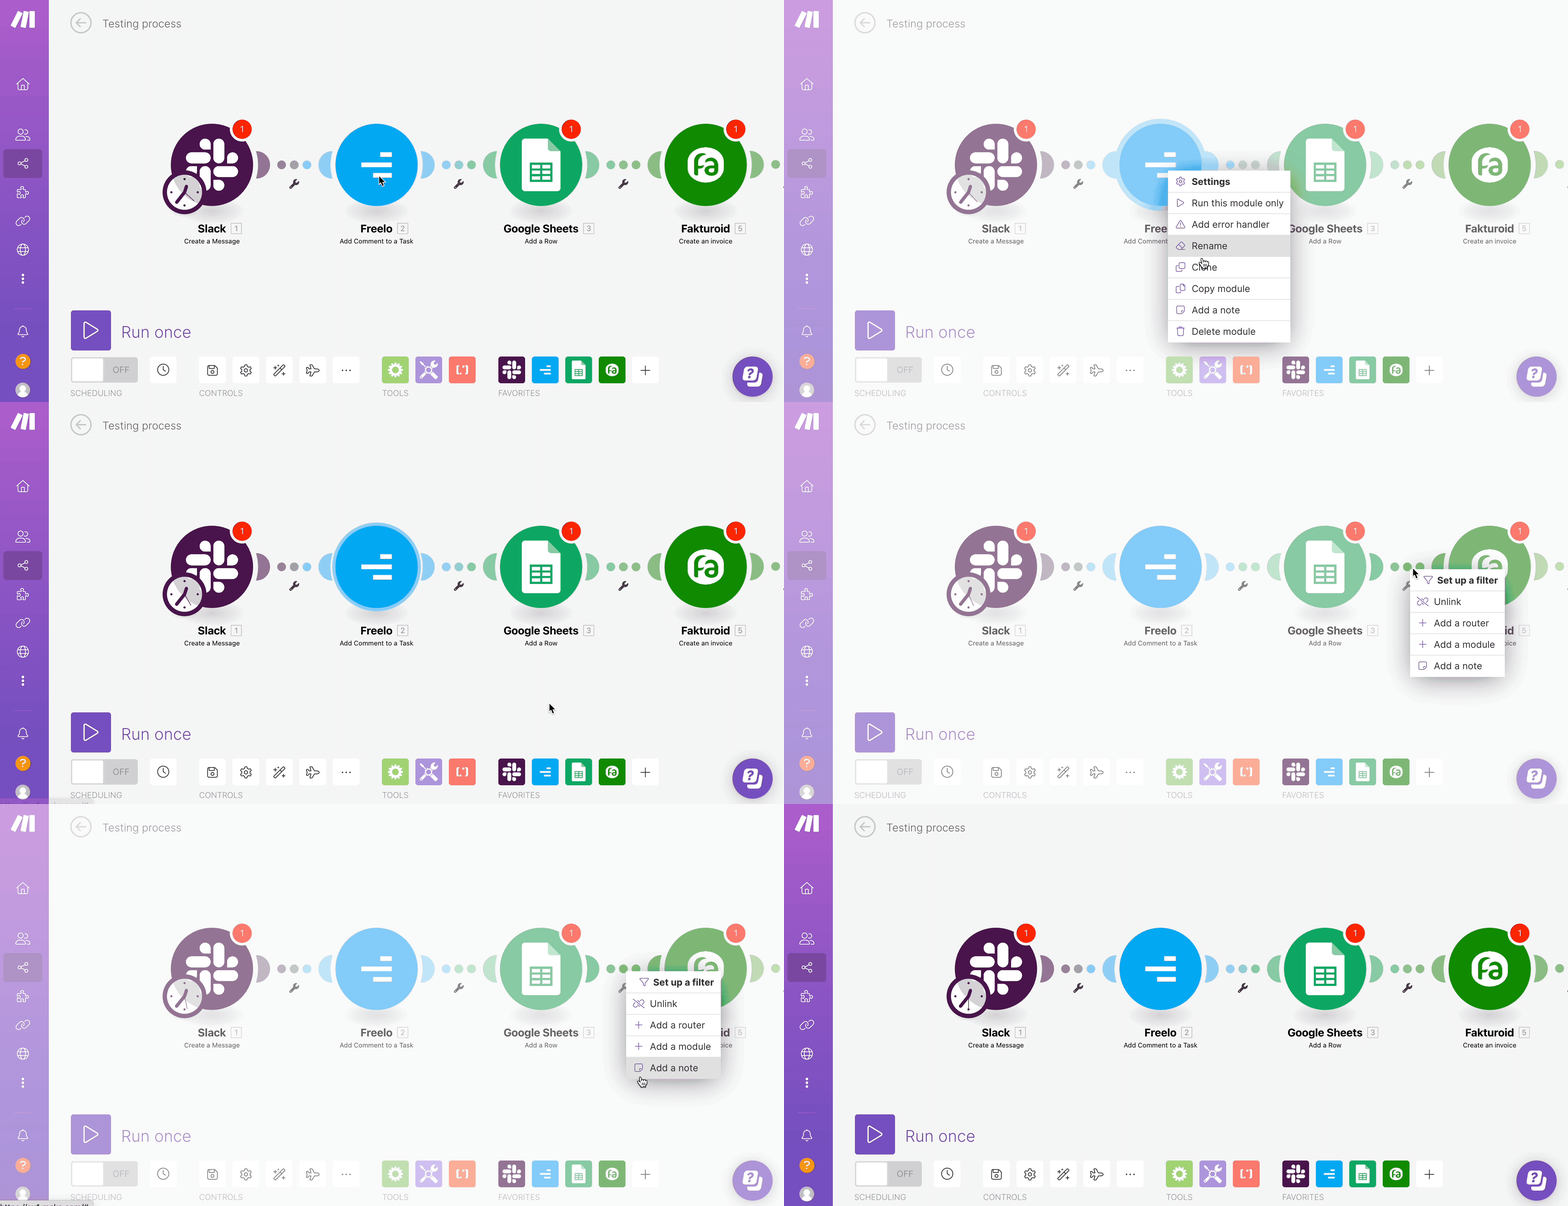
Click the left mouse button to edit the schedule, module settings, or connection. With drag & drop, you can move modules, move connections or move in the scenario. Use the mouse wheel to zoom in/out the whole connection map.
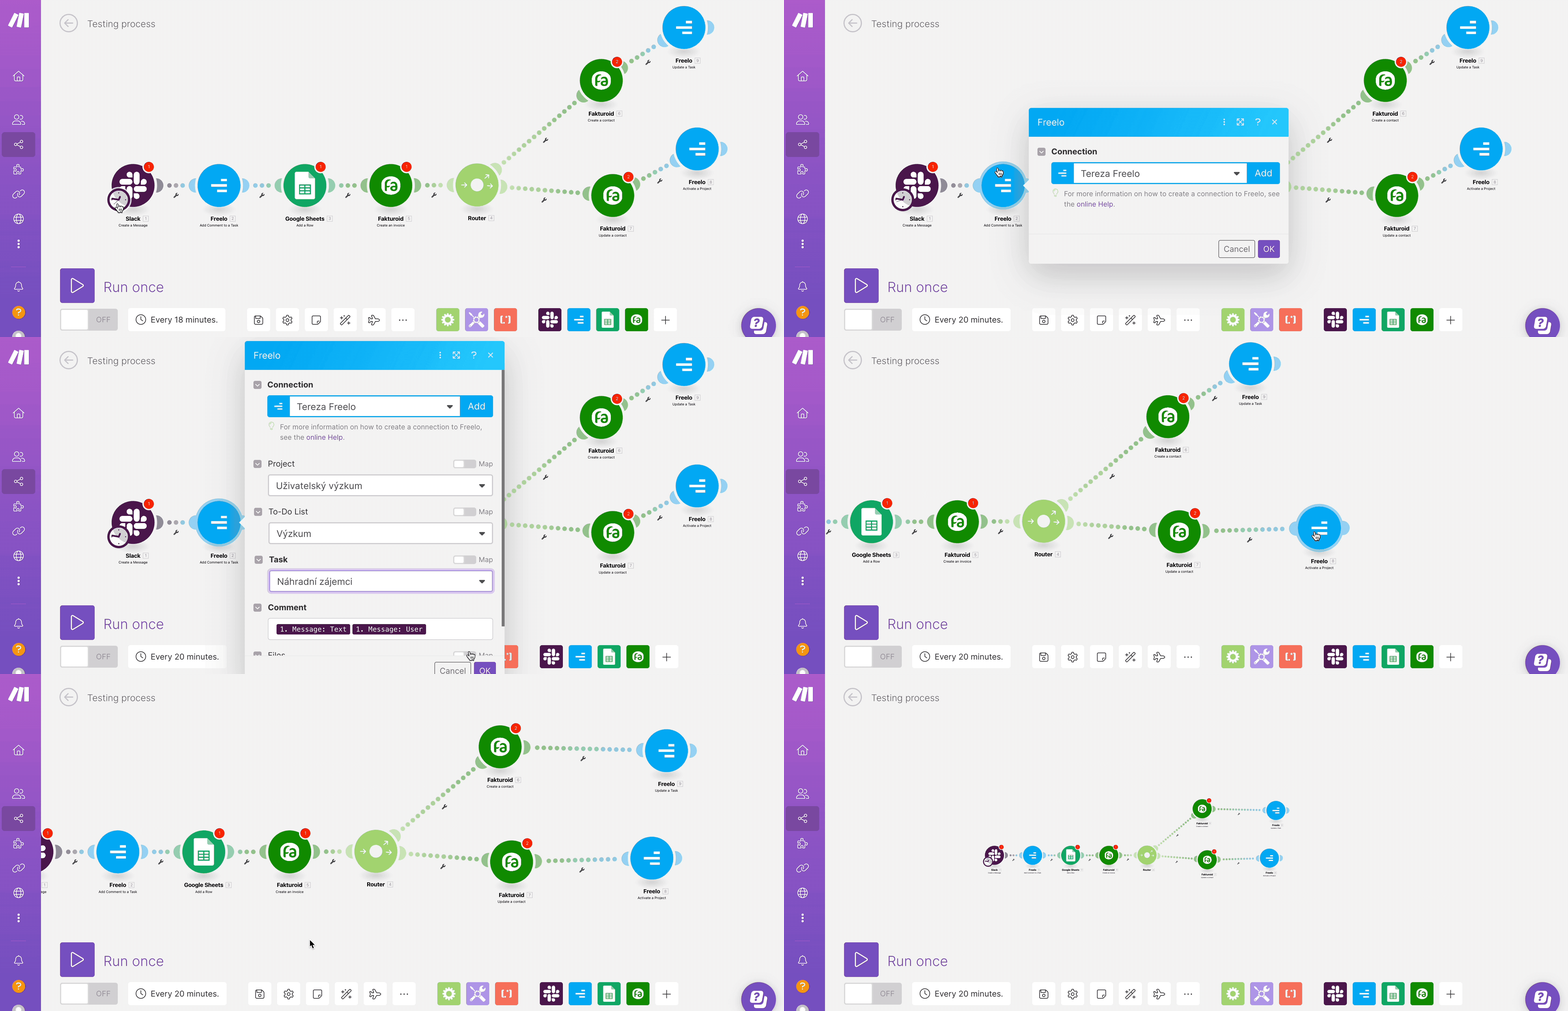
Editing an existing scenario
To edit a scenario you have created in the past, go to Scenarios > select scenario > click on Edit in the top right corner.
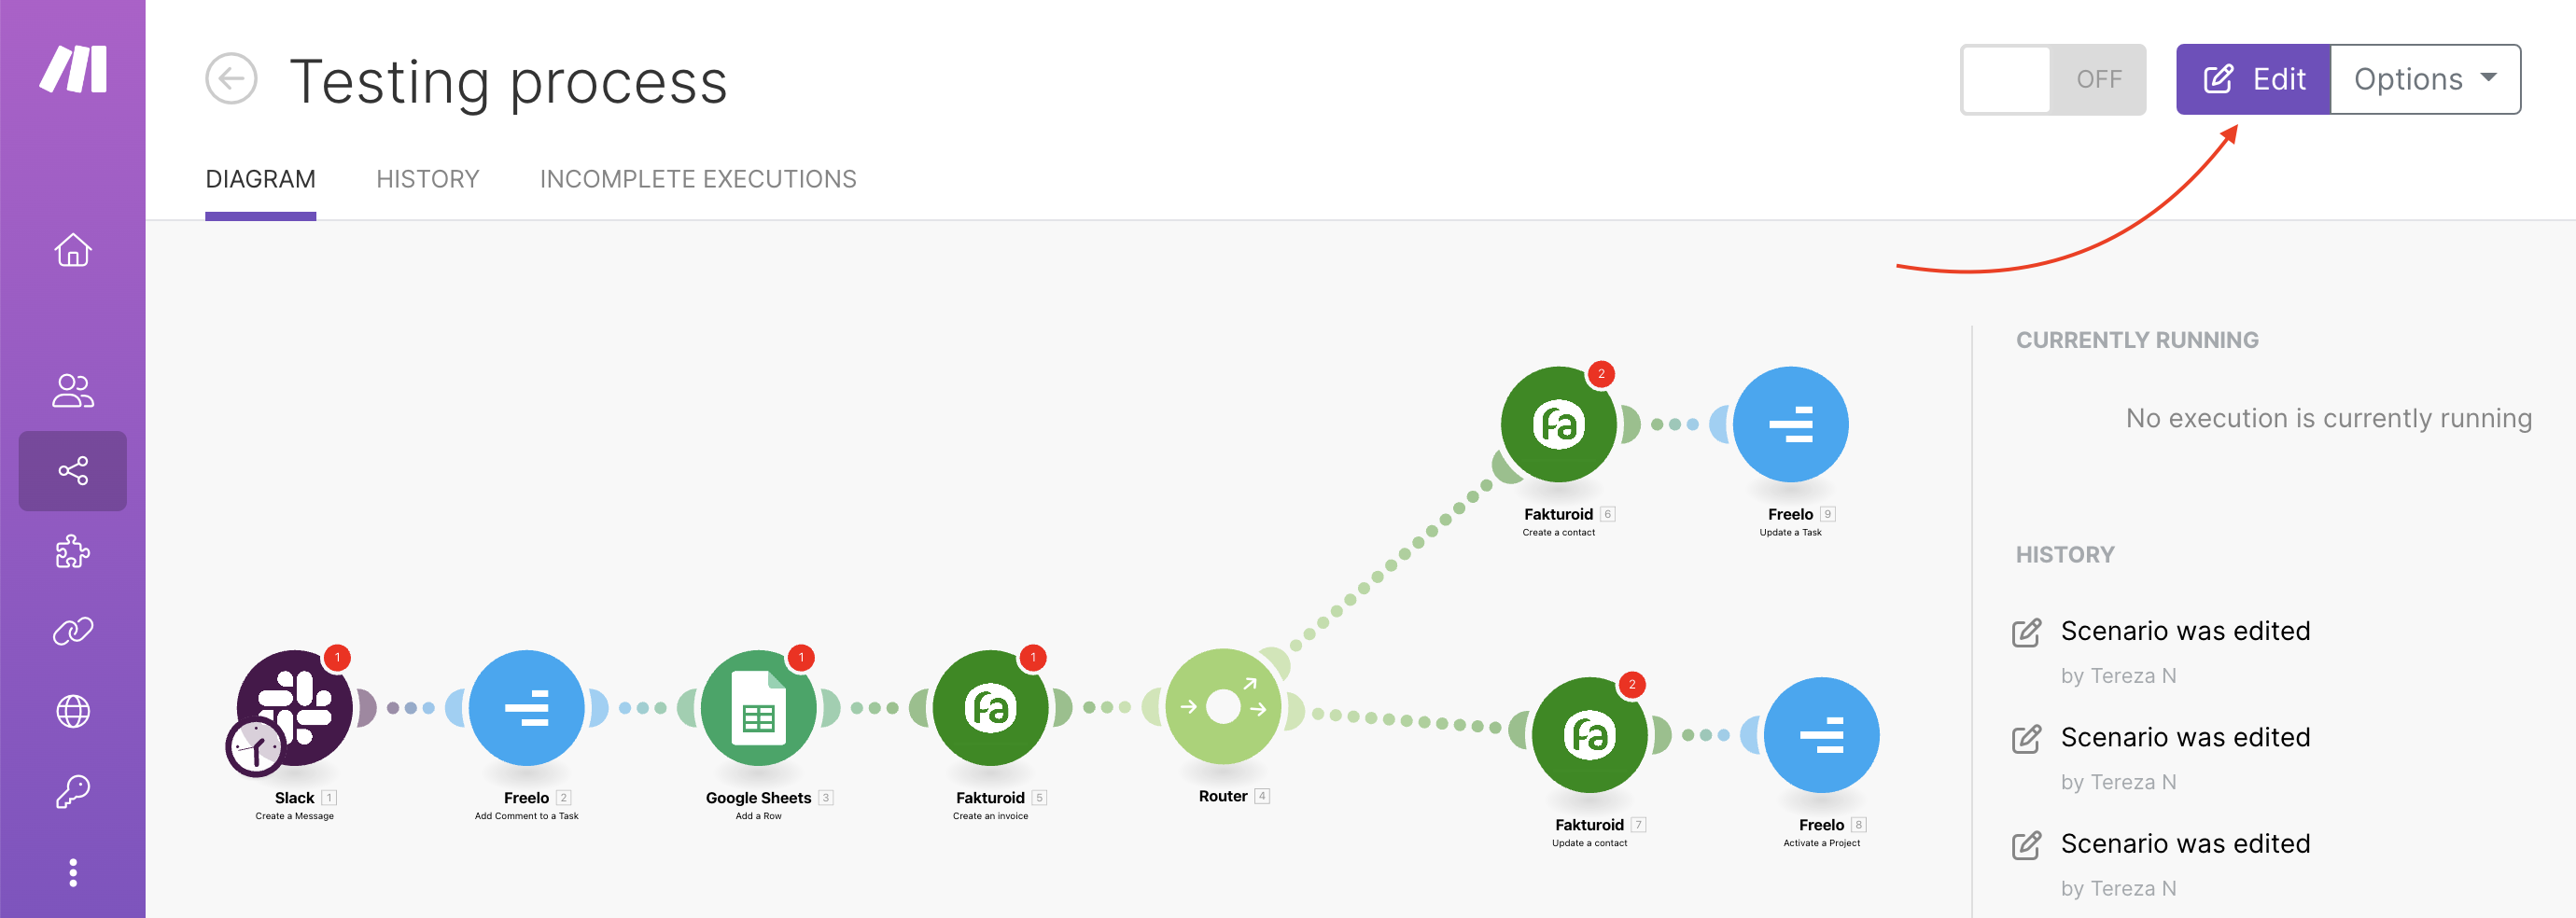
Don’t forget to save your changes. The Save icon is located at the bottom of the scenario.

Overview of scenarios
A list of all active and inactive scenarios you can find in the Scenarios section. Here you can delete, duplicate or move scenarios to folders, for example.
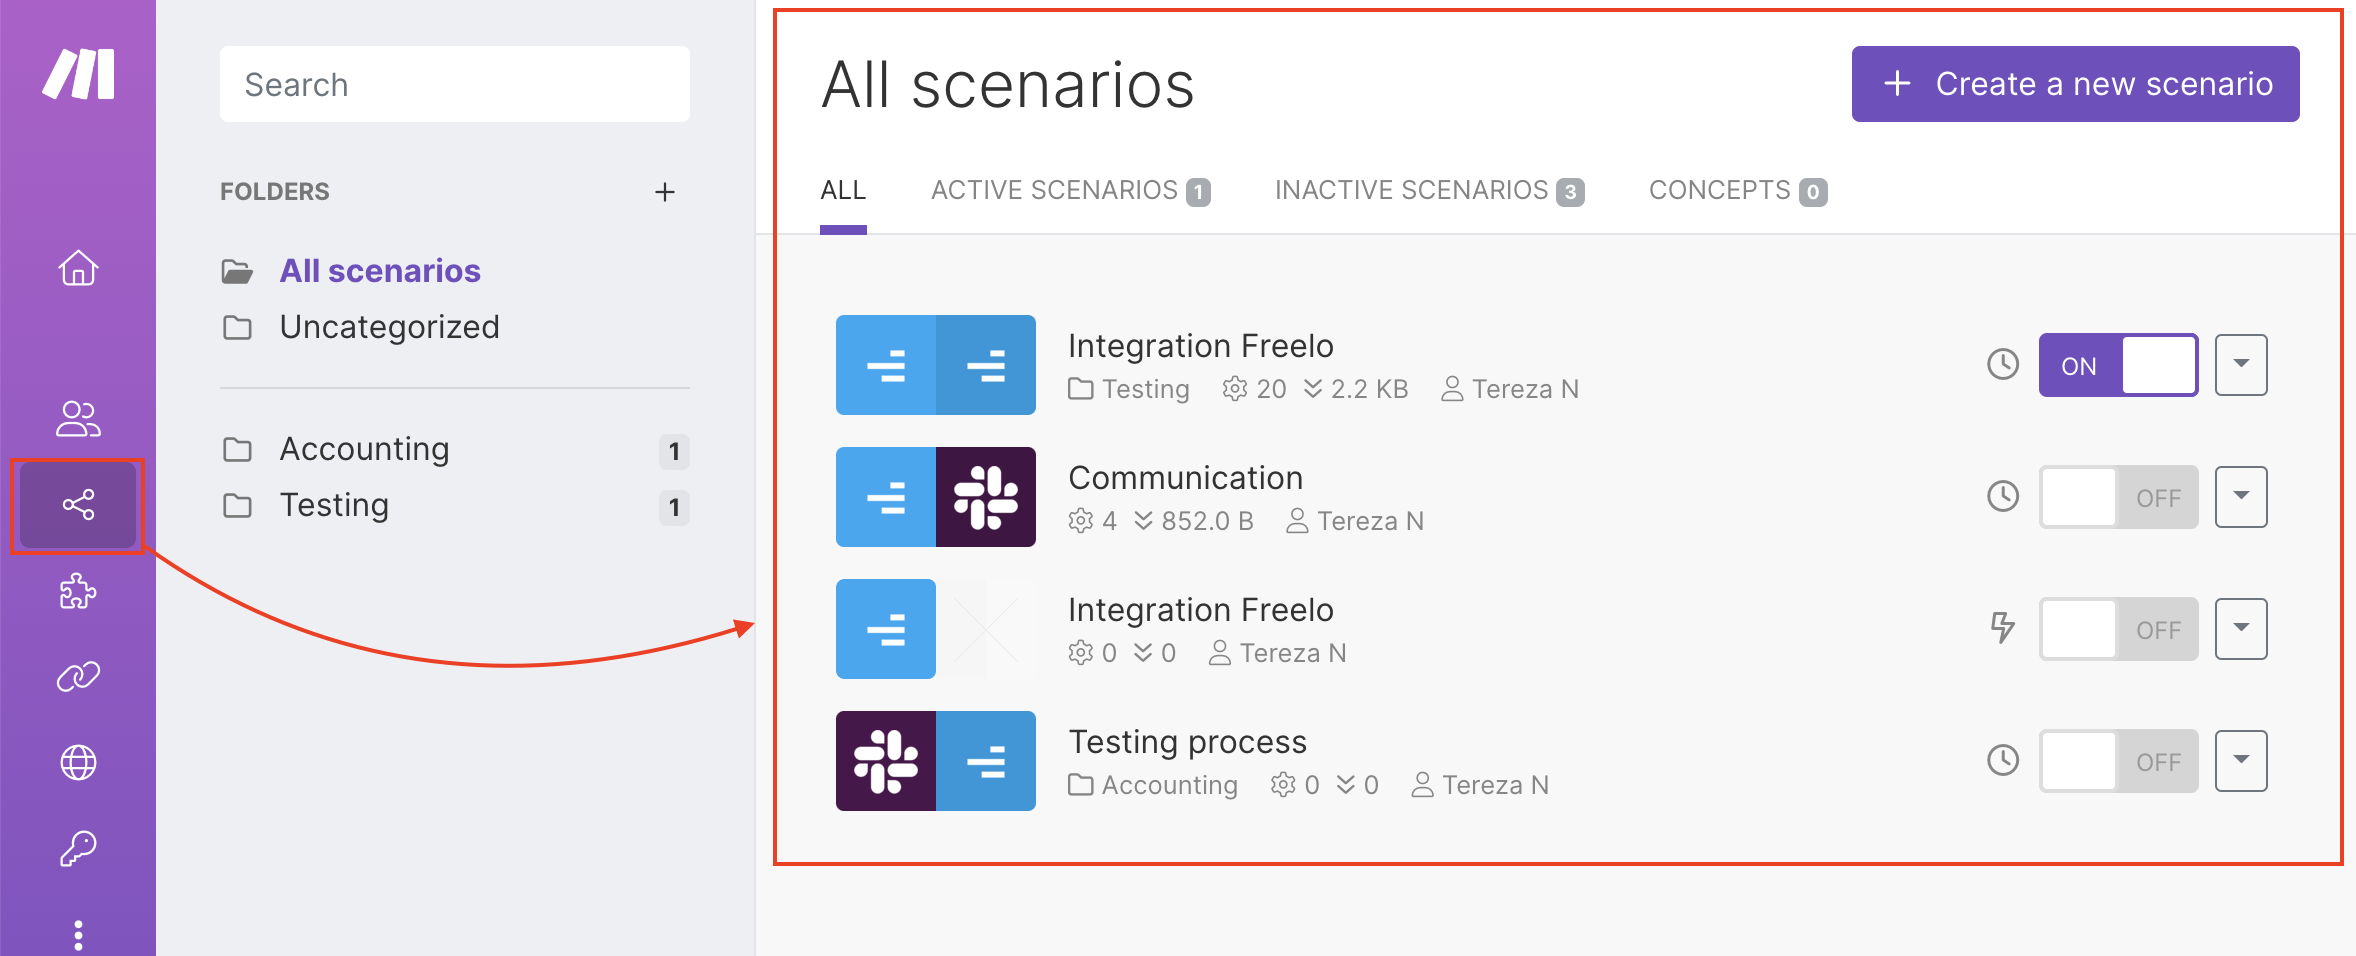
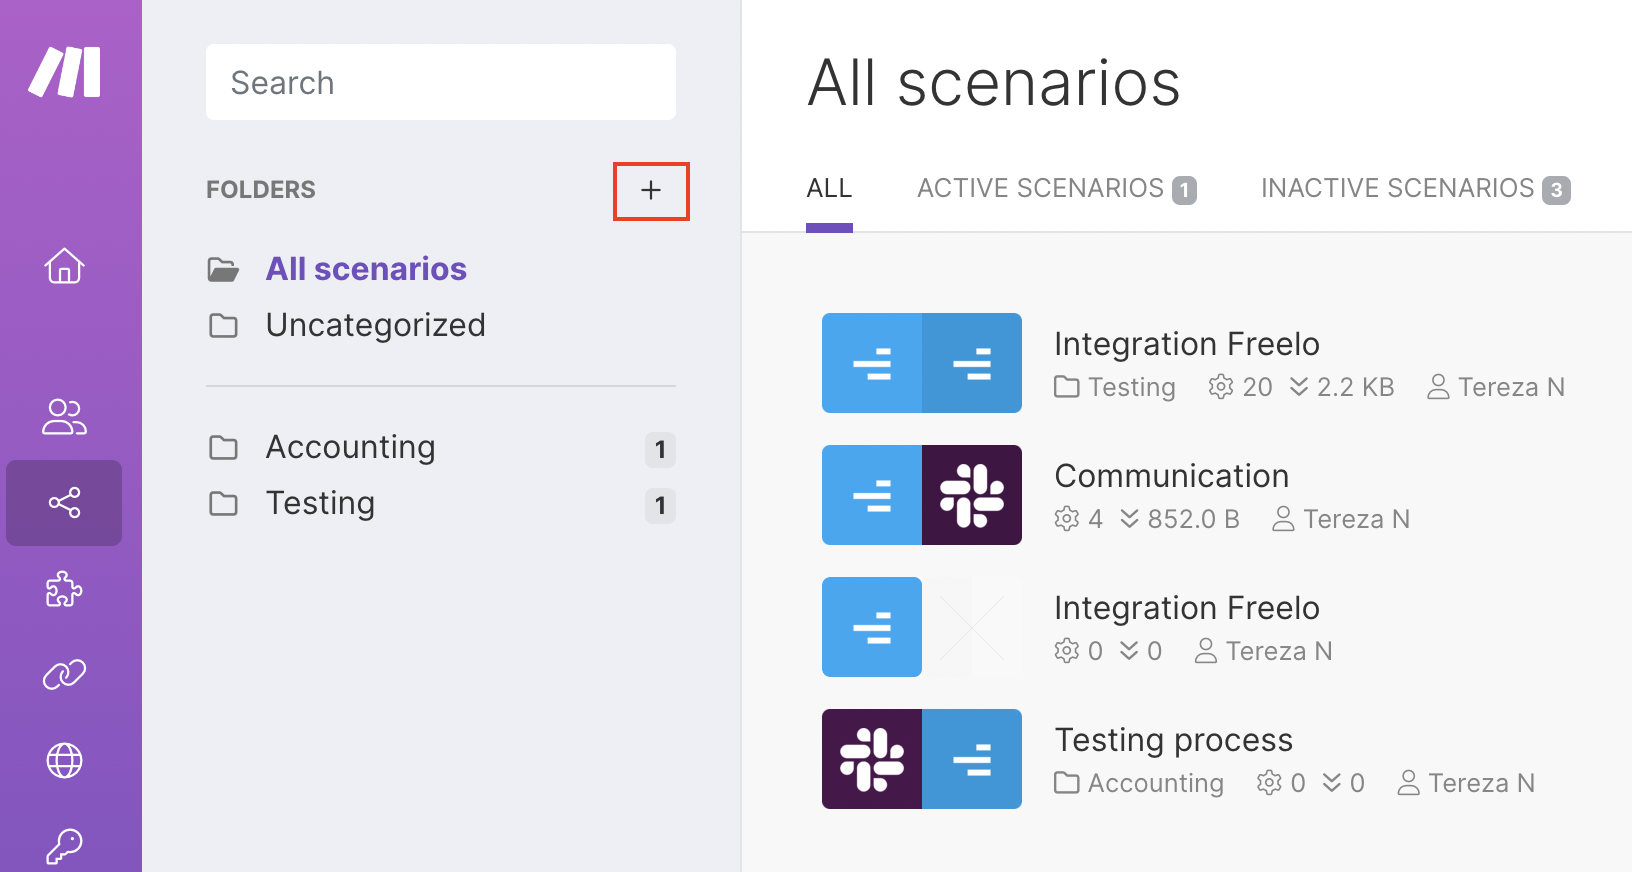
There are 4 default folders in this section (All, Active Scenarios, Inactive Scenarios, and Concepts). If you are going to have more scenarios, it is suggested to create your own folders for clear organization. Use the PLUS icon in the grey column on the left to create a folder.
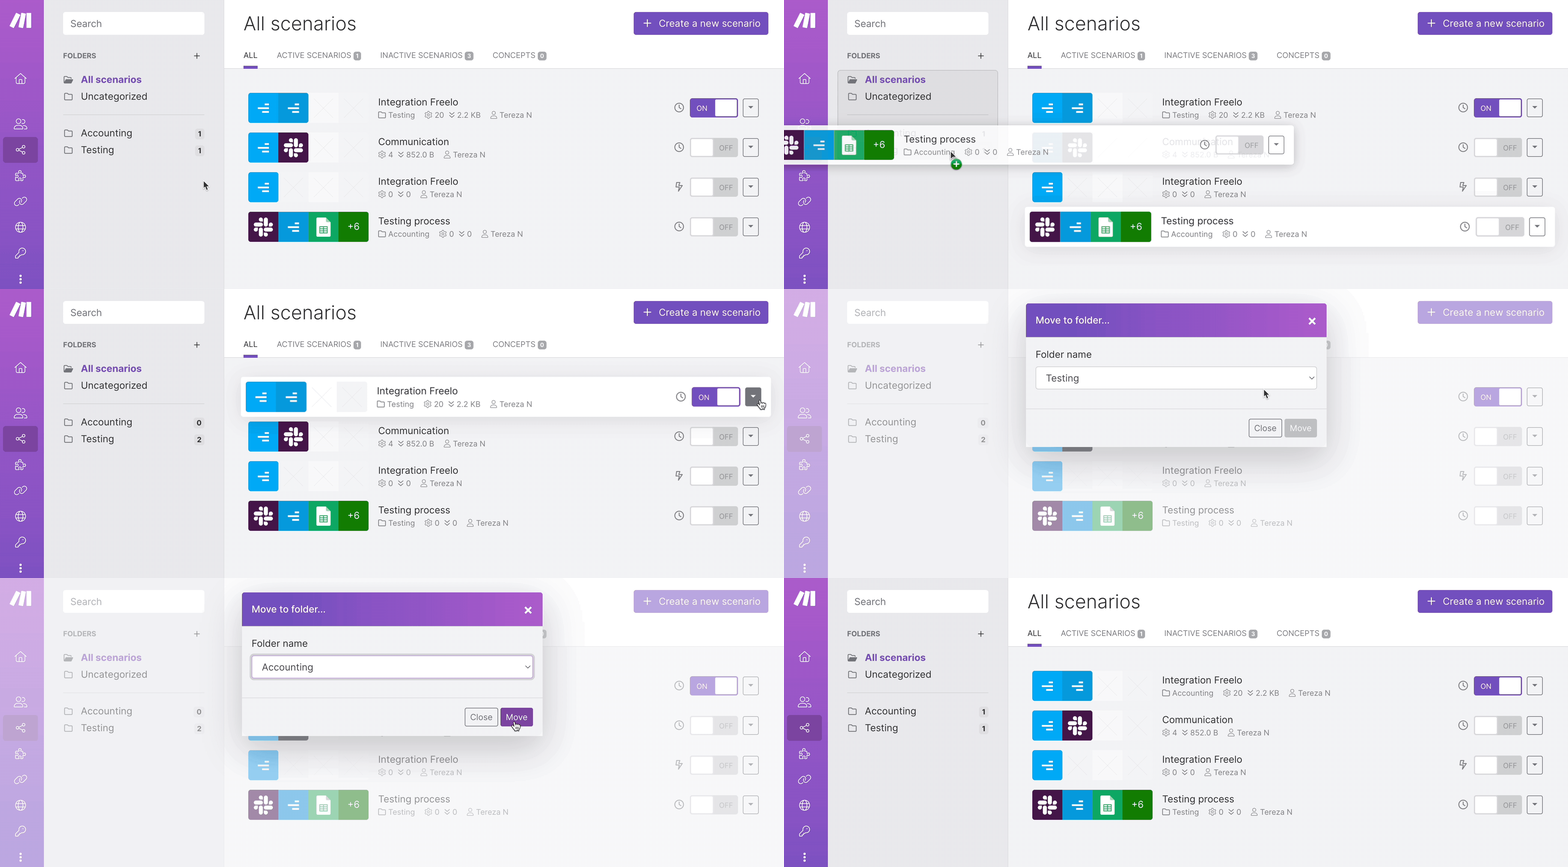
You can move scenarios to folders either by drag & drop or by clicking Move to folder… under the arrow icon in the scenario row, see the example below.
Freelo modules
The list of Freelo modules that can be set when creating a custom process (scenario) is listed here.
The list of Freelo modules in the scenario is categorized according to the Freelo structure for better orientation. You can also search for a specific module via the search field.
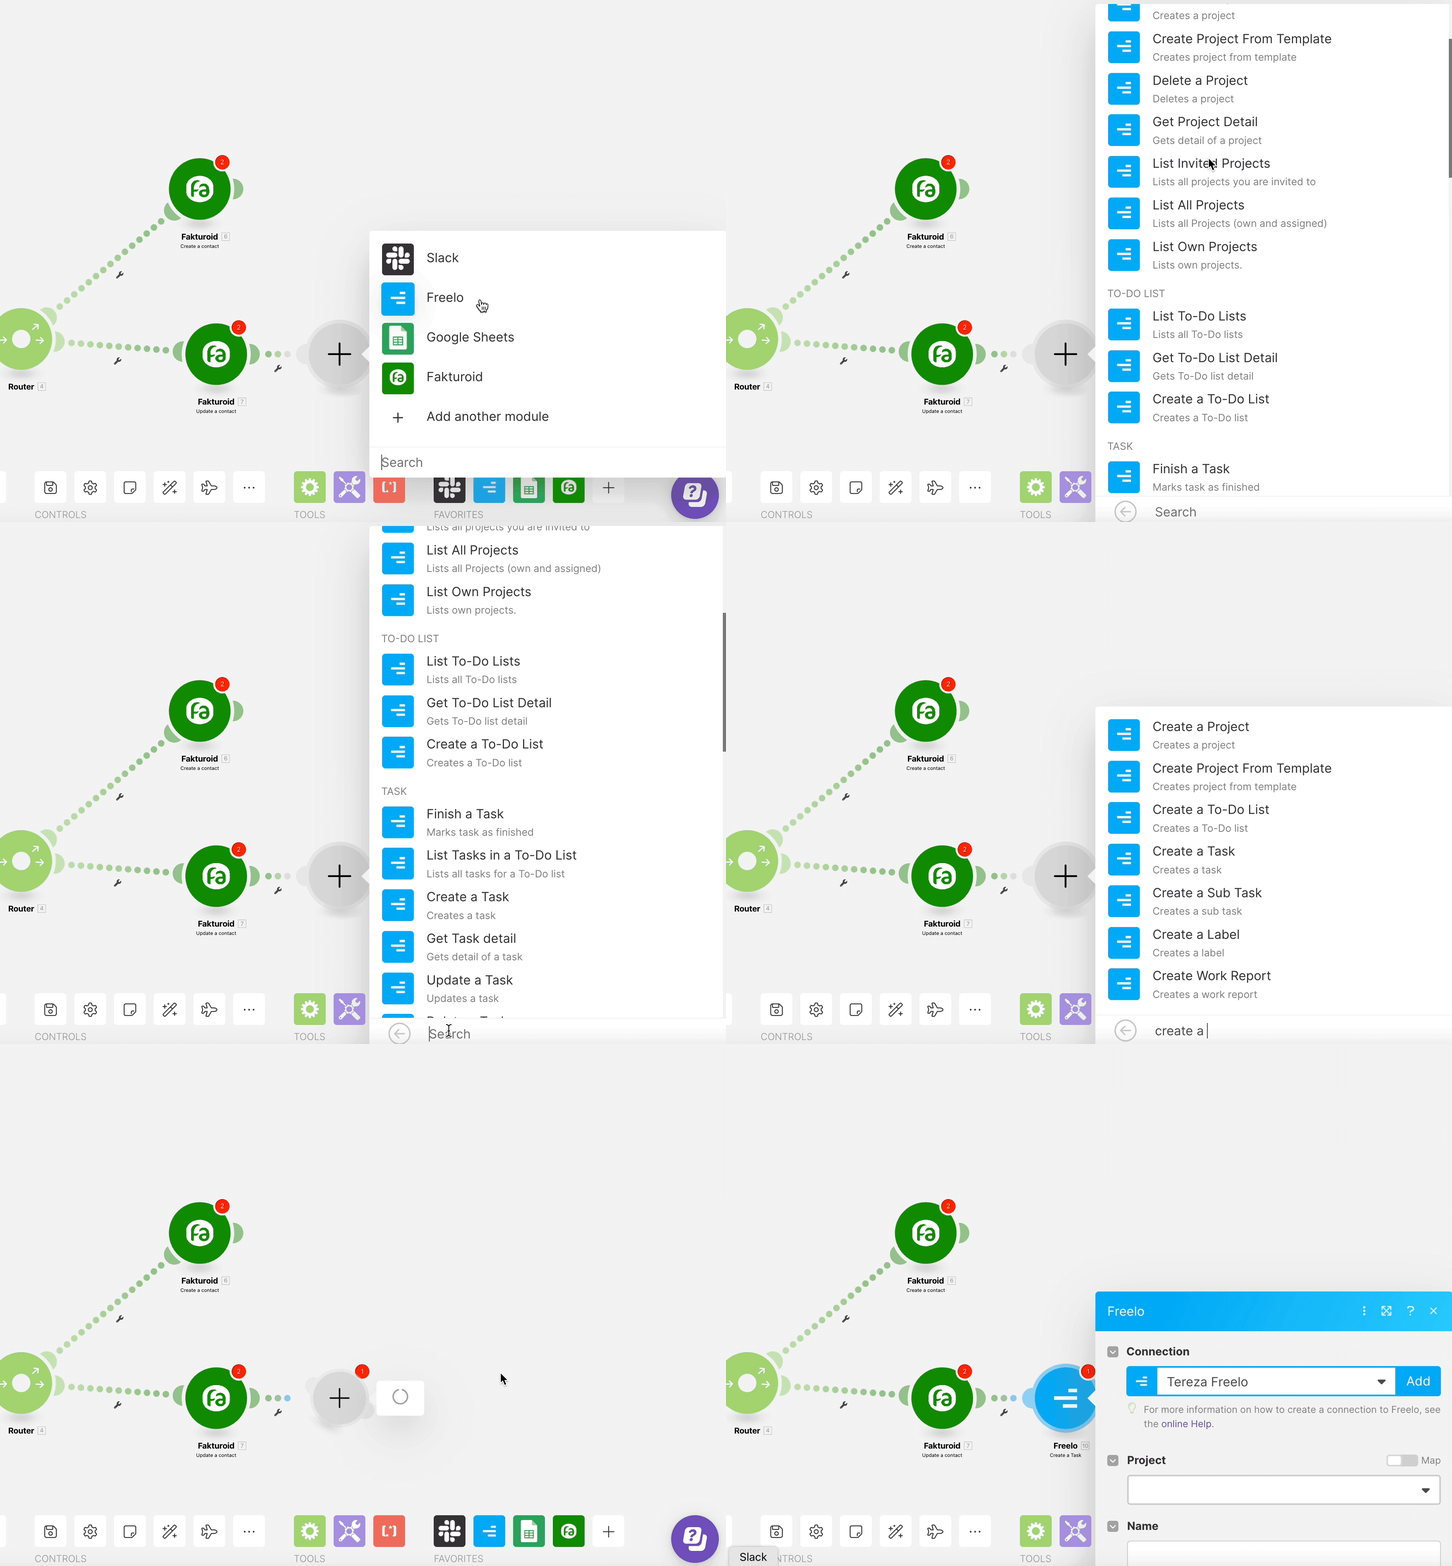
Types of modules
- Triggers – these are modules with an instant effect. Triggers are marked with the label INSTANT in the list of modules.
- Action
- Search
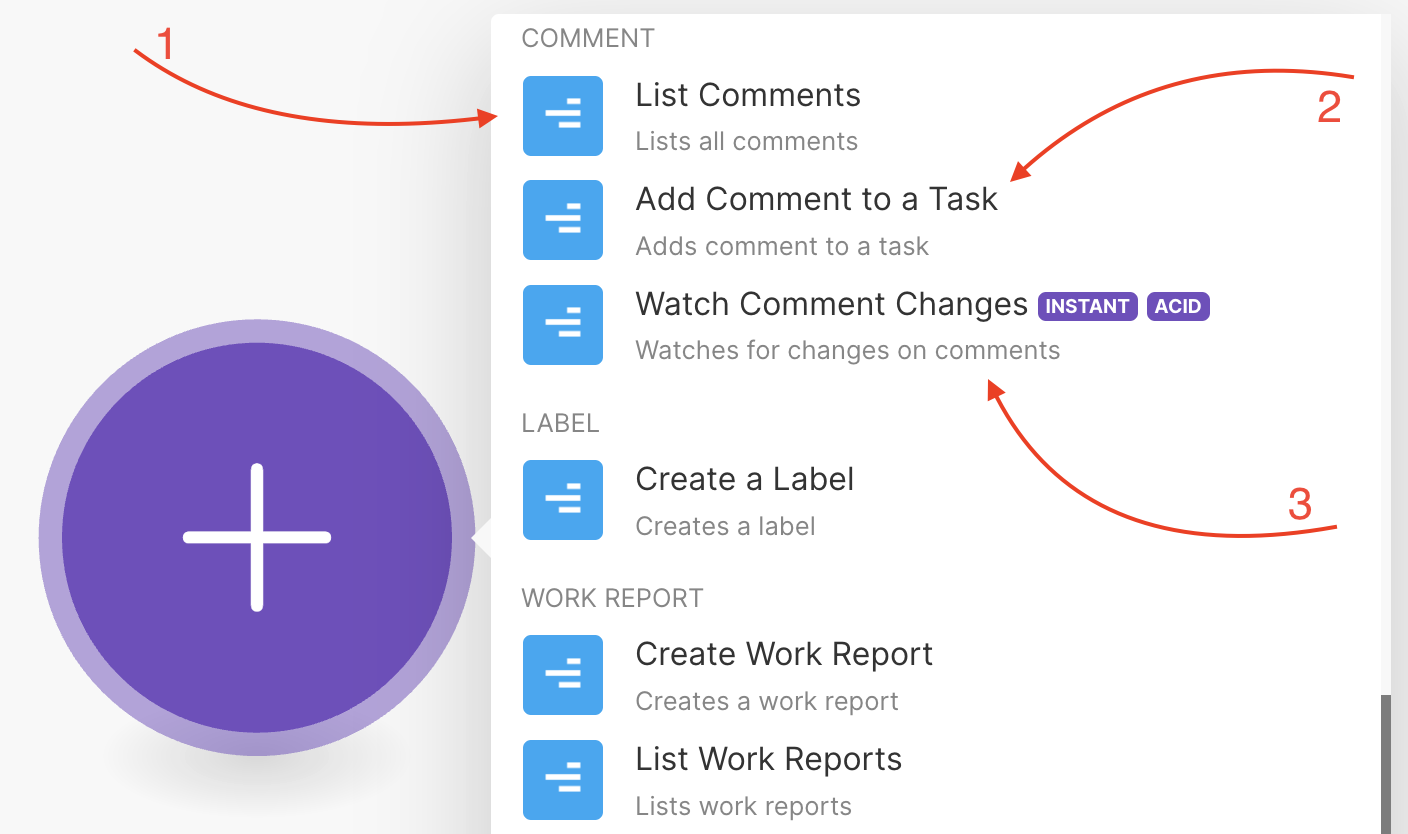
The extensive help from Make is also useful.
Practical examples
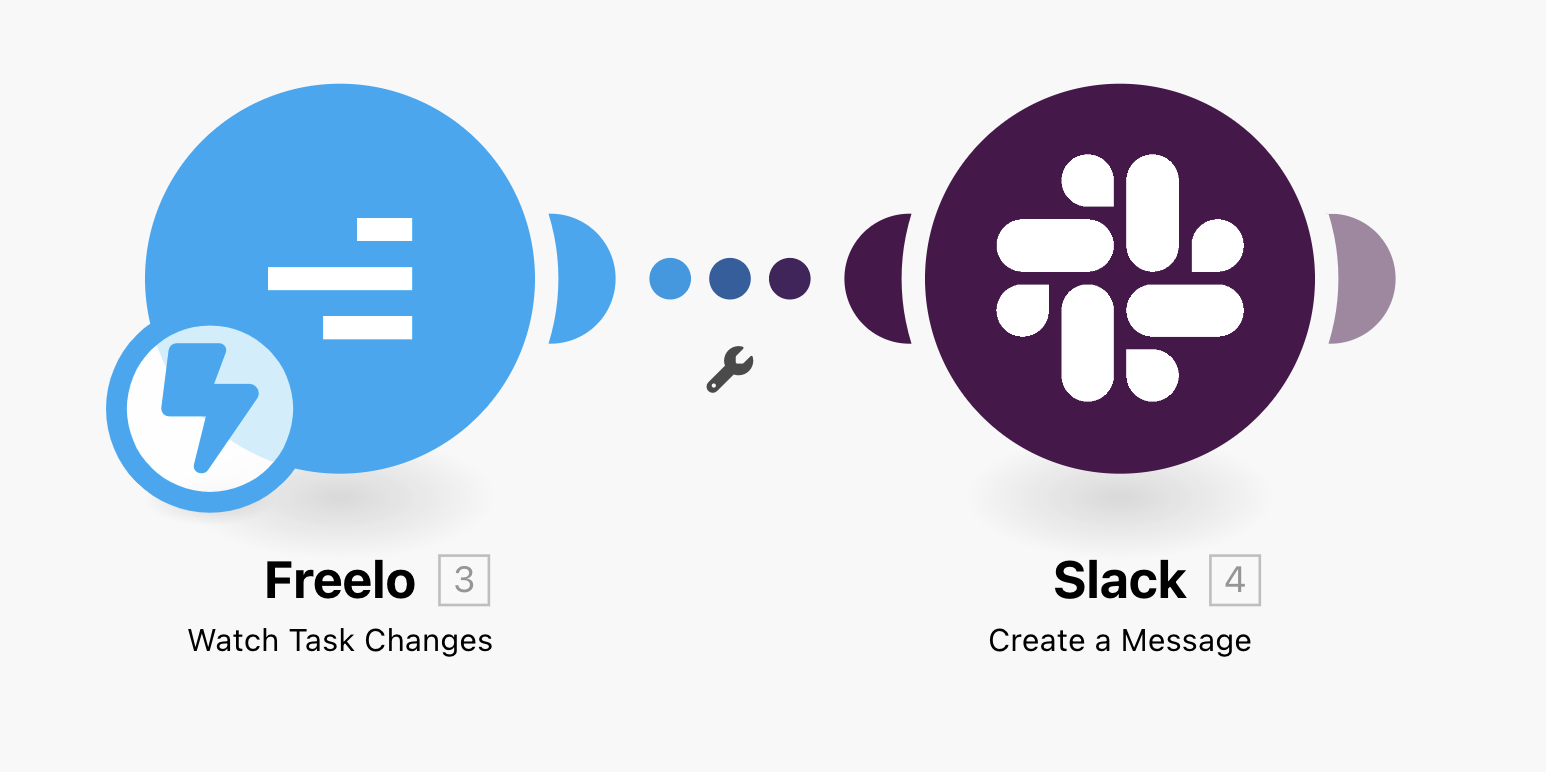
Freelo and Slack
Thanks to the connection between Freelo and Slack, you can receive messages in the channel of your choice on various events in Freelo – a newly created task, a modified report, or even a new comment on a task.
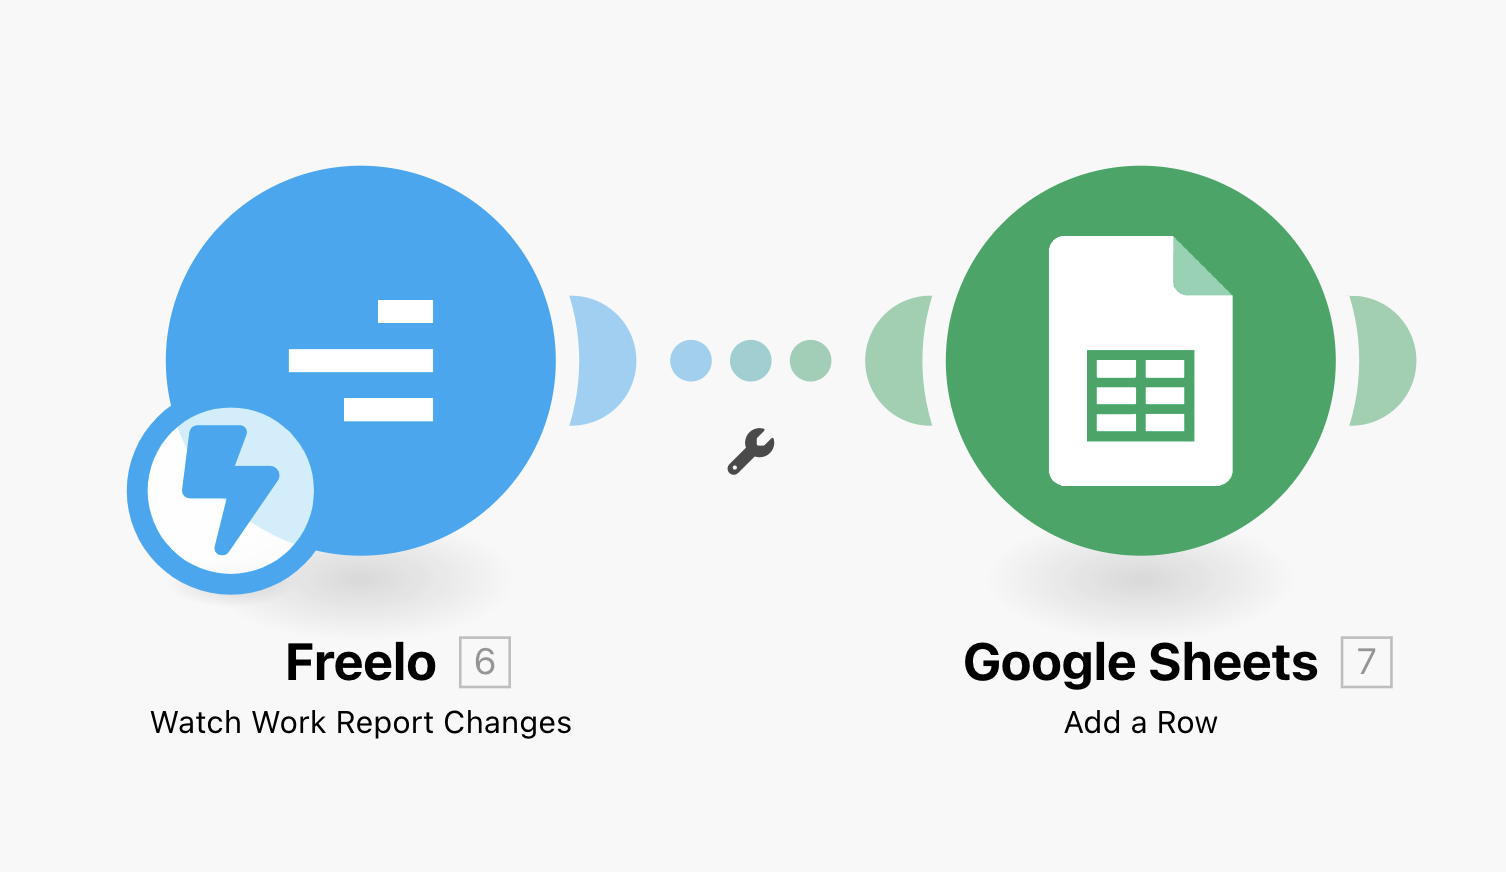
Freelo a Google Sheets
You can send reports from Freelo directly to Google Sheets, so you can work with the data directly in a spreadsheet editor.
Combine Freelo, Slack, and Google Sheets
But you can combine it in different ways, e.g. information about a report change, a new task, etc. can come as a message to Slack and as information to the table.
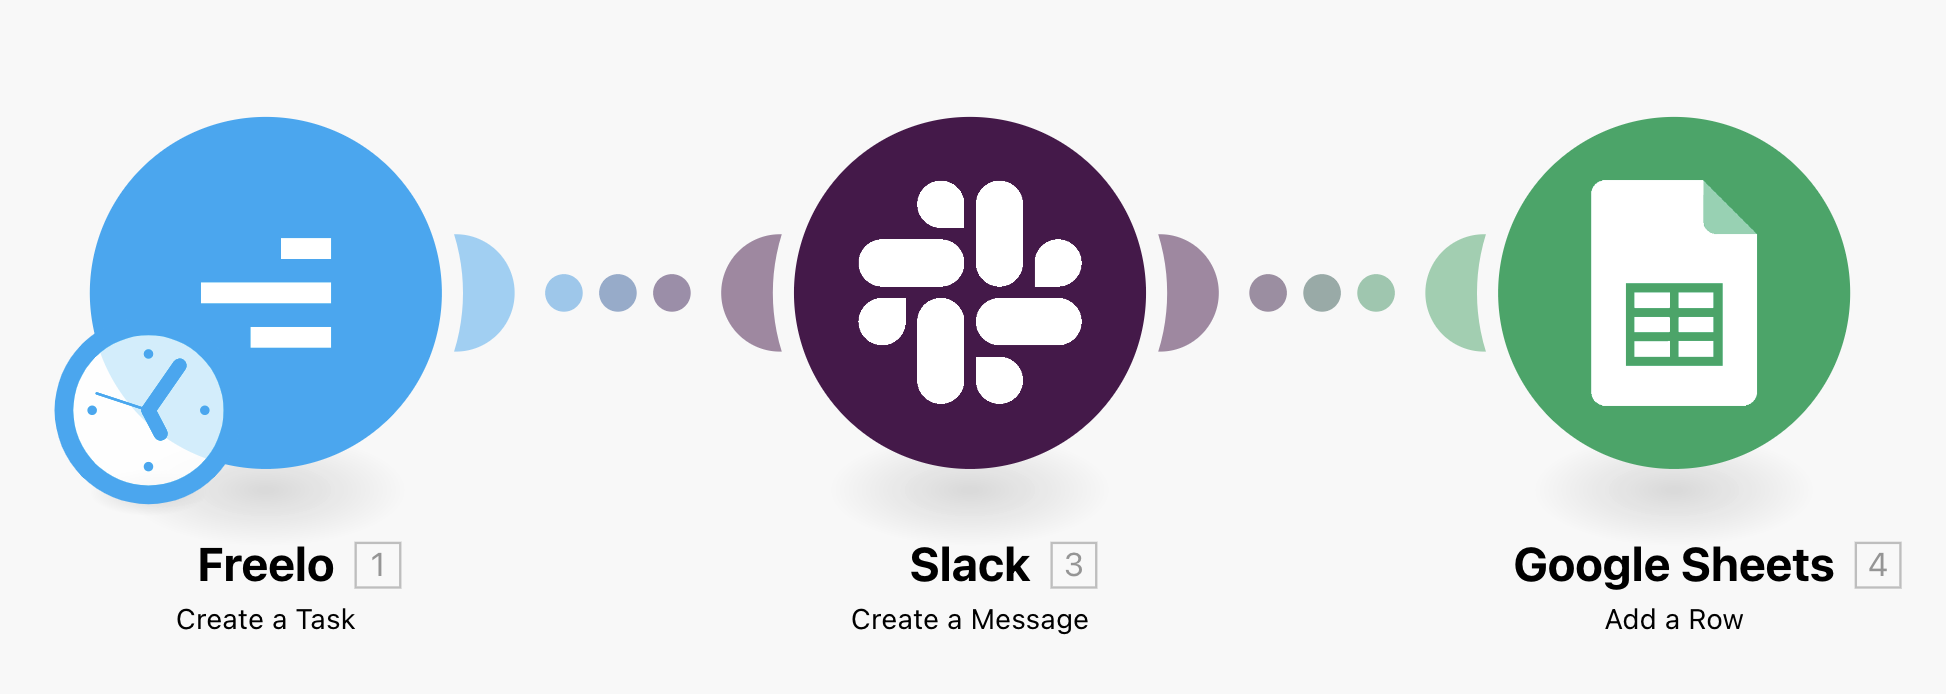
Automation of work in Freelo
Create a new task
You can also use Make to automatically do certain steps in Freelo. For example, you can set that completing one task in a particular run will trigger the creation of another task.
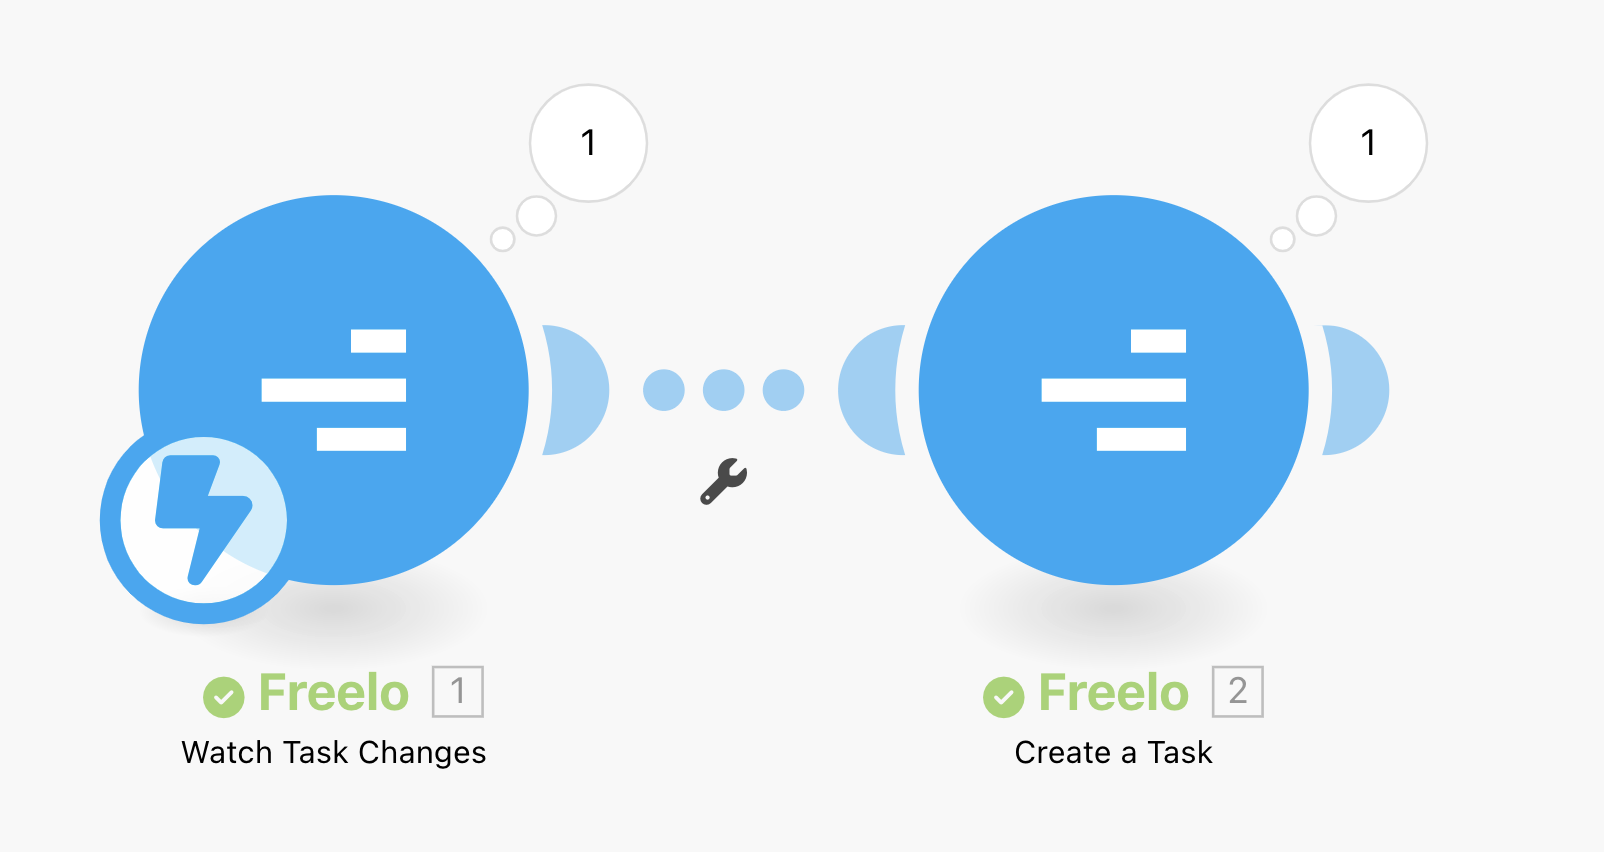
Setting the date for a newly created task
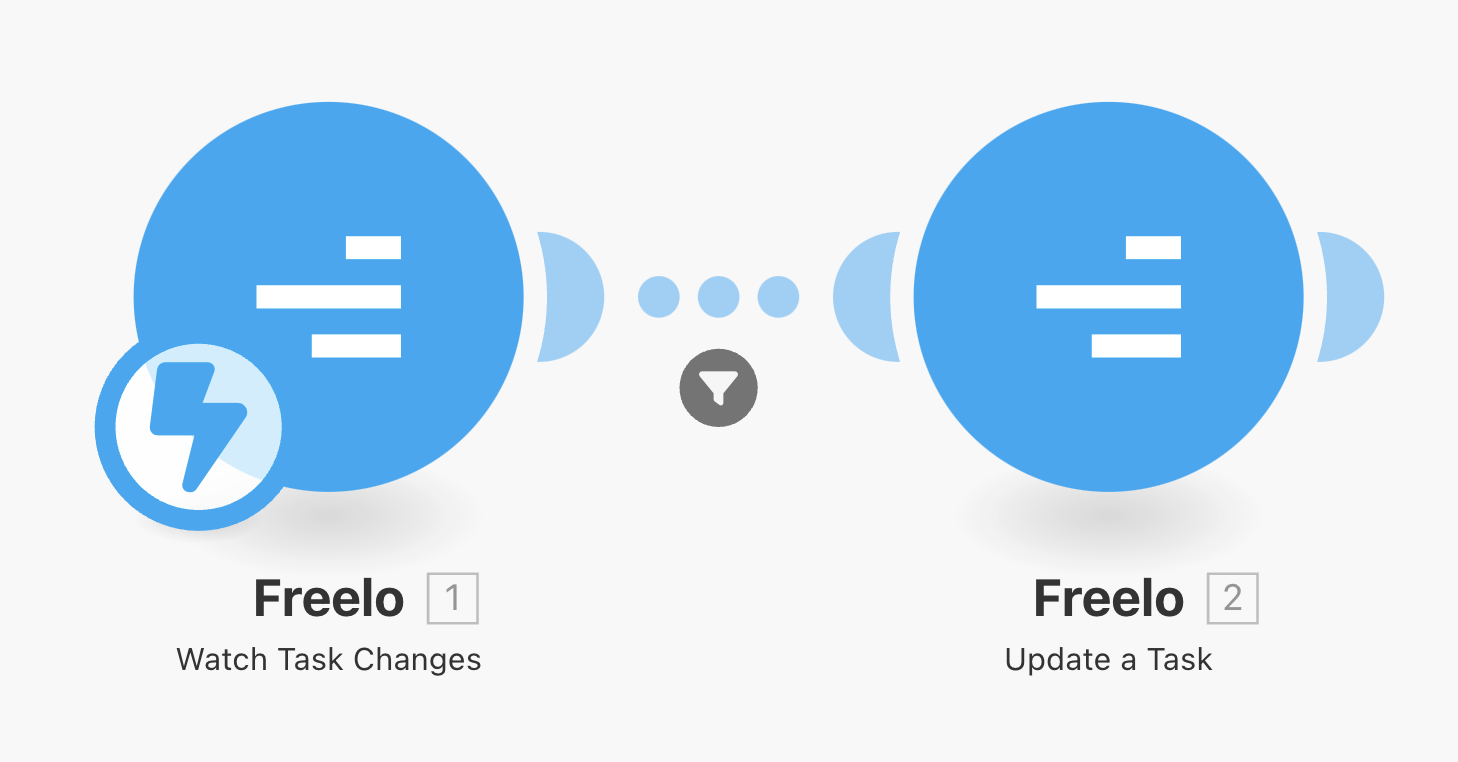
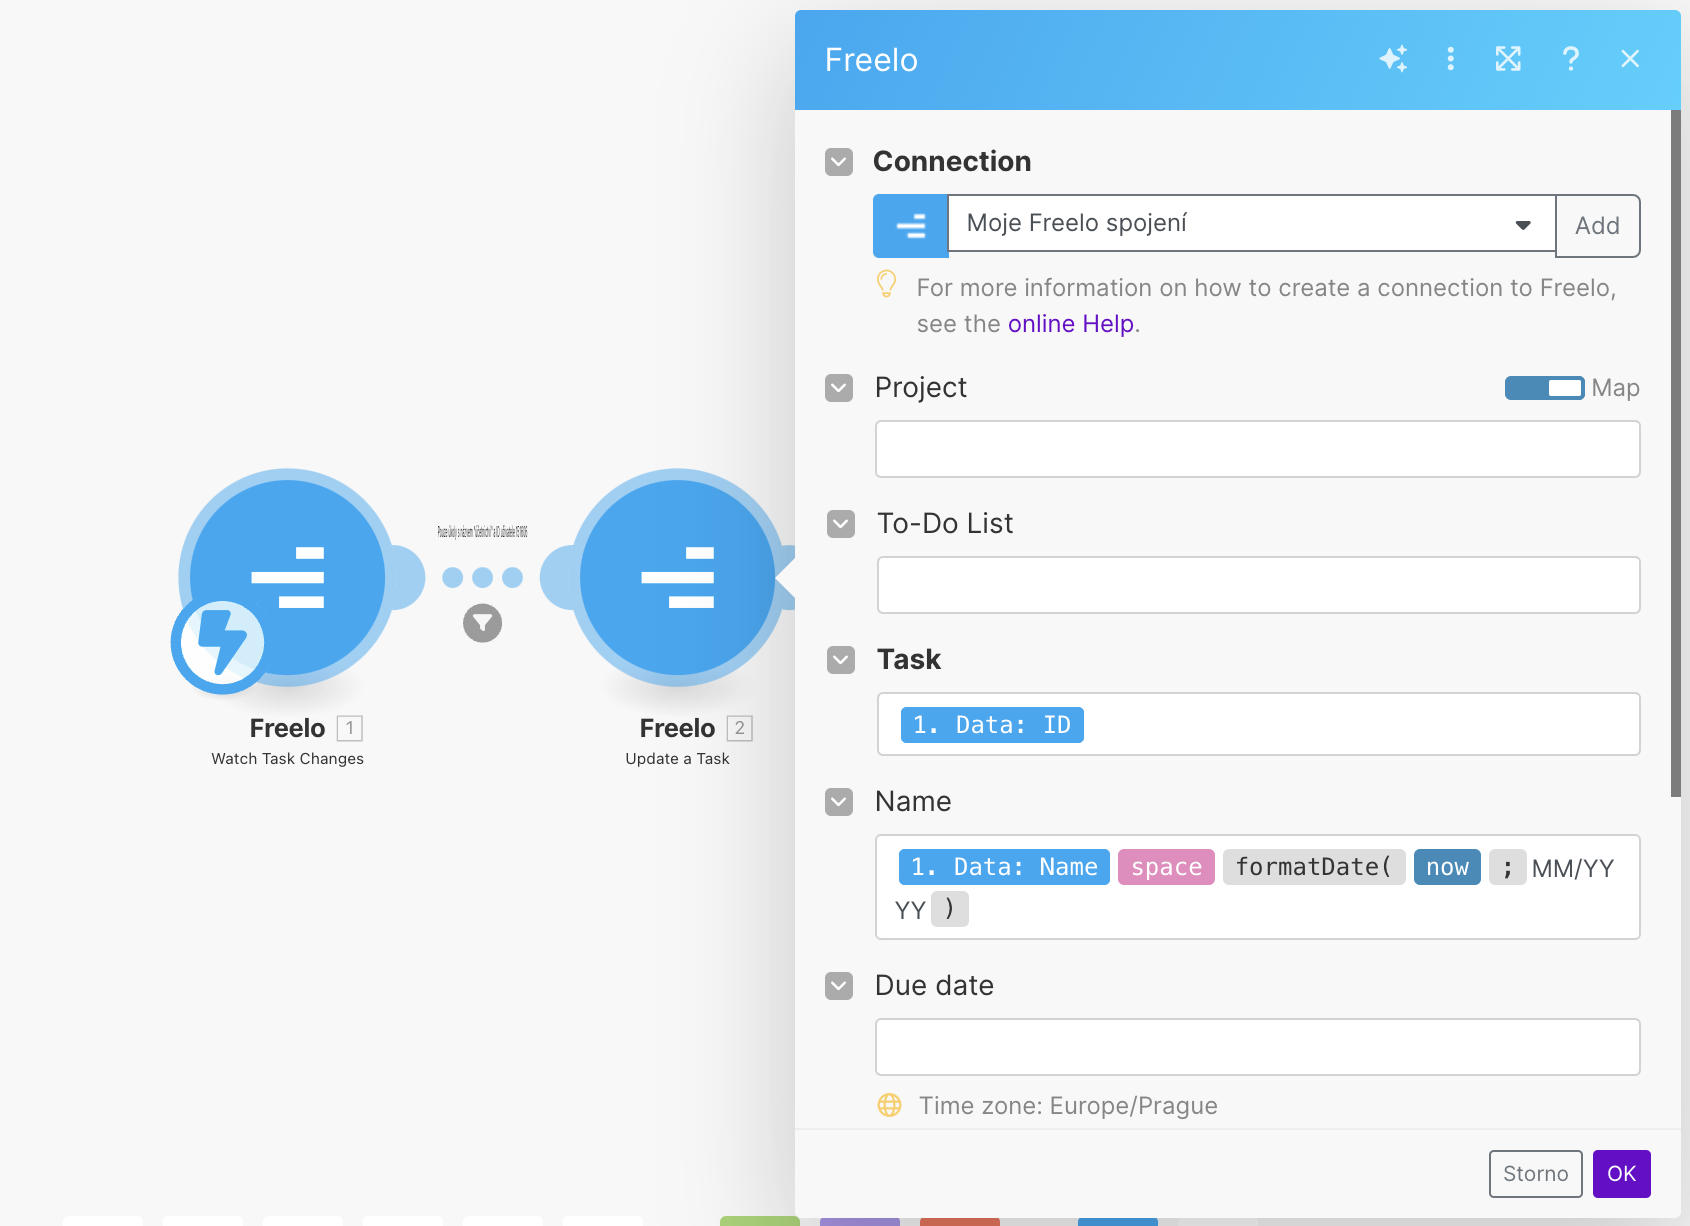
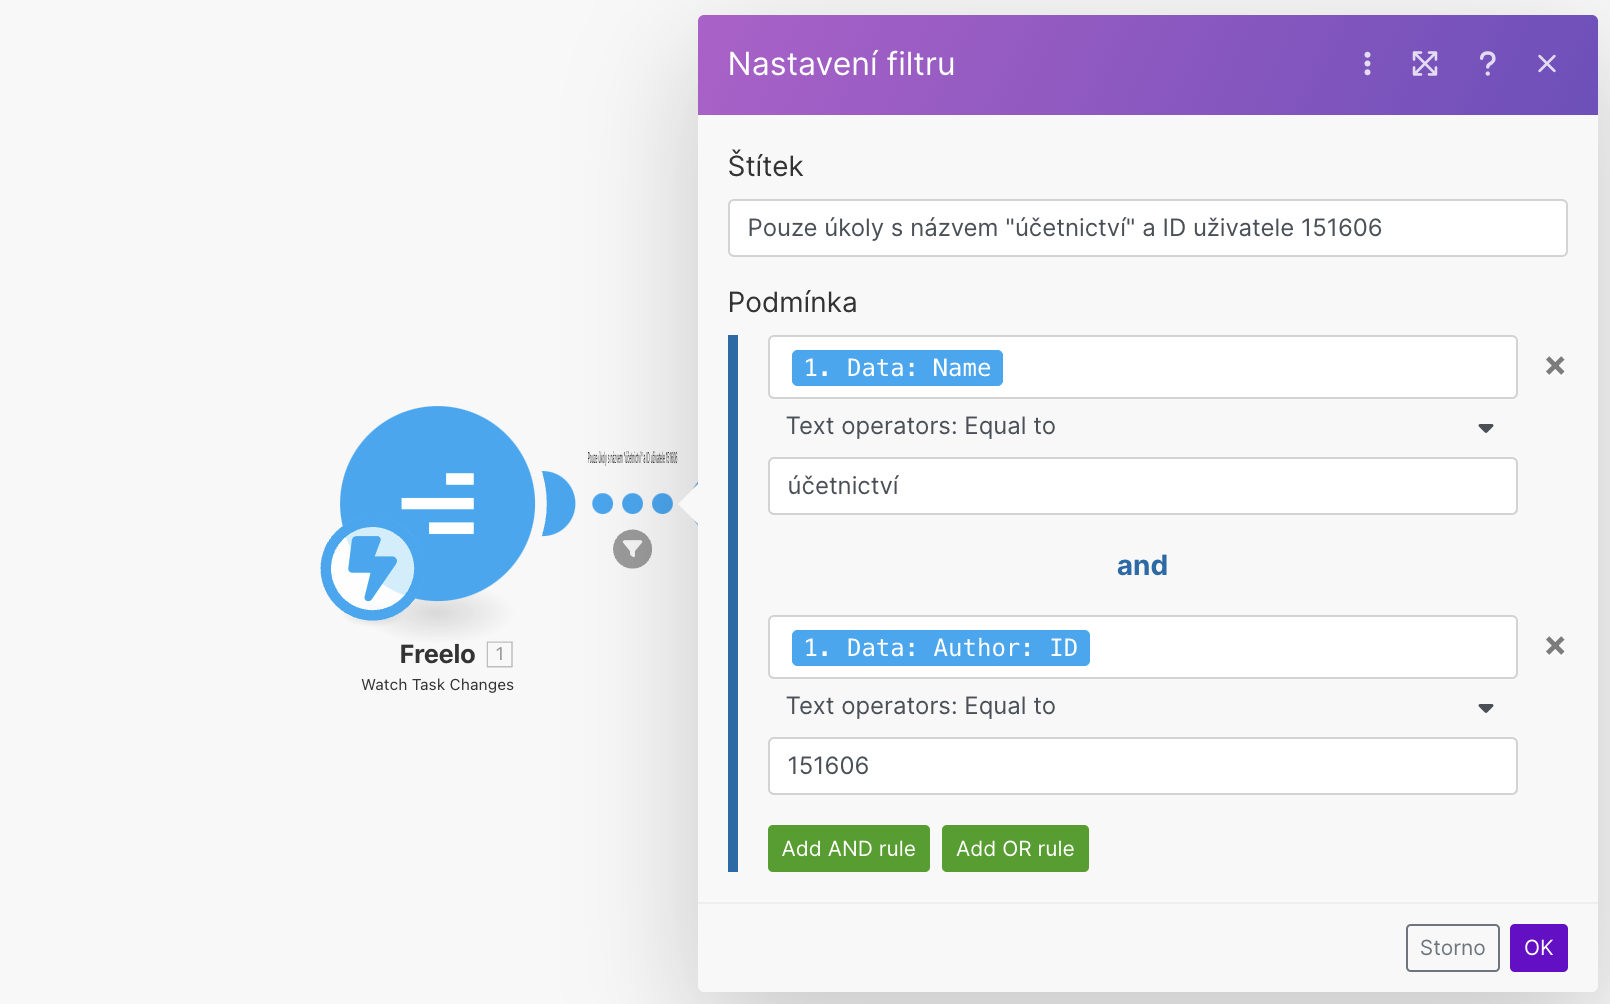

Freelo a GitLab/GitHub
You can create a task directly from GitLab to Freelo. If you have an issue in GitLab from which you need to create a task in Freelo, use this link:
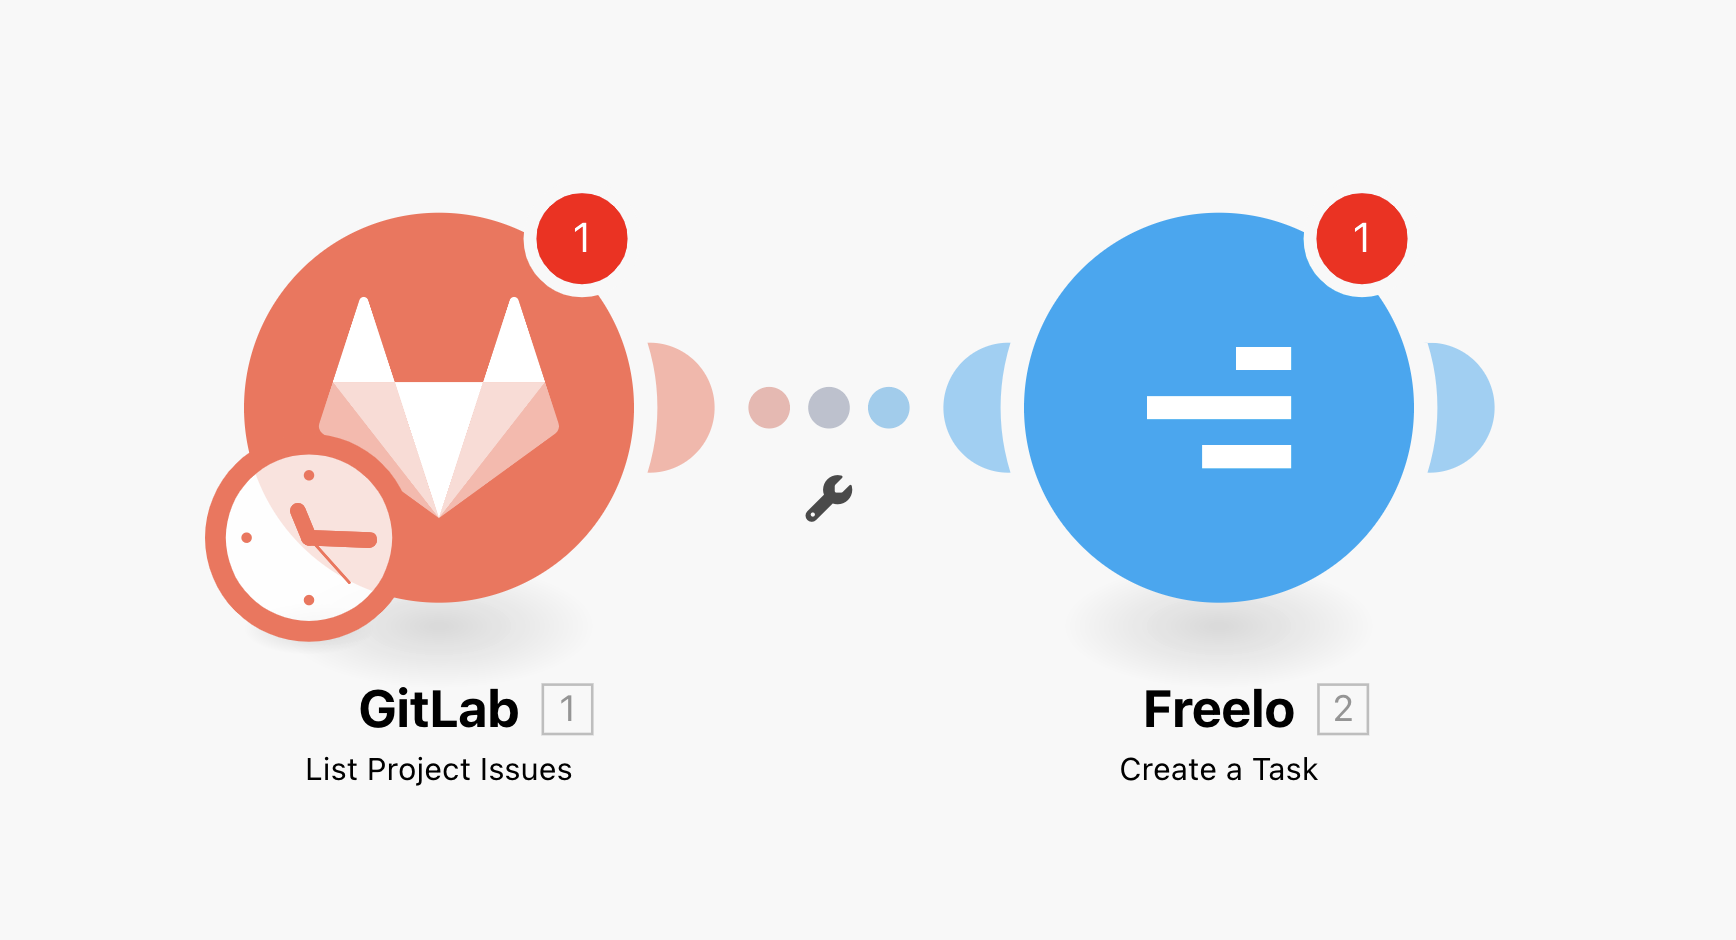
Also, if someone submits a task or comment to Freelo, you can turn it into an issue in GitLab like this:
